As an Amazon Associate, we earn from qualifying purchases. Some links on this site are affiliate links at no extra cost to you. Our recommendations are based on thorough research and editorial judgment.

5 Pro Secrets For Chip-Free Nail Polish

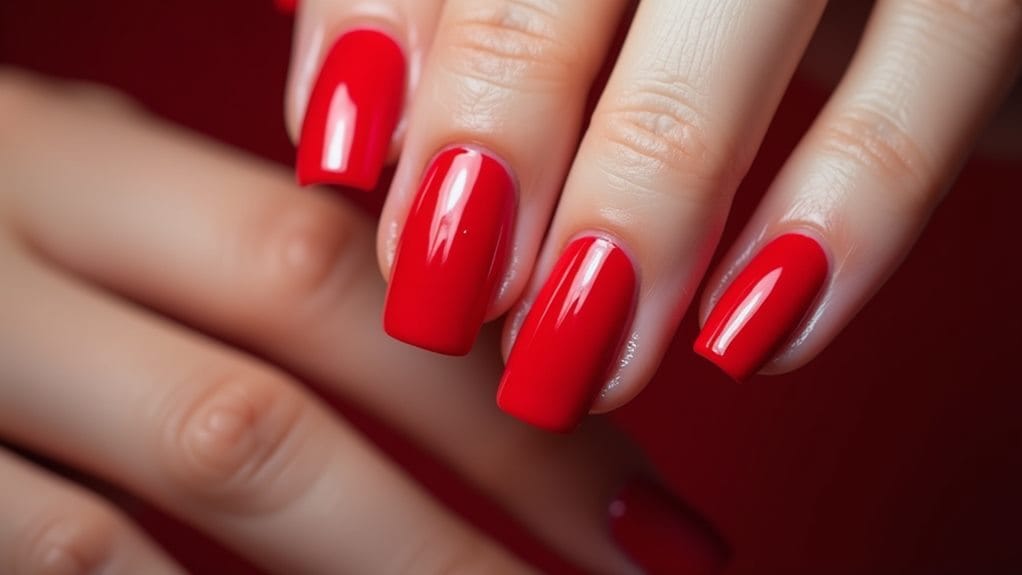
You'll get a perfect, chip-free manicure by mastering these pro secrets. Start with thorough nail prep, including cleaning with polish remover and gentle buffing for an even surface. Apply your polish using the three-stroke method – one center stroke flanked by two side strokes – for flawless coverage. Always use quality base and top coats, making sure to seal your free edges by wrapping the polish around the nail tips. Protect your polish daily with fresh top coat every few days and cuticle oil at bedtime. These expert techniques will transform your at-home manicures into salon-worthy results.
Key Takeaways
- Seal free edges by wrapping polish and top coat around nail tips to create a protective barrier against water and chipping.
- Apply polish in three precise strokes – one center stroke flanked by two side strokes for even, durable coverage.
- Use a quality base coat to protect nails from staining and ensure better polish adhesion to the nail surface.
- Refresh your manicure with a new layer of top coat every 2-3 days to maintain shine and prevent chipping.
- Thoroughly clean nails with polish remover before application to remove oils that can interfere with polish adhesion.
Perfect Your Nail Prep Routine
Before you even think about reaching for that bottle of polish, proper nail preparation makes all the difference between a short-lived manicure and one that lasts for days.
Start by thoroughly washing your hands with soap and water to remove natural oils, then swipe each nail with nail polish remover to create the perfect canvas. You'll want to give your nail beds a gentle buff for a smooth surface, but don't overdo it – just enough to create an even base for your polish to grip onto.
Next, pamper those cuticles with nourishing cuticle oils, gently pushing them back and removing any dead skin that could interfere with your manicure. Shape your nails in one direction using a quality file, which helps prevent splitting and creates clean edges that'll make your nail polish look spectacular.
Before you move on to your base coat, take a moment to hydrate your nails and surrounding skin with a rich cream or oil. This essential step creates flexible, resilient nails that prevent chipping and help your manicure last longer. When your nails are properly prepped, they'll be ready to showcase that gorgeous polish with professional-looking results.
Recommended Products

VITAMIN E OIL: Our pure vitamin e oil is 100% Pure and Natural Almond with Cold Pressed and Unrefined Quality made with Grade A standards at an US based manufacturing facility. We can guarantee high quality vitamin e oil for each use.

GELLY STARTER KIT INCLUDES: - Prep (15 ml) - Primer (15 ml) - Builder (15 ml) - Top Coat (15 ml) - Gelly Tips (500 pcs) - Beyond Pro Flash Cure Mini Lamp

Includes Mia Secret Liquid Monomer, which is an advanced blended EMA monomer, It is the perfect choice for students, beginners, and experienced nail technicians. Its formula provides outstanding flexibility, adhesion, and absorption when combined with MIA SECRET ACRYLIC POWDERS, and its non-yellowing formula prevents discoloration. This monomer performs properly even under low temperatures, making it reliable all year long while its low essence makes it suitable for indoor use.
Master The Three-Stroke Application
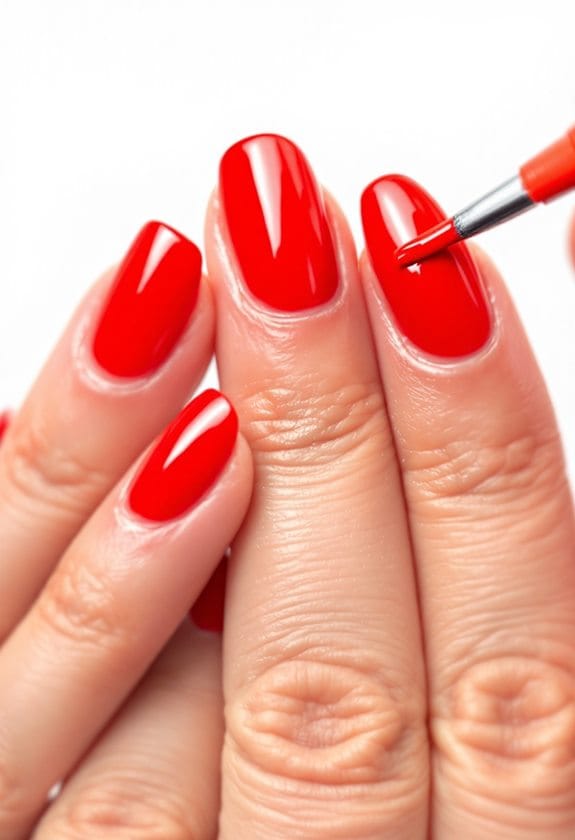
Perfect polish application comes down to mastering the three-stroke technique – a method professional nail artists swear by. To achieve a flawless manicure, load your brush with just enough nail polish to cover one nail completely, avoiding excess that can lead to messy results.
Start by placing your brush in the center of your nail, about a millimeter away from your cuticles, and apply polish in one smooth stroke toward the tip. Next, flank this center stroke with two additional strokes, one on each side, creating perfect even coverage across your nail's surface. Remember to seal the tips of your nails by swiping the polish horizontally across the free edge.
Give each coat about 2-3 minutes of drying time before applying the next layer, which guarantees a chip-free finish that lasts longer. When you're ready for your top coat, follow the same three-stroke technique for consistent results. Keep polish away from your cuticles throughout the process, as this common mistake can cause lifting and reduce your manicure's longevity. With practice, you'll develop a steady hand and achieve salon-worthy results every time.
Recommended Products

✅ EXTREME ORBIT - Save up to 40% of your time on polishing, buffing and detailing with the HI BUFF large 7 inch polishing pads! Avoid circular streaks, scratches and swirl marks for a perfect high gloss finish on your car, truck or boat with every use.

The perfect gift, the Merkur Futur 3-piece shaving set featuring the Futur razor with a matching silvertip badger shaving brush, and a stand to hold all the components. The entire set is finished in a polished chrome finish.

The TG is Paasche's highest end airbrush and delivers the finest detail of all our models
Choose Quality Base and Topcoats
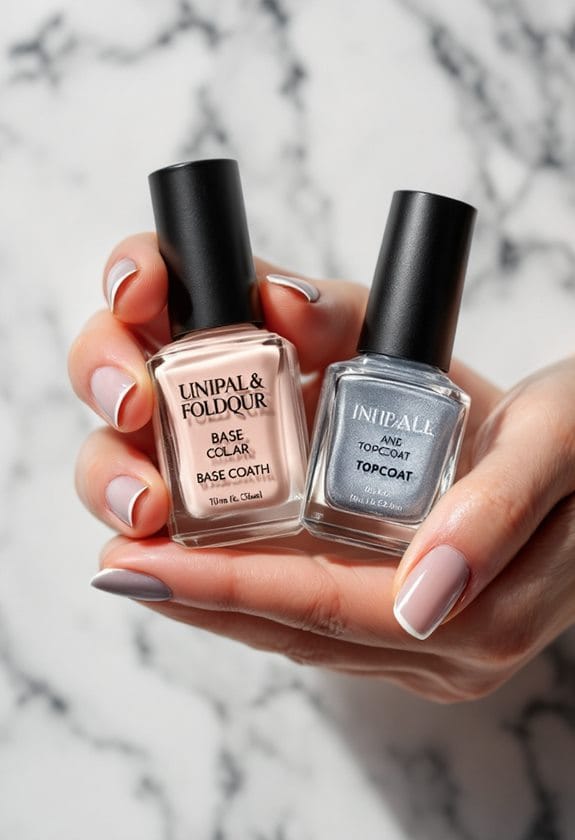
While mastering application technique is important, your choice of base and top coats can make or break your manicure's longevity. A quality base coat works as a protective barrier between your natural nail and colored polish, ensuring perfect polish adhesion while preventing unsightly staining.
When you're ready to finish your manicure, don't skimp on the top coat – it's your secret weapon for a stunning, chip-free finish. The right top coat will seal in the polish with a beautiful glossy finish, and you'll love how it extends your manicure's durability. For even better protection, make sure to swipe the top coat across your nail's free edge.
Investing in quality brands might cost a bit more upfront, but you'll see the difference in how long your manicure lasts. If you're working with glitter polishes, look for specialized base coats that'll make removal much easier. Remember, GHI-approved products have been tested and proven effective, so you can trust them to deliver professional-looking results. Your nails deserve the best protection, and quality base and top coats are your foundation for a flawless manicure.
Recommended Products


What You Get: 12 Ml * 111 Colors Gel Polish (Color Code:1001-1105, 1115-1120) + 12 Ml * 4 Glitter Colors Gel Polish (Color Code:1201,1205,1206,1208) + 12 Ml* Primer + 12 Ml*Base Coat + 12 Ml * 3 Top Coat + Venalisa Logo Luggage + Color Card

SENSHINE MASTER SET: SNS Nail's SenShine Bases and Sealers provide the core of a healthy dip manicure. With high quality dip topcoats, dip base coat adhesives, and sealers, the health of the natural nail is protected and nurtured with each application. Includes 2 FL OZ refill bottles of each: Brush Saver, EA Bond, Gel Base, Gelous Base, Gel Top, Sealer Dry, and Vitamin Oil
Seal Your Free Edges
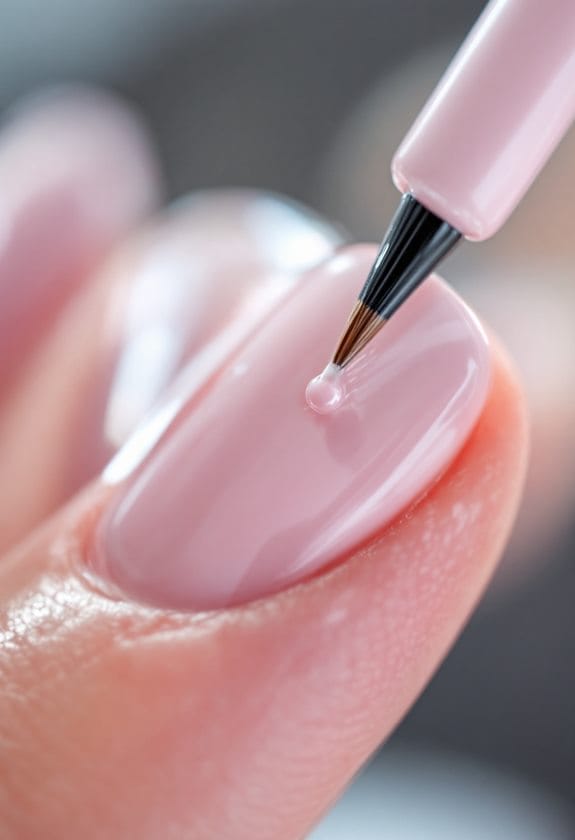
Sealing your nail's free edges is a game-changing technique that professional manicurists swear by. This simple step creates a protective barrier that keeps water and harsh chemicals from sneaking under your polish, making your manicure last considerably longer.
To properly seal your free edges, you'll want to apply each layer of polish with intention and care. Start with your base coat, making sure to swipe it across the tips of your nails where they naturally separate from the skin. When you're applying your color polish, wrap the free edge with gentle strokes, ensuring complete coverage. Finally, seal everything with a thin layer of top coat that extends just slightly over the nail's edge.
This wrapping technique helps your polish adhere better and creates a durable shield against daily wear and tear. You'll notice fewer chips and breaks, and your manicure can last up to a week longer than usual. Even if minor chips do appear, they'll be less noticeable since the sealed edges maintain their polished appearance. It's a small step that makes a huge difference in maintaining that fresh-from-the-salon look.
Recommended Products

Clear polycarbonate roof panels provide protection from harmful UV rays while allowing 65% of sunlight to be transmitted through

Swarovski NL Pure 10x42 binoculars 10x magnification with 42mm objective lenses for detailed, long-range observation.

The Razor HD 27-60x85 Angled Spotting Scope employs high-end optical technology, precision craftsmanship, and ultra-sleek functionality to make the Razor one of the finest spotting scopes on the market. A built-in sunshade pulls out to reduce glare.
Maintain Daily Polish Protection
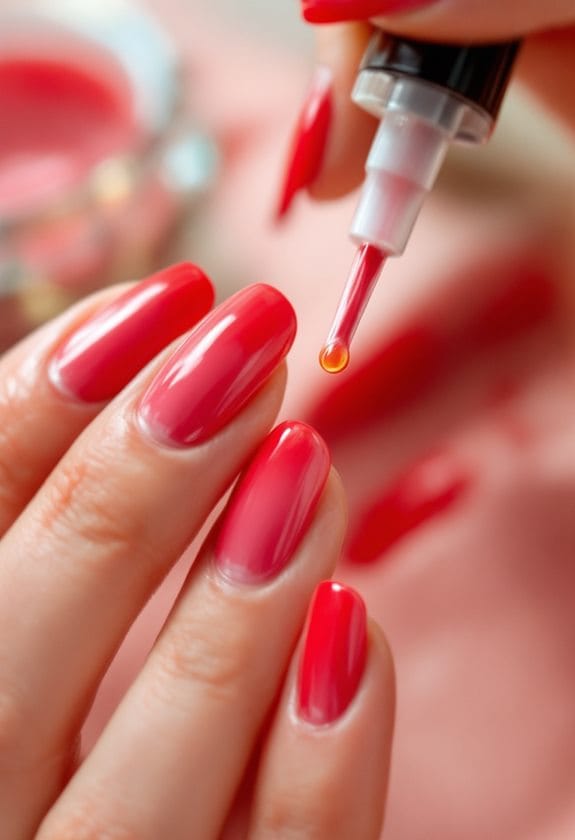
Your polished nails need daily protection to stay flawless, just like a prized car needs regular maintenance. Building a consistent nail care routine will help you achieve that stunning, long-lasting manicure you've been dreaming of.
Start by applying a fresh top coat every 2-3 days to maintain shine and prevent polish from chipping or dulling. This simple step creates a protective barrier that keeps your manicure looking fresh and vibrant. When you're tackling household chores, don't forget to slip on a pair of protective gloves, as water and harsh chemicals can be your nail polish's worst enemies.
Before bedtime, apply a cuticle oil to keep your nails perfectly hydrated and flexible. Well-hydrated nails are less likely to break or chip, making your manicure last considerably longer. Just remember to avoid applying oils or lotions right before your next polish application, as this can interfere with proper adhesion. By following these daily protection steps and maintaining a regular nail care routine, you'll notice your manicures lasting longer and looking more professional than ever before.
Recommended Products

Gloves for Everyday Tasks: Raxwell Disposable Nitrile Cleaning Gloves provide dependable protection for healthcare and food service professionals in challenging environments. These rubber cleaning gloves ensure exceptional durability, making them ideal for heavy duty cleaning and kitchen gloves tasks

For Everyday Heroes: Raxwell ambidextrous vinyl cooking gloves are disposable and food safe. These clear plastic gloves are constructed for safety, protection, and comfort for everyday jobs done by Everyday Heroes. Whether you work in food preparation and handling, household cleaning or salons and hair care, these clear disposable gloves are a trusted choice for handling a variety of tasks.

MAXIMUM TOUGHNESS, MINIMUM FUSS — Your partner for everything from medical surgery to household chores. Our gloves ensures to provide pro-grade protection with a flexible, rubber-like feel—without the latex. Deal with grime, yet comfortable to wear.
Frequently Asked Questions
How to Get Nail Polish to Stay on Without Chipping?
Time flies, but your polish doesn't have to! Start with proper nail care, apply a base coat, use thin polish layers, let each coat dry completely, and seal with top coat. Reapply top coat regularly.
What Stops Nail Polish Chipping?
You'll prevent polish chipping by using a quality base coat, applying thin layers, waiting between coats, and sealing tips with top coat. Don't forget to moisturize your nails and avoid harsh chemicals.
Why Does My Nail Polish Chip off so Fast?
Pesky polish problems? You're likely skipping base coat, rushing drying time, or exposing your nails to harsh chemicals. Poor application technique and trapped air bubbles can also make your manicure more prone to chipping.
What Takes off No Chip Nail Polish?
You'll need acetone-based removers or gentler alternatives to remove no-chip polish. File the top layer, then soak your nails with cotton pads for 10-15 minutes before gently scraping off with a wooden stick.