As an Amazon Associate, we earn from qualifying purchases. Some links on this site are affiliate links at no extra cost to you. Our recommendations are based on thorough research and editorial judgment.

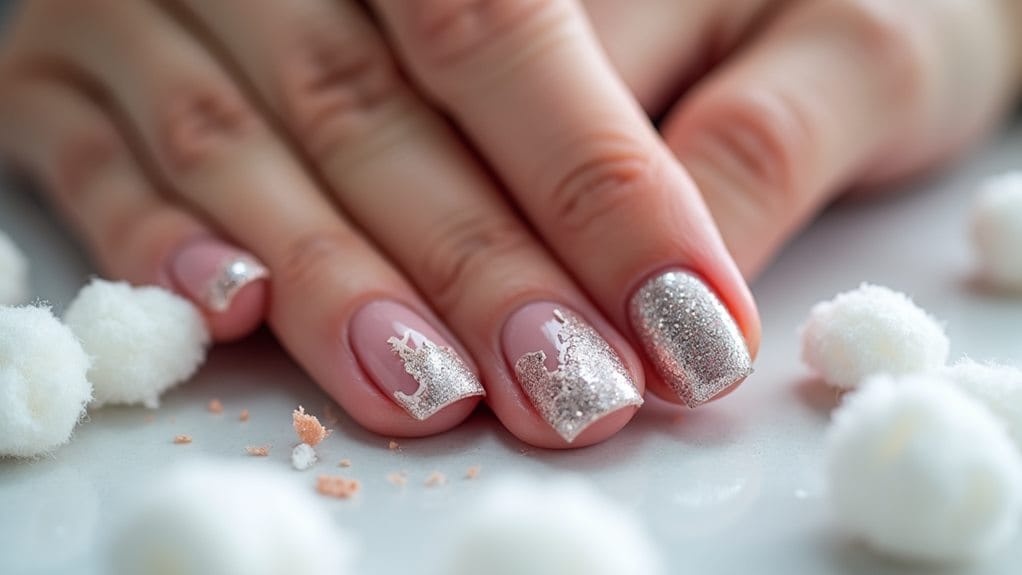
Why Won’t Your Gel Polish Come Off Right?

Your gel polish might not be coming off properly due to several common mistakes in the removal process. You're likely not soaking long enough in pure acetone, using regular nail polish remover instead of pure acetone, or forgetting to buff the top coat first. The temperature of your acetone matters too – it works best at room temperature or slightly warmed. Professional-grade products and proper wrapping techniques make a huge difference in successful removal. Using fresh, high-quality acetone and maintaining proper soaking time of 10-15 minutes will dramatically improve your results. Discover these essential techniques to transform your at-home gel removal experience.
Key Takeaways
- Using regular nail polish remover instead of pure acetone prevents effective gel polish breakdown.
- Not buffing the top coat before soaking prevents acetone from properly penetrating the gel layers.
- Insufficient soaking time (less than 10-15 minutes) doesn't allow the gel polish to fully soften.
- Mixing incompatible gel polish brands or types can create removal-resistant manicures.
- Poor-quality or old acetone loses effectiveness and fails to properly dissolve the gel polish.
Common Removal Mistakes
Several vital mistakes can derail your gel polish removal process and potentially damage your natural nails. When you're keen to remove your gel polish, it's tempting to rush through the steps, but patience is absolutely essential for proper removal.
One of the biggest mistakes you'll want to avoid is not soaking your nails long enough in acetone. You're probably familiar with the frustration of trying to scrape off stubborn gel polish that hasn't properly loosened, but rushing this step will only lead to more problems. Another common error is using regular nail polish remover instead of pure acetone, which won't effectively break down the gel polish layers.
Don't forget to buff the top coat before you start the removal process! This important step breaks the surface seal and lets the acetone work its magic more effectively. Remember, if you're not following the manufacturer's specific instructions, you're setting yourself up for a challenging removal experience. Taking shortcuts might seem time-saving, but they'll actually extend your removal time and could potentially harm your natural nails.
Proper Soaking Techniques
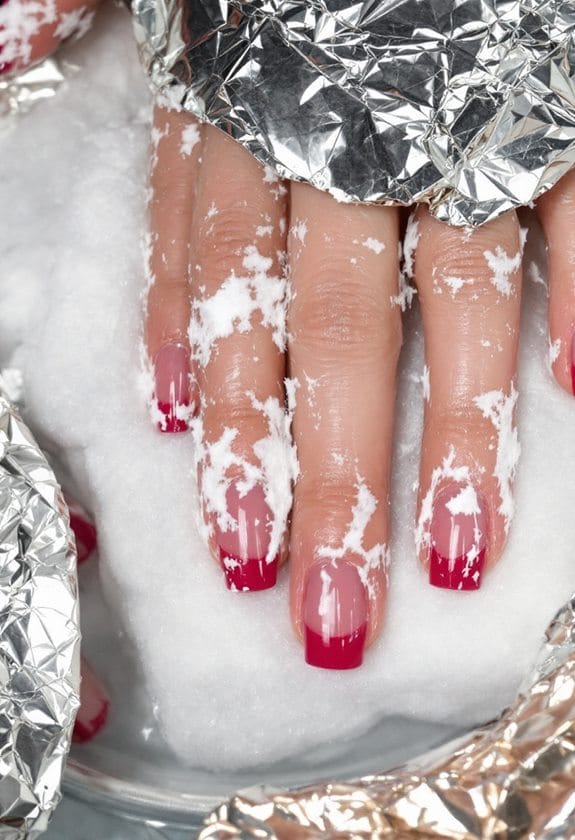
Your most effective gel polish removal starts with room-temperature acetone, as warmer temperatures won't actually speed up the process but can irritate your skin. You'll want to wrap each nail snugly with acetone-soaked cotton and foil, creating a perfect seal that prevents evaporation and guarantees consistent contact with the polish. For best results, maintain your wraps for 10-15 minutes, checking one nail first to see if the gel polish has started lifting at the edges before removing all wraps.
Recommended Products

【108 PCS Gel Nail Polish Set】This is a Complete Gel Nail Polish Kit with super multi-color gel nail polish, it meets the needs of DIY nails. It includes 5ml*55 colors gel nail polish, 7.5ml*2 base coat, 7.5ml*1 glossy top coat, 7.5ml*1 matte top coat, 7.5ml*1 glitter top coat, 7.5ml*1 nail glue, 12ml*1 cuticle remover, 7.5ml*1 cuticle oil, 7.5ml*1 liquid peel-off latex tape, 5g*1 Rhinestones glue gel , 1*UV LED nail lamp and various nail tools.

Quick, Salon Inspired Removal at Home: Gently removes dip powder, acrylic, gel polish, glitter, and nail glue without harsh scraping. Enjoy a smoother manicure transition without the salon visit

【ALL-IN-ONE Gel Nail Kit】beetles gel nail polish kit includes 45*5ml trendy colors gel polish,Base coat 7.5ml*2, Glossy top coat 7.5ml*1, Matte top coat 7.5ml*1, Glitter top coat 7.5ml*1, Cuticle remover 12ml*1, Cuticle oil 7.5ml*1, Liquid peel-off latex tape 7.5ml*1, Nail glue 7.5ml*1, Rhinestones glue gel 5g*1, a LED Nail Lamp*1,and other nail tools, you can enjoy doing your nails at home as a gift and create all kinds of beautiful nail styles.
Optimal Acetone Temperature Tips
Temperature control plays an essential role in successful gel polish removal. You'll get the best results when your acetone is at room temperature, around 20-25°C (68-77°F), which creates the perfect environment for breaking down stubborn gel polish layers.
If you're looking to speed up the process, you can warm your acetone slightly to 30-35°C (86-95°F), but don't go any higher! Overheated acetone can irritate your skin and won't necessarily work better. To maintain the ideal temperature during your removal session, try using insulated wraps or heated mitts, which will keep the warmth consistent and prevent the acetone from evaporating too quickly.
Start with a 10-15 minute soak, making sure the acetone completely covers your nails. You'll know you're doing it right when the gel polish starts to lift and crackle. If the polish isn't budging after the initial soak, don't worry – some thick or stubborn gels might need a few extra minutes. Remember to keep the nails fully covered and minimize exposure to air for the most effective removal process.
Proper Wrap Duration Guidelines
Mastering the right wrap duration makes all the difference in gel polish removal. You'll achieve perfect results by following the proven 10-15 minute soaking window, which allows your gel polish to soften naturally without damaging your nails.
Your success depends on creating an airtight seal when you wrap your nails in acetone-soaked cotton and foil. This perfect seal keeps the acetone from evaporating, ensuring it works effectively throughout the entire soaking process. Remember to check your progress every 5 minutes, as different gel polish brands may respond differently to the removal process.
If you're using high-quality acetone or specialized gel polish remover, you'll notice the edges starting to lift around the 10-minute mark. Don't rush to remove the wraps if the polish isn't lifting easily after the initial soak time. Instead, rewrap your nails and give them a few more minutes to prevent any uncomfortable scraping or potential nail damage. Your patience during this process will reward you with beautifully clean nails that are ready for your next stunning manicure.
Tools and Products Needed
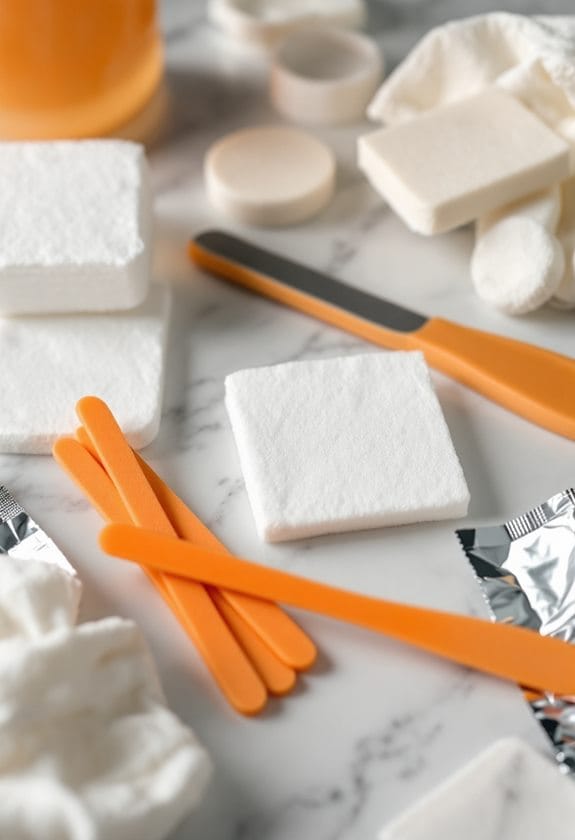
Successful gel polish removal starts with gathering the right tools and products. You'll need a quality nail file to break through the top coat's shine, and pure acetone solution that's strong enough to dissolve the stubborn layers of gel polish effectively.
Your removal kit should include professional-grade soak-off wraps or cotton pads, which will hold the acetone against your nails during the process. These wraps guarantee even distribution of the solution and prevent messy drips while you're waiting for the gel to soften.
Don't forget to include a reliable cuticle pusher and wooden orange sticks in your arsenal, as they'll help you gently lift the loosened gel without damaging your natural nails. A soft buffer will also come in handy for smoothing any rough spots after removal.
For best results, invest in a complete gel polish removal kit that includes all these essentials plus extras like a nail brush for cleanup and hand cream for after-care. Having these tools ready before you start will make the whole process smoother and help protect your nails from unnecessary damage.
Recommended Products


Ideal Gift for Her: Beetles ombre nail gel polish kit comes in a beautiful gift box. They are appropriate for any holiday or special event,such as birthday, holiday, anniversary, Christmas, Valentine's Day, Mother's Day gift. No more struggle to decide which colors should to select. Glam and glitter nail designs can be freely finished with these vibrant color gel.uñas 2021

Protecting Your Natural Nails
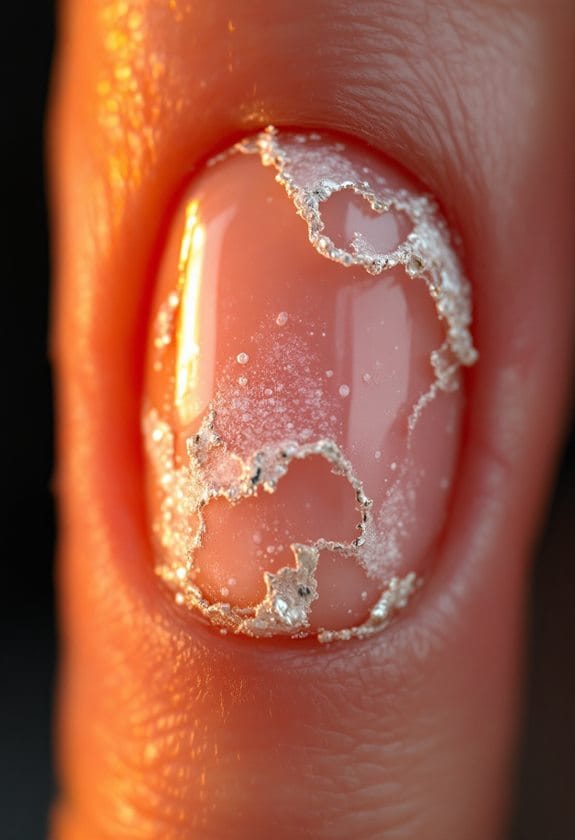
To protect your natural nails during gel polish removal, you'll want to start with a nourishing base layer that acts as a protective barrier between your nail plate and the gel polish. Using gentle removal techniques, like carefully wrapping each nail in acetone-soaked cotton and aluminum foil, will help prevent unnecessary damage to your natural nails. Your patience during the removal process is key, as rushing through the steps can lead to peeling and scratching that weakens your nail's natural structure.
Gentle Removal Techniques
Protecting your natural nails during gel polish removal starts with a gentle, methodical approach. When you're ready to remove your gel polish, start by gently buffing the surface with a fine-grit file, which helps the acetone penetrate more effectively.
You'll want to wrap each nail with acetone-soaked cotton or use specialized nail wraps for the most efficient removal process. The key is patience – let your nails soak for 10-15 minutes, allowing the gel polish to soften naturally without forcing it. During this time, you'll notice the edges starting to lift, which is exactly what you want to see.
Nourishing Base Layer Prep
A well-prepared base layer acts as your nail's first line of defense against gel polish damage. When you're getting ready for your next manicure, choosing the right base coat can make all the difference in protecting your natural nails and ensuring smooth removal later.
Start by applying a high-quality adhesive base coat, like Mega Stick Base, in thin, even strokes across each nail. This flexible foundation helps your nails bend naturally without breaking, which is especially important if you've got weaker nails that need extra support. For added strength, you'll want to take into account adding a layer of builder gel over your base coat, creating a protective shield that lets your natural nails grow and heal.
Signs of Improper Application
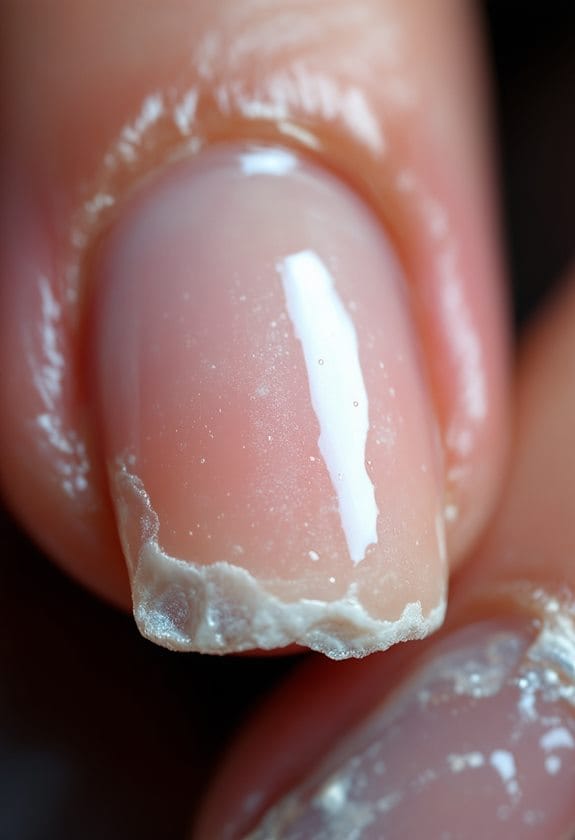
Professional nail technicians can identify several telltale signs that indicate your gel polish wasn't applied correctly. If you notice your polish lifting at the edges or peeling within days of application, it's likely your nail bed isn't prepped correctly, missing essential steps like oil removal and proper buffing.
Watch out for thick layers that feel bumpy or uneven, as these often signal excessive product application that can trap uncured gel underneath. You'll also spot trouble when different sections of your polish seem to have varying shine levels or when the edges aren't perfectly sealed, creating vulnerable spots for lifting.
Another red flag appears when your polish shows inconsistent texture or patchy areas, which typically means the lamp wasn't positioned properly during curing. If you're using mixed brands of base coats and color polishes, you might notice areas where the polish seems more stubborn and refuses to budge during removal. These compatibility issues create a frustrating experience when it's time to take off your gel polish, leaving you with a potentially damaged nail surface that needs extra care and attention.
Understanding Different Gel Types
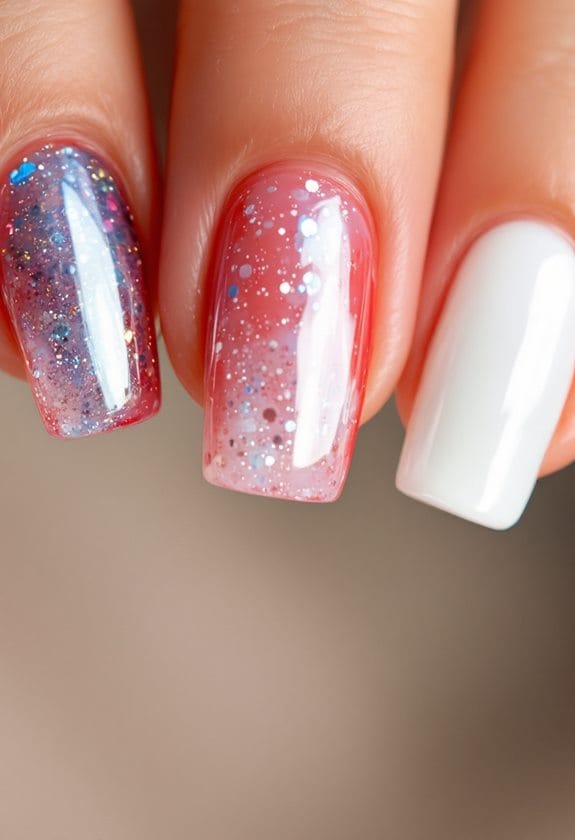
While proper application techniques matter greatly, knowing exactly what type of gel polish you're working with can make or break your removal process.
You'll find that not all gel polishes behave the same way during removal, as there's quite a variety on the market today. Traditional soak-off gels will respond beautifully to acetone wraps, while hard gels need more intensive filing techniques. When you're dealing with Shellac or Gelish products, you'll typically experience a smoother removal process that won't damage your natural nails.
Before starting any removal process, it's smart to check whether you've got a regular gel polish or a harder formula that might need professional attention. If you're working with a quality gel product, you can enhance your removal success by gently buffing the top coat first. Remember that environmental factors, like heat, can affect your removal process by causing acetone to evaporate more quickly. When this happens, you'll need to adjust your technique by either renewing the acetone or using a different removal method altogether. Understanding these differences will help you avoid unnecessary frustration and potential nail damage during the removal process.
Professional Vs DIY Removal
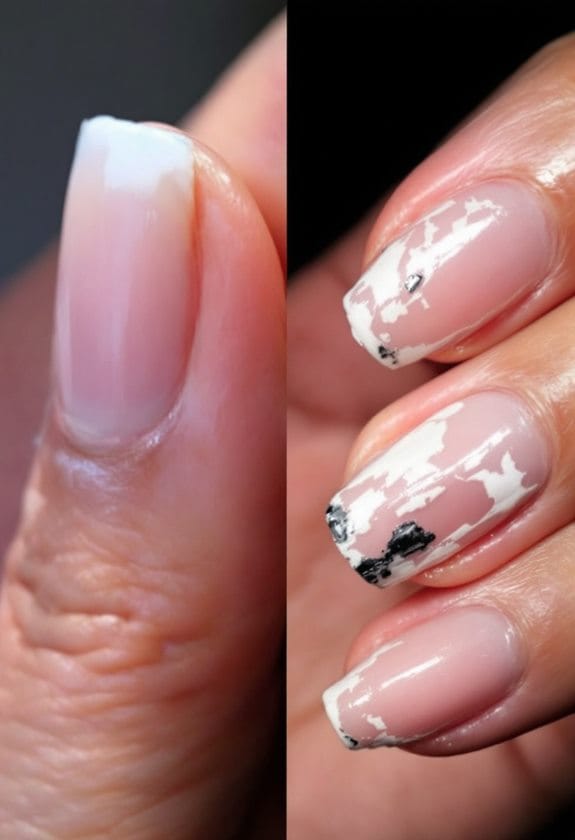
Making the choice between professional and DIY gel polish removal often comes down to more than just cost considerations. While you might be tempted to save money by removing your nail polish at home, professional removal offers significant advantages that can protect your natural nails in the long run.
Professional removal comes with expert assessment of your gel type and nail condition, allowing for a tailored approach that's both gentle and effective. Your nail technician will have access to professional-grade acetone solutions and specialized tools, making the process smoother and more efficient than typical at-home methods. They'll know exactly how long to soak each nail and when to adjust their technique for stubborn spots.
If you're determined to try DIY removal, it's essential to understand exactly what type of gel polish you're dealing with. Different formulas require different approaches, and using the wrong method could lead to damaged nails or incomplete removal. While home removal can work well when done correctly, remember that professional removal offers a safer, more reliable option that helps maintain your nail health.
Recommended Products

NEON AND GLOW: SNS Nails Lumi Glam is our popular collection with 12 neon and 12 glow colors that are made with fine grain powder that help create a richer and more vibrant color. Our skin-friendly, low-odor formula dries instantly and creates a stunning, mirror-like finish without needing UV light. Entire Lumi Glam Collection (24 pieces)

Seductive Shades: SNS Nail’s Enchanted Evening Collection is our rich fall color palette that is made with fine grain powder that helps create a richer and more vibrant color. Our skin-friendly, low-odor formula dries instantly and creates a stunning, mirror-like finish without needing UV light. Color: Enchanted Evening Collection
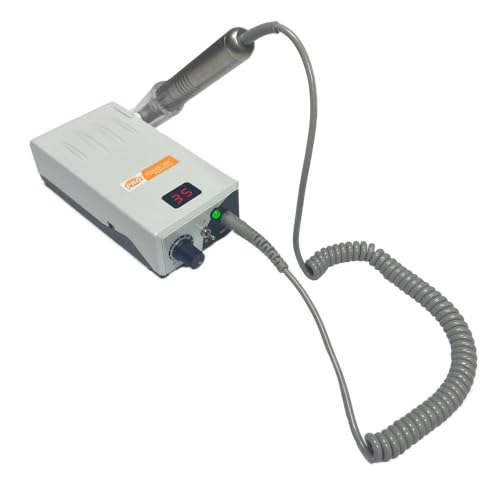
Professional Power and Precision with 35K RPM Brushless Motor - Designed for nail technicians, this professional nail drill delivers high torque and 35,000 RPM for seamless gel polish removal, acrylic shaping, and manicures.
Acetone Quality Matters
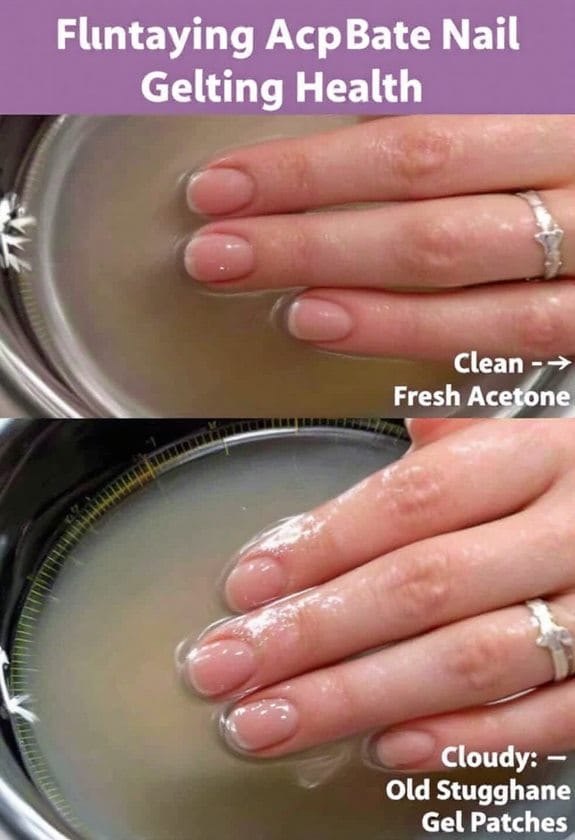
The quality of your acetone can make or break your gel polish removal process, whether you're working in a salon or at home. When you're dealing with stubborn gel polish that won't budge, the culprit might be low-quality acetone that isn't up to the task.
High-grade acetone solutions pack more punch with their concentrated formulas, making them incredibly effective at breaking down even the most resistant gel polishes. You'll notice the difference immediately, as premium acetone works faster and more efficiently, saving you valuable time and protecting your natural nails.
If you've been using an old bottle of acetone or one that's been opened multiple times, you're not getting the best results. Fresh, high-quality acetone maintains its powerful removal properties, while older products lose their effectiveness through evaporation. Think of it like a fresh cup of coffee versus one that's been sitting out all day.
For the best removal experience, invest in professional-grade acetone that's specifically designed for gel polish removal. Your nails will thank you with less dryness and damage, plus you'll avoid that frustrating residue that often stays behind with inferior products.
Recommended Products

【Professional-Grade Power】Elevate your manicure with the Beyond Pro Vol. II, meticulously designed for top-tier performance. Its cutting-edge LED system, enhanced with strategically positioned LEDs and superior reflection cups, guarantees efficient and even curing. This powerhouse is a perfect fit for Gel Polish and detailed Nail Art, offering a fast, consistent cure with every use, essential for professional and home salons alike.

Portable & Convenient Design: Featuring a corded plug-in power system and an ergonomic comfort pad, this lamp is ideal for both home use and professional salons, offering a portable, space-saving solution.

Proven Performance. Trusted Results. The Hybrid Pro 2.0 has earned its reputation through consistent, high-level performance in demanding salon environments. Even, full-coverage curing with no dead zones Designed for reliable, repeatable results across every set Trusted by professionals for speed, consistency, and quality
Post-Removal Nail Care

Once you've successfully removed your gel polish, you'll need to focus on healing and strengthening your natural nails through proper aftercare. Your first step should be gently buffing the nail surface with a sponge buffer, followed by applying a nourishing cuticle oil to restore moisture and promote healing. To rebuild nail strength, consider using a quality builder gel and protective base coat, while giving your nails a 24-hour break from harsh chemicals and excessive water exposure.
Recommended Products

✅ GALLON SIZE BULK VALUE - Whether you are a DIY enthusiast or a professional, our 128oz jug offers the most cost-effective way to keep our ultra-pure Vitamin E Oil in your toolkit. Perfect for refilling smaller bottles and reducing plastic waste, or for use in custom recipes.

100% Natural, Pure and Thick Vitamin E - 1 Ingredient. D-Alpha Tocopherol

Nutrient Properties: Naturally rich in antioxidants and oleic fatty acid, ideal for dry, damaged, and aging skin.
Healing Damaged Nail Beds
After removing gel polish, proper nail bed care becomes essential for restoring your nails to their healthy state. Your nails need time to recover, and you'll want to focus on gentle, nourishing treatments that promote healing and strength.
Start by smoothing any rough spots with a soft sponge buffer, being careful not to apply too much pressure on your sensitive nail beds. You'll notice an immediate difference in how your nails feel and look after this simple step. Next, make cuticle oil your new best friend – apply it several times throughout the day to keep your nail beds hydrated and encourage healing.
While it might be tempting to jump right back into another gel manicure, your nails need a breather. Instead, consider using a builder gel from trusted brands like Kokoist x Nail Thoughts, which can protect your nails while they recover. Don't forget that healing starts from within, so drink plenty of water and maintain a balanced diet rich in nail-supporting nutrients. With consistent care and patience, you'll see your nail beds transform back to their natural, healthy state.
Strengthening Weak Nail Layers
Restoring strength to weakened nail layers requires a strategic approach following gel polish removal. You'll want to start with gentle buffing using a sponge buffer, which creates the perfect surface for your nail's recovery journey and future applications.
After buffing, you'll need to focus on intense moisturization and protection of your nails. Apply a nourishing nail treatment or cuticle oil regularly, which helps restore essential moisture that may have been lost during your gel polish wear. For added support, consider incorporating a professional-grade builder gel, like Kokoist x Nail Thoughts, into your routine.
You can maximize your nail's recovery by using an adhesive base coat such as Mega Stick Base, which adds flexibility while protecting your weakened nail layers. Remember to maintain a consistent care routine that includes daily hydration and protection from harsh chemicals, especially during the first few weeks post-removal. These steps will help transform your weak, compromised nails into stronger, healthier ones that can better support future gel polish applications while maintaining their natural integrity.
Moisturizing After Gel Removal
Your nails' post-gel recovery depends heavily on proper moisturization techniques. After removing your gel polish, it's vital to restore your nails' natural moisture balance through consistent, gentle care that'll help them bounce back stronger than ever.
Start by applying a high-quality cuticle oil or cream immediately after removal, making sure to massage it thoroughly into your nails and surrounding skin. You'll want to keep up this moisturizing routine several times daily, especially in the first few days when your nails are most vulnerable.
Don't forget that hydration works from the inside out, so drinking plenty of water plays a significant role in maintaining your nails' elasticity and strength. While you're focusing on external care, choose nail treatments packed with vitamins and essential oils that'll support healthy regrowth.
Remember to give your nails a break from harsh chemicals during this recovery period, as they need time to rebuild their strength. Instead, opt for gentle, nourishing products that'll help restore your nails' natural protective barriers while keeping them flexible and resilient.
Breaking Down Stubborn Layers
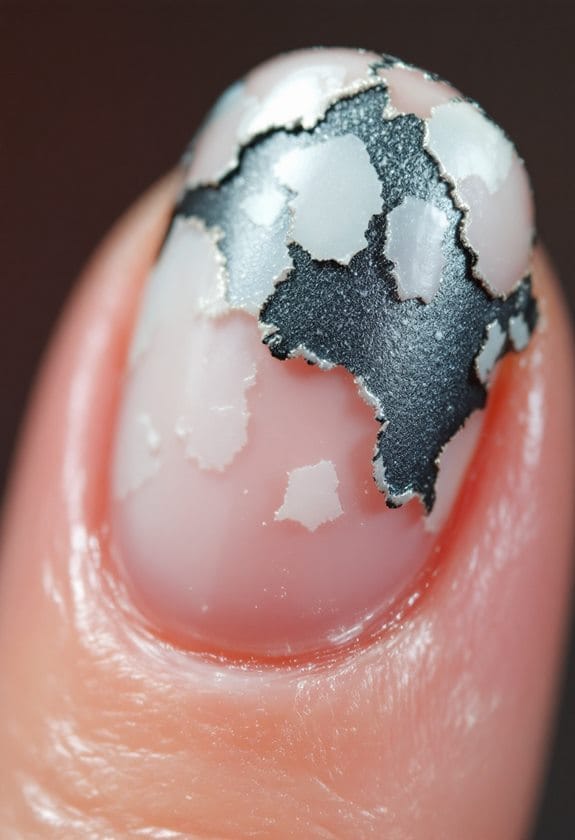
Breaking down stubborn gel polish layers requires understanding why they're resistant to removal in the first place. Low-quality products often create hardened, challenging layers that won't budge with standard removal techniques, making your job twice as difficult. When previous applications weren't properly cured, you'll find yourself dealing with thick, stubborn build-up that seems impossible to remove.
Your environment plays a bigger role than you might think, as humidity and temperature can affect how well acetone works to break down those tough layers. If you're dealing with a buffed top coat, you'll need to adjust your soaking time to guarantee the acetone can penetrate through the hardened surface effectively. Don't worry, though – there are solutions!
For particularly resistant layers, you might want to take into account using an e-file, but you'll need to proceed with caution to protect your natural nails. Remember to work slowly and methodically, applying gentle pressure while maintaining consistent movement. Always start with the least aggressive approach before moving to more intensive removal methods, guaranteeing you're preserving the health of your natural nails throughout the process.
Timing Your Removal Process
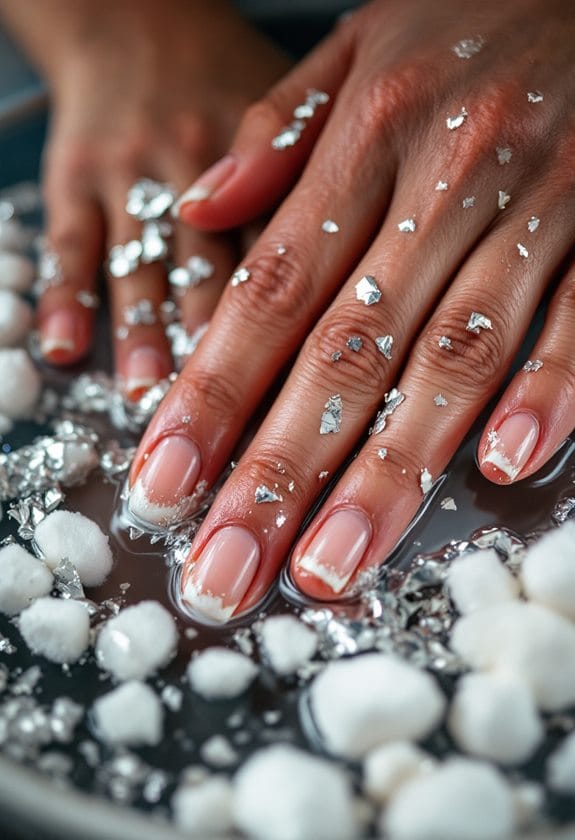
Now that you understand the challenges of stubborn layers, mastering the timing of your removal process will make all the difference. Getting your timing right can transform a frustrating experience into a smooth, satisfying gel removal session that protects your natural nails.
Your initial soak should last between 10-15 minutes, which gives the acetone enough time to break down the gel polish effectively. If you're working in a warmer room, you'll likely notice the polish beginning to lift and bubble, showing that your timing is spot-on. When the polish proves stubborn, don't rush to scrape it off – instead, extend your soak time by 5-10 minutes.
Keep checking your progress throughout the process by gently testing the gel's softness with an orange stick. You'll know you've timed it perfectly when the polish begins to easily flake away from your nail bed. Remember that using high-quality acetone can greatly reduce your overall soak time, making the entire process more efficient. By paying attention to these timing guidelines and adjusting based on your environment, you'll achieve consistently successful gel polish removal results.
Frequently Asked Questions
What to Do When Gel Polish Won't Come Off?
Feeling like you're hitting a brick wall? Buff your nails first, then soak them in professional acetone wraps for 15 minutes. If that doesn't work, try acetone alternatives or seek a nail technician's expertise.
Why Does My Gel Polish Stay Sticky Even After I Cure It for Ages?
Your gel polish stays sticky because you're likely applying layers that are too thick or using an old/weak lamp. Check if your gel polish is compatible with your lamp to prevent curing issues and sticky residue.
Why Isn't My Gel Polish Coming off With Acetone?
Pesky polish problems? Your gel polish adhesion might be too strong due to thick application, or your acetone effectiveness could be compromised. Try buffing the top coat and using pure acetone in a controlled temperature environment.
Why Is Gel Polish so Hard to Remove?
Your gel polish is tough to remove because its special gel formula creates a strong, durable coating. It's designed to stick around, but you'll need proper removal tips and patience to break it down effectively.