As an Amazon Associate, we earn from qualifying purchases. Some links on this site are affiliate links at no extra cost to you. Our recommendations are based on thorough research and editorial judgment.

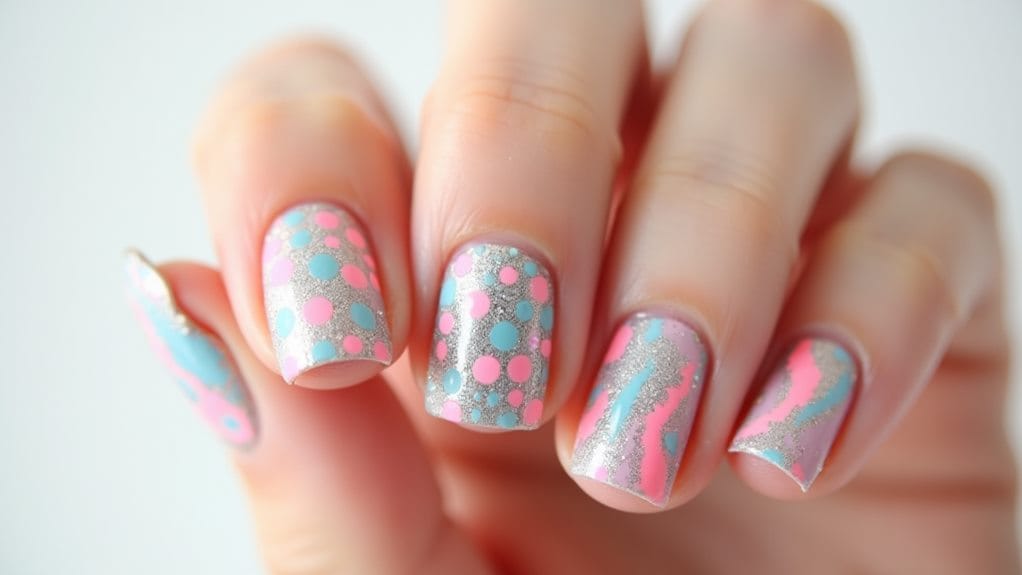
DIY Nail Art: Simple Designs Using Household Items

You can create stunning nail art using common household items you already own. Start with regular nail polish and simple tools like straws, toothpicks, and tape for perfect dots and clean lines. Try the paper towel marble technique for professional-looking swirls, or use kitchen sponges to create beautiful color gradients. Aluminum foil adds sparkle, while clear tape helps achieve crisp geometric patterns. Don't forget your base coat for better adhesion and a clear top coat to seal your masterpiece. With these basic supplies and techniques, you'll discover endless possibilities for creating eye-catching designs.
Key Takeaways
- Create marble effects by pressing painted paper towels onto nails, using multiple polish colors for stunning swirled patterns.
- Use household tape to make clean geometric designs and color blocks by applying polish between taped sections.
- Transform straws, toothpicks, and cotton swabs into dotting tools for creating various-sized dots and simple patterns.
- Make gradient effects with a kitchen sponge cut to nail size, dabbing multiple polish colors for seamless blending.
- Achieve metallic accents by cutting aluminum foil into shapes and pressing onto slightly tacky polish before sealing.
Essential Items for Nail Art
Starting out in nail art doesn't require a hefty investment or specialized tools from up within the beauty industry. You'll be amazed at how many stunning Nail Art Designs you can create with items you already have at home, starting with just two contrasting nail polish colors and a base coat.
Your journey into nail art begins with gathering basic supplies that are probably scattered throughout your house right now. A thin brush from an old watercolor set can create delicate lines, while regular household tape guarantees crisp, clean edges for your designs. You'll love how versatile these simple tools can be when creating professional-looking patterns.
Don't worry about buying expensive dotting tools or detail brushes – a straw can create perfect dots, and a small paintbrush works beautifully for intricate details. Transform ordinary items like sponges into texture-creating tools, and discover how plastic wrap can create stunning marble effects on your nails. With these accessible items at your fingertips, you're ready to experiment with countless designs, from simple stripes to complex patterns, all while saving money and releasing your creativity.
Recommended Products

Fine Craftsmanship, Flawless Nail Art - Joya Mia’s professional Kolinsky acrylic nail brush is meticulously crafted from 100% pure Kolinsky hair. This nail brush for acrylic nails ensures precision and accuracy in every stroke, allowing you to create intricate and flawless designs effortlessly.
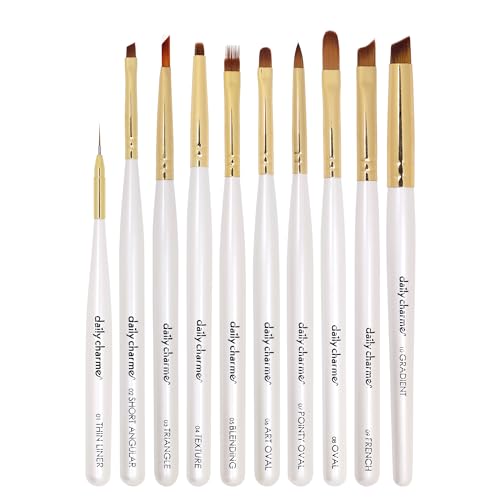
Professional Nail Art Brush: Professional high-quality nail art brushes to take your nail art designs to the next level.

Become a LGNDary artist with the Chaun Legend Nail Art Brushes Box
Paper Towel Marble Effects
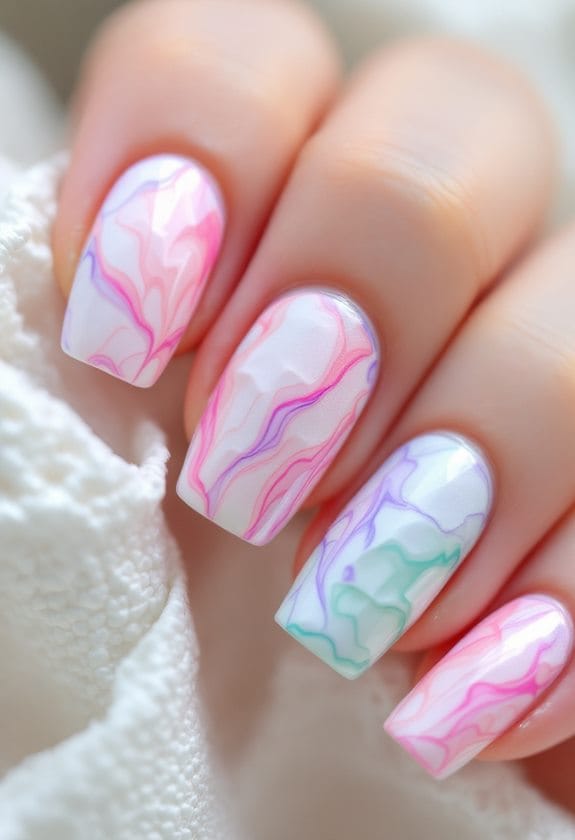
The paper towel marble technique brings a professional-looking finish to your nails with minimal effort. Using common household items like paper towels and nail polish, you'll create stunning swirls and patterns that look like they're straight from a salon.
To get started, select your favorite nail polish colors and prepare your nail bed with a base coat. Take a piece of paper towel and dip it into your first chosen polish color, making sure to blot off any excess. This step is essential for achieving those perfect, delicate marble patterns without overwhelming your nails with too much polish.
You'll love how easy it is to layer multiple colors for a more dynamic effect. Simply add different shades to your paper towel, then gently press it onto your nails. The paper towel's texture creates beautiful, organic swirls that blend seamlessly together. Once you're satisfied with your design, wait for it to dry completely before sealing it with a top coat.
This beginner-friendly technique is perfect when you want to create impressive nail art without spending hours practicing intricate designs. You'll achieve salon-worthy results in just minutes!
Recommended Products

10" x 12" heavy duty wet cleaning wipes. The strongest and largest wet paper towel cleaning wipe. No water required. Pack of six TW90 Tubs.

BATHROOM ACCESSORIES SETS - Newfun 10-piece bathroom hardware set Includes 24-inch polished chrome bar x 2, toilet paper holders x 2, towel hooks x 4, towel rings x 2. Four different bathroom towel accessories suitable for different environment style decoration.
Tape and Color Block Designs
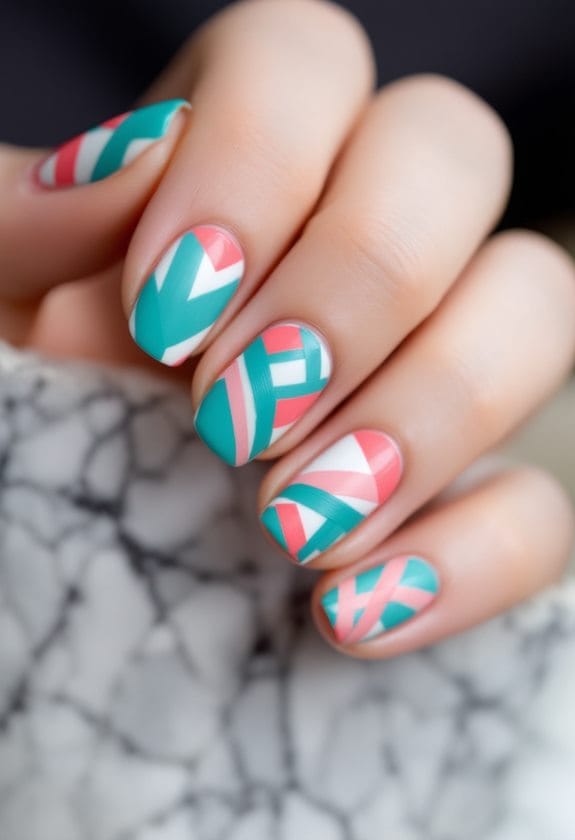
Through strategic tape placement, you'll transform your nails into stunning geometric masterpieces. Using basic household tape, you can create precise lines and sections that serve as perfect boundaries for your color block designs. These tape techniques make it easy to achieve professional-looking results, even if you're new to nail art.
Start by selecting two or three bold color combinations that complement each other, like navy with gold or pink with white. Apply your base color and let it dry completely before carefully placing small strips of tape to form your desired patterns. You'll find endless design inspiration in simple shapes like triangles, diagonal lines, or even chevron patterns that make your nails pop with personality.
Once you've secured your tape, apply your contrasting colors within the exposed sections, working quickly but carefully. Remove the tape while the polish is still slightly wet to reveal crisp, clean lines that look professionally done. Finally, seal your masterpiece with a clear top coat to protect your design and add that perfect finishing shine. You'll be amazed at how these simple tools can create such sophisticated results.
Recommended Products

The Package Length of the Product is 71.4 centimeters

Carbon Fiber tubes with Magnesium castings give great strength in a very light package.
Individually braked wheels for control.
Creating Perfect Dots at Home
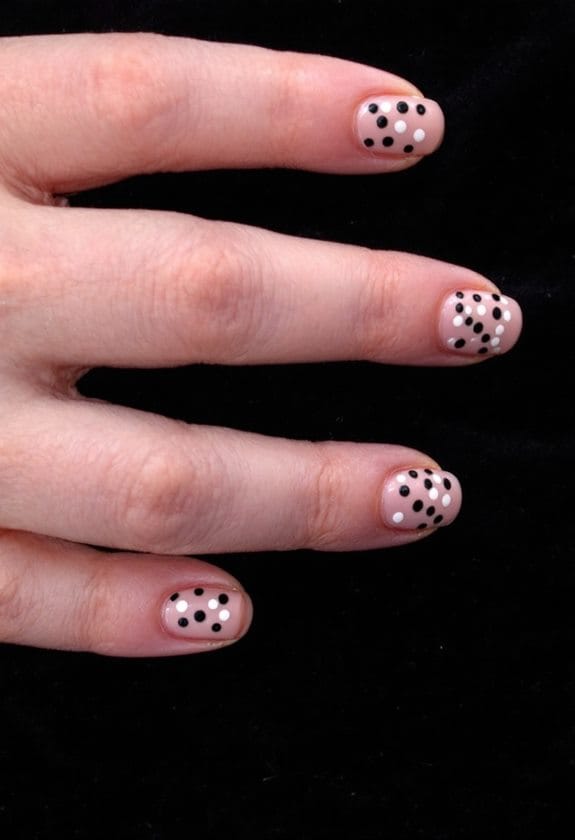
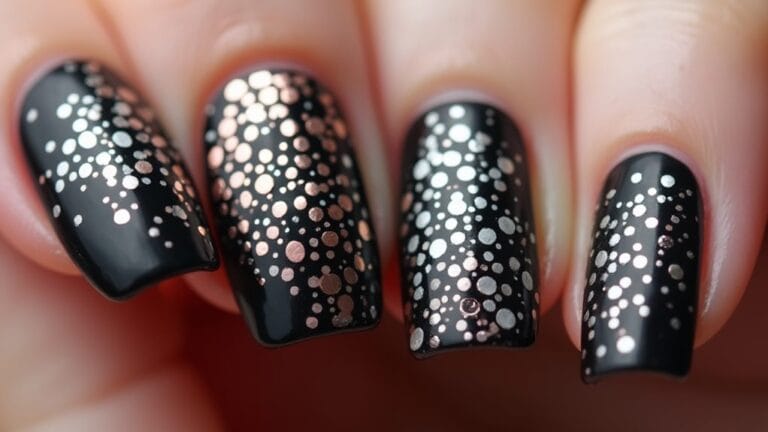
Creating stunning dot designs at home is easier than you'd think, with simple tools like straws, cotton swabs, and toothpicks serving as your perfect dotting instruments. You'll find that each tool creates different-sized dots, letting you build eye-catching patterns by layering various colors and dimensions on your nails. Once you've mastered the basic dotting technique, you can experiment with exciting color combinations and intricate designs, all sealed beautifully under a protective top coat for long-lasting wear.
Recommended Products
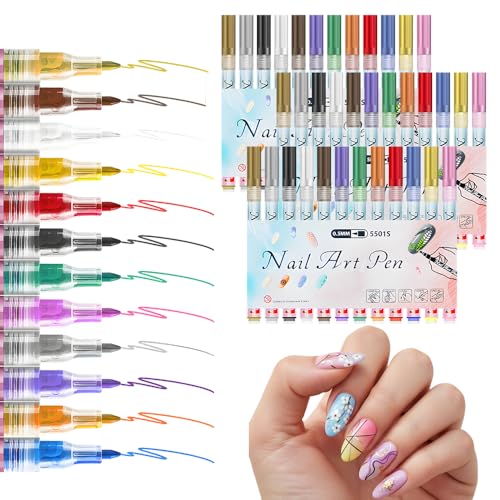
✨【Precision Detailing for Creative Nail Art】The 0.5/0.7mm fine tip nail art pen is ideal for drawing intricate designs, such as flowers, lines, dots, butterflies, and gradient colors. This nail liner pen enables detailed nail painting and allows you to personalize your manicure style at home with ease.

【100 Colors Gel Nail Polish Set】 Beetles gel nail polish kit includes 100 carefully selected gel colors in multiple finishes: 50 classic color gels, 20 glitter gels, 20 cat eye gels, and 10 pearl gels, all in 5 ml bottles. The set also comes with a 7.5 ml base coat, glossy top coat, matte top coat, glitter top coat, pearlescent top coat, easy-removal base coat, and essential nail art tools for creative DIY manicures.

【Beetles 100 Colors Gel Nail Gift Set】Beetles gel nail polish set includes 100 carefully selected gel colors in multiple finishes: 50 classic color gels, 20 glitter gels, 20 cat eye gels, and 10 pearl gels. The kit also comes with a base coat, glossy top coat, matte top coat, glitter top coat, pearlescent top coat, additional base coat, and essential nail art tools, giving you more ways to create DIY manicures at home.
Tools for Perfect Dots
Making perfect dots for nail art doesn't require expensive tools from specialty stores. You'll find plenty of effective dotting tools right in your home, ready to help you create stunning designs with precision and flair.
Straws are your perfect starting point for consistent dotting techniques, offering a foolproof way to create uniform dots by dipping one end in polish and pressing it onto your nail. If you're looking for household alternatives that allow more design precision, grab a toothpick to create delicate, intricate patterns that'll make your manicure look professionally done. Cotton swabs work brilliantly for both applying small dots and cleaning up any mishaps around your cuticles.
For more creative approaches, try using an old toothbrush to create playful splatter effects by gently flicking polish-loaded bristles over your nails. Don't forget about those spare paintbrushes lying around – they're excellent for varying your dot sizes simply by adjusting your pressure. You'll discover that these common household items can transform your nail art game, delivering professional-looking results without the salon price tag.
Dot Size Techniques
The art of dotting comes down to mastering size variations, which you'll find surprisingly manageable with the right techniques. You'll discover that creating stunning dot size variation starts with selecting the proper tools, from wider straws for bold statements to thin toothpicks for delicate details.
To achieve professional-looking designs, you'll want to practice different dotting techniques with various household items. Try dipping a cotton swab in your favorite nail polish for precise medium-sized dots, or experiment with small paintbrushes for perfect consistency. When you're ready to explore artistic layering, combine different dot sizes to create depth and dimension in your patterns.
Remember that spacing plays an essential role in your overall design, so don't be afraid to experiment with dot placement. Start with larger dots as focal points, then add smaller ones around them to create eye-catching patterns. You'll find that maintaining steady pressure while applying dots will help you achieve that perfect, uniform look. With practice, you'll master the balance between size and spacing, creating professional-looking nail art that's uniquely yours.
Color Layering Methods
Your journey into color layering begins with simple yet effective tools you already have at home. With just a few basic supplies, you'll create stunning color combinations that transform your nails into miniature works of art.
Start by exploring different layering techniques using a straw dipped in your favorite nail polish shades. You'll achieve perfect dots by gently pressing the straw onto your nail, creating uniform circles that can be stacked or arranged in patterns. For more intricate design ideas, grab a toothpick to add smaller dots on top of larger ones, creating beautiful dimensional effects.
Try mixing two polish colors on your dotting tool before application, which creates an eye-catching marbled effect within each dot. You can also experiment with a cotton swab for larger, softer dots that blend seamlessly into your base color. For a fun, speckled look, hold an old toothbrush above your nail and gently flick different colored polishes to create a scattered dot pattern.
Remember to let each layer dry completely before adding the next one, ensuring your colors stay crisp and don't blend unintentionally. This patience will result in professional-looking nail art that's sure to impress.
Nail Foil Without Special Tools
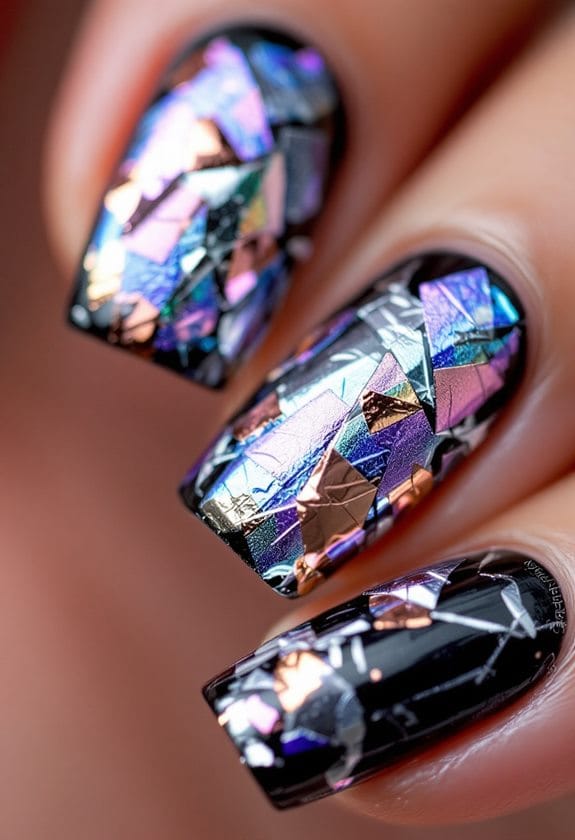
Creating stunning metallic nail designs doesn't require expensive tools or professional equipment. With just some aluminum foil from your kitchen and regular nail polish, you'll be amazed at the professional-looking results you can achieve at home.
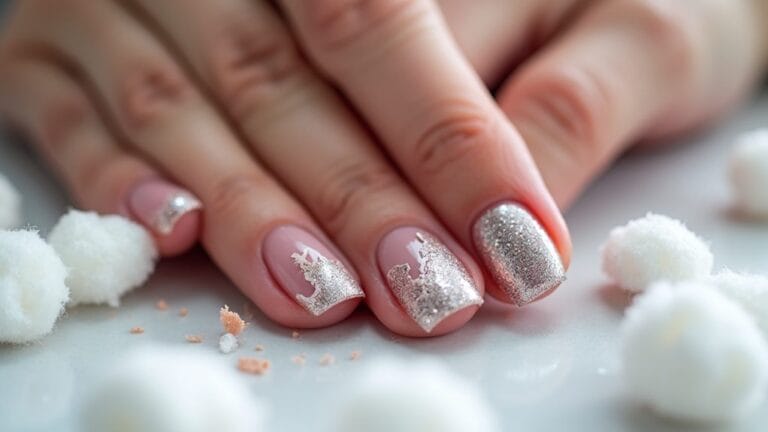
For perfect foil application tips, start by cutting small pieces of aluminum foil into creative foil shapes that match your desired design. Apply your base nail polish color and wait until it's almost dry but still slightly tacky to the touch. This tacky stage is essential for proper adhesion and will help your design last longer.
You can explore exciting layering techniques by combining different colored foils or mixing them with other nail art methods. Try pressing multiple foil pieces in a gradient pattern, or create abstract designs by overlapping various shapes. When you're satisfied with your design, seal everything with a clear top coat.
Don't be afraid to experiment with different patterns and placement options. You might try triangles for a geometric look, tiny circles for a confetti effect, or random strips for an edgy, modern appearance. The possibilities are endless, and you'll develop your own signature style with practice.
Recommended Products
ADVANCED TARGET ID TECHNOLOGY: The Land Ranger Pro utilizes state-of-the-art technology to locate and identify metal targets buried deep underground. This metal detector has 99 points of TARGET-ID resolution and 4-Tone TARGET-ID, providing the most accurate target identification possible. Programable target discrimination, decide what you want to detect, like gold and silver and what you don't want to detect, like nails and aluminum foil.

18 Essential Salon Colors gel polish kit: Beetles Pro Professional-grade gel polish shades curated for salon services. The Poetry of Garden palette includes 18 high-frequency neutrals and deep tones for elegant monochrome, French Nails, or minimalist Pastel nail designs
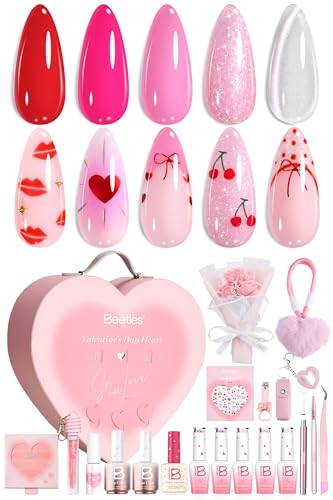
The Perfect Women‘s Day Gift – For Her or Just Because: Celebrate the amazing women in your life—or treat yourself—with this romantic gel nail polish set. Inspired by soft spring vibes and moments of self-love, it’s more than a beauty kit: it’s a little act of care. Whether you're shopping for a Women's Day gift, a thoughtful gift for her, or simply want to treat yourself, this set delivers elegance, relaxation, and a whole lot of heart.
Sponge Gradient Techniques
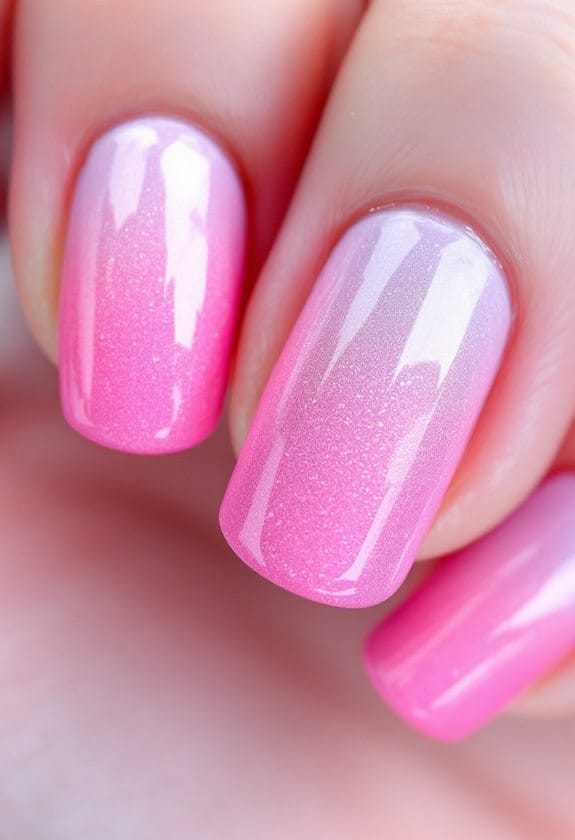
While mastering nail art takes practice, sponge gradient techniques offer a foolproof way to achieve professional-looking color shifts at home. You'll be amazed at how simple household items can create stunning ombre effects that look like they're straight from a salon.
Start by selecting your perfect color combinations, keeping in mind that complementary shades work best for a seamless blend. Grab a clean kitchen sponge and cut it into a small, manageable piece that'll fit your nail width. You'll want to apply a base coat first, then layer your chosen colors onto the sponge, starting with the lightest shade.
When it comes to gradient techniques, remember that less is more – dab off excess polish from your sponge before applying it to your nails. Different sponge types can create varying effects, but a standard kitchen sponge works perfectly for beginners. Try experimenting with pressure levels as you dab the colors onto your nails, creating subtle to dramatic shifts that suit your style.
Don't forget to seal your masterpiece with a clear top coat, which will smooth out any texture and make your gradient shine beautifully.
Frequently Asked Questions
How to Do Easy Nail Art Designs at Home?
Transform your plain nails into mini masterpieces! You'll find nail art inspiration using everyday items. Mix color combinations with sponges, create geometric designs with tape, and master simple design techniques with household tools.
What Can I Use Instead of Nail Art Tools?
You'll find great nail polish alternatives right at home! Use kitchen sponges for gradients, tape for patterns, cotton swabs for details, straws for dots, and old toothbrushes for splatter effects – these household item hacks work wonderfully.
What Are the 5 Basic Nail Art Designs?
With a million designs in nail art history, you'll love these five classics: color block nails, negative space designs, ombre tie-dye effects, simple dots, and stripes. They're perfect for learning color theory and basic nail care.
How to Do Nail Art With Water?
Fill a bowl with water, drop nail polish onto the surface, and create patterns using a toothpick. You'll master water marbling techniques by swirling colors together before dipping your nail to transfer the design.