As an Amazon Associate, we earn from qualifying purchases. Some links on this site are affiliate links at no extra cost to you. Our recommendations are based on thorough research and editorial judgment.

10 Best Tricks To Stop Bubbles In Polish

You'll prevent bubbles in your nail polish by following these proven tricks: press the brush against the bottle neck to remove trapped air, roll the bottle gently instead of shaking, and check for polish consistency before applying. Always start with clean nails, apply thin even layers, and allow 2-3 minutes between coats. Store your polish in a cool, dark place at 70-75°F, and replace old or thickened formulas regularly. Keep bottles upright, maintain proper room temperature during application, and inspect your brush for air pockets. These essential techniques will transform your at-home manicure into a salon-worthy finish.
Key Takeaways
- Press the polish brush against the bottle neck before application to eliminate trapped air bubbles and inspect for air pockets.
- Apply thin, even layers with controlled brush strokes, allowing 2-3 minutes of drying time between each coat.
- Store polish in a cool, dark place at 70-75°F (21-24°C) and keep bottles upright to prevent air mixing.
- Clean nails thoroughly with acetone-free remover and let them dry completely before applying polish.
- Check polish consistency regularly and replace any formulas that have become thick, separated, or are older than one year.
Press Out Air Before Applying
One of the most critical steps to achieving bubble-free nail polish starts before you even touch your nails. You'll want to focus on a simple yet effective technique that nail professionals swear by: pressing out the brush properly before application.
When you pull the brush from the bottle, take a moment to examine it carefully against the bottle's neck. You'll need to press out the brush gently to eliminate any trapped air bubbles that could transfer to your nails. This quick check serves two important purposes: it lets you assess if your polish is still in good condition and helps prevent those frustrating bubbles from appearing during application.
Expert nail artist Julie Kandalec emphasizes this technique as essential for achieving salon-quality results at home. You'll notice a significant improvement in your manicure's finish when you make this practice part of your routine. By taking these extra few seconds to press out air bubbles, you're setting yourself up for a smooth, professional-looking application that will last longer and look flawless, just like the ones you'd get at a high-end salon.
Roll Instead of Shake
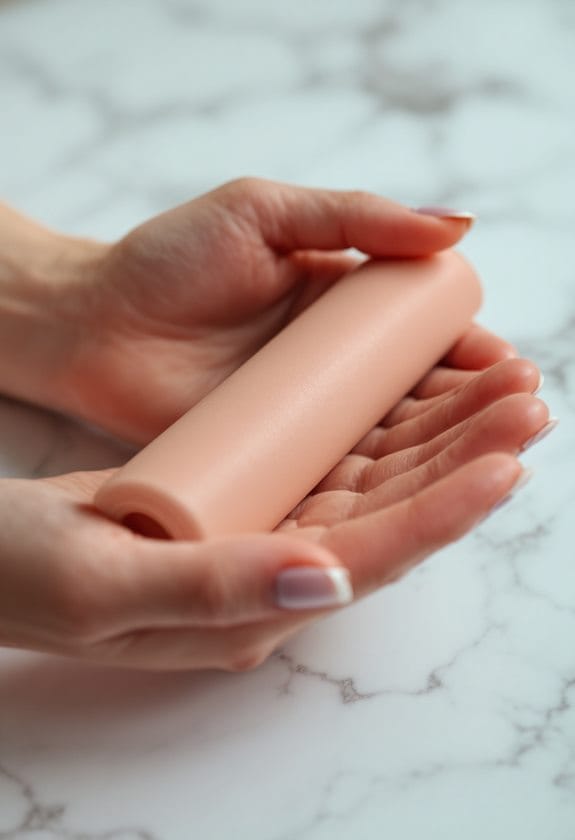
While pressing out air bubbles from your brush is important, the way you mix your polish before use can make or break your manicure. To prevent nail polish bubbles from ruining your perfect finish, you'll want to master the gentle rolling technique that professional manicurists swear by.
Instead of shaking your polish bottle, which traps unwanted air inside the formula, roll the bottle between your palms in smooth, gentle motions. This simple yet effective method guarantees your polish mixes thoroughly without creating those pesky air bubbles that can surface during application. Celebrity manicurist Steph Stone recommends this technique for achieving that stunning, salon-worthy finish you're after.
The process couldn't be simpler: hold your polish bottle horizontally and roll it between your palms for 15-20 seconds before you start painting. You'll notice the formula blends perfectly while maintaining its smooth consistency, giving you the perfect canvas for bubble-free application. This professional technique works beautifully with any polish brand, guaranteeing your manicure stays flawless and bubble-free from the first stroke to the last.
Check Your Polish Consistency
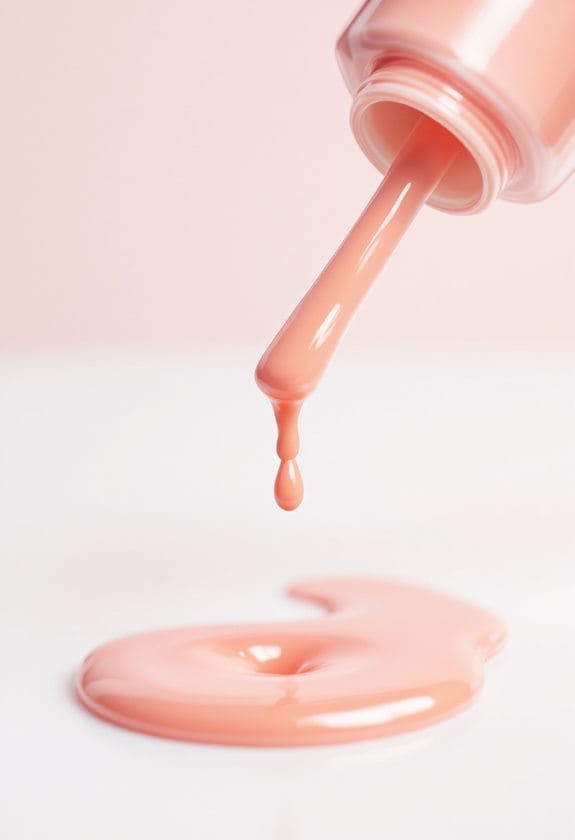
Getting the right polish consistency plays an essential role in preventing those frustrating bubbles from appearing in your manicure. When you're checking your polish consistency, you'll want to guarantee it flows smoothly and doesn't feel too thick or sticky on the brush.
You can easily spot problematic polish by paying attention to how it moves when you pull out the brush. If it's clumpy, tacky, or doesn't glide smoothly onto your nails, it's time to make a change. Remember, thicker formulas are more likely to trap air bubbles, which can ruin your perfect manicure before it even dries.
Don't hesitate to switch to a thinner polish if you're constantly battling bubbles in nail polish. As expert Julie Kandalec suggests, lighter formulas typically provide better results and smoother application. Keep an eye on your polish's performance during each manicure, and if you notice it's becoming difficult to work with, it's probably time for a replacement. A fresh polish with the right consistency will reward you with better adhesion, faster drying time, and that flawless, bubble-free finish you're looking for.
Inspect the Brush First
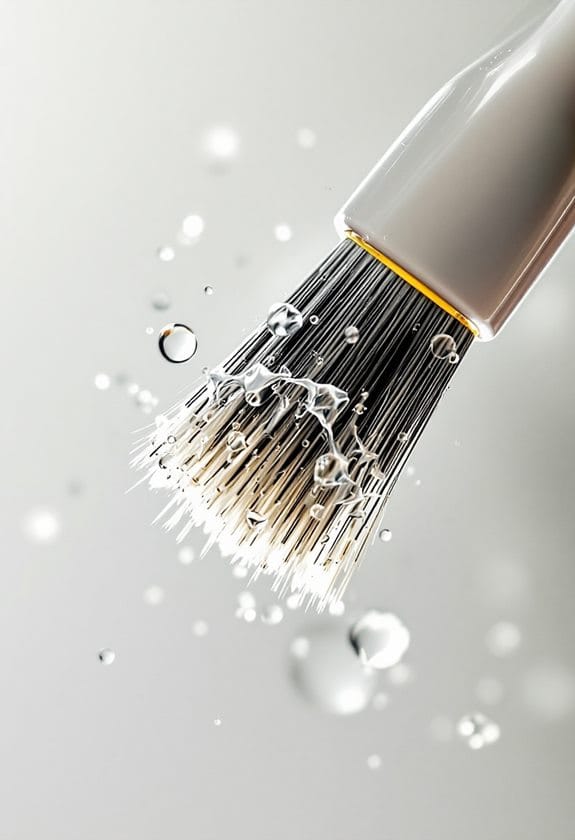
A careful inspection of your polish brush serves as your first line of defense against unwanted bubbles. Before you start painting your nails, take a moment to examine your brush thoroughly, making sure it's free from any trapped air that could ruin your perfect manicure.
When you pull the brush from the bottle, hold it up to eye level and look closely for any tiny air pockets that might have formed during the dipping process. If you spot bubbles in nail polish brush, don't panic – simply dip it back into the bottle and try again until you've got a bubble-free brush ready for application. Leading nail experts like Julie Kandalec and Steph Stone always emphasize this vital step in their professional routines.
Make it a habit to inspect the brush before each nail application, as this simple practice can save you from frustrating touch-ups later. You'll be amazed at how this quick check can transform your at-home manicure results, leading to smoother, more professional-looking nails that'll have everyone asking about your secret technique.
Apply Thin Even Layers
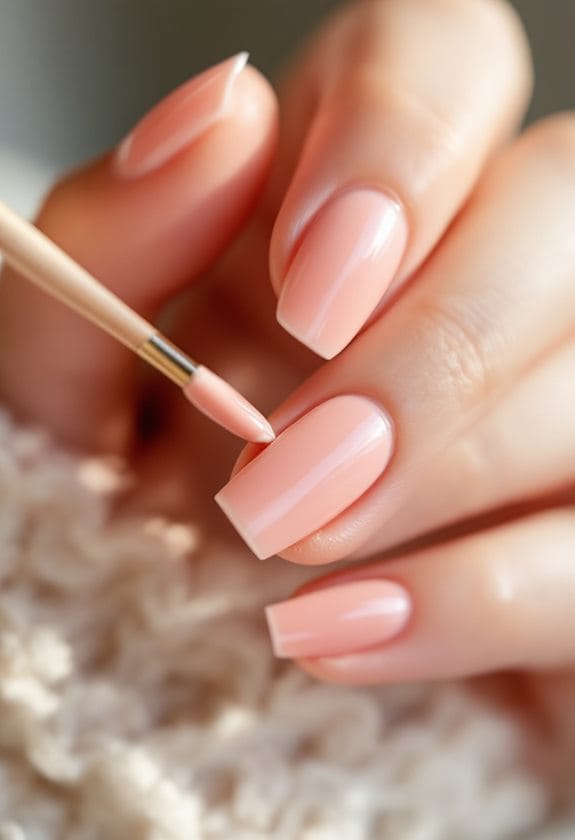
Your smooth, steady brush strokes play a key role in creating the perfect bubble-free manicure, keeping each layer whisper-thin and even across the nail. You'll want to work with multiple light applications, giving each coat about 2-3 minutes to dry before moving on to the next one. Rather than rushing to build color with one thick layer, you'll get stunning results by patiently applying two to three thin, even coats that glide smoothly onto your nails.
Slow, Steady Brush Strokes
Mastering slow, steady brush strokes is essential for bubble-free nail polish application. When you're painting your nails, rushing through the process can trap air and create unsightly bubbles in your nail polish, but taking your time with controlled movements will give you that perfect, smooth finish.
You'll want to start at the base of your nail and draw the brush upward with gentle, deliberate strokes, maintaining consistent pressure throughout the motion. This technique works perfectly with thin layers, allowing you to achieve even coverage without overworking the polish. Think of it like painting a delicate piece of art – each stroke should be purposeful and smooth.
Remember to keep your hand steady and avoid pressing too hard, as this can force air into the polish and create those pesky bubbles. You'll find that using slow, methodical strokes not only helps prevent air entrapment but also gives you better control over the polish application. When you combine these careful brush strokes with proper drying time between coats, you'll achieve that stunning, professional-looking manicure you're aiming for.
Multiple Light Applications
While it may be tempting to load up your brush with polish for quick coverage, applying multiple thin layers delivers far better results than one thick coat. You'll notice a significant difference in your manicure's quality when you take the time to build up your color gradually through multiple light applications.
To prevent bubbles in nail polish, you'll want to apply each thin layer with a gentle touch, letting it dry for 2-4 minutes before adding the next coat. This patient approach allows each layer to set properly, creating a smooth, bubble-free surface that looks professionally done. The lighter pressure you use with your brush, the less likely you are to trap air beneath the polish.
You'll be amazed at how much more control you'll have over the application process when working with thin layers. Not only will your manicure look flawless, but it'll also last longer since each layer bonds properly to the one beneath it. Remember, rushing through with thick coats might seem faster, but you'll achieve that perfect, salon-worthy finish by embracing the power of multiple thin layers.
Store Polish Properly
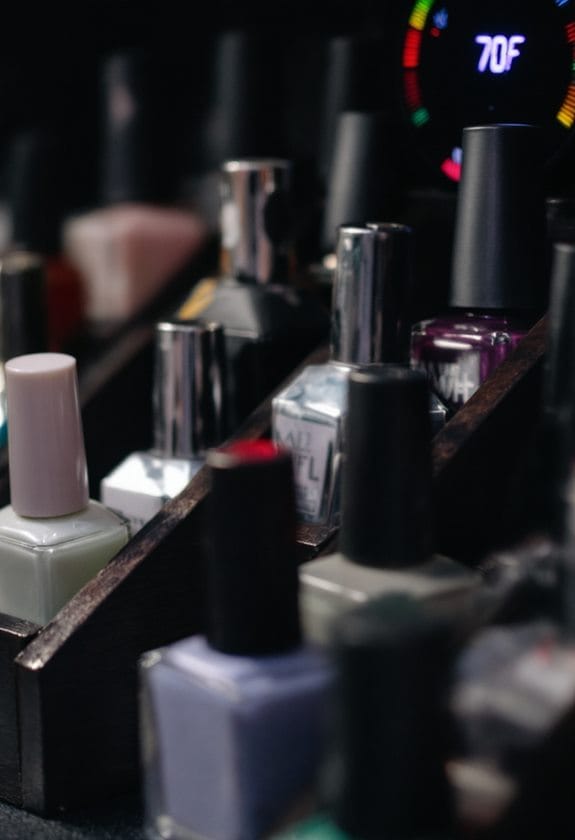
Your nail polish will stay bubble-free when you store it in a cool, dark place away from direct sunlight and changing temperatures. Keep your bottles standing upright in a dedicated storage container to prevent rolling and unwanted air from mixing into the formula. Avoid keeping your polishes in warm spots like windowsills or bathrooms, as heat and humidity can quickly affect the consistency and create those pesky bubbles you're trying to prevent.
Cool Dark Place Storage
Since proper storage plays an essential role in preventing bubble formation, keeping your nail polish in a cool, dark place can make a significant difference in its application quality. You'll notice fewer nail polish bubbles when you store your collection away from direct sunlight and heat sources, which can disrupt the formula's consistency.
Your refrigerator can be the perfect storage solution, as it maintains an ideal temperature that keeps your polishes in pristine condition. When you're organizing your collection, make sure to tightly seal each bottle and place them upright in a dedicated container or drawer away from any heating elements or windows.
Keep an eye on your polishes' expiration dates and regularly check for any changes in consistency or color. If you notice your polish becoming thick or separating, it's time for a replacement. By maintaining proper storage conditions, you'll extend the life of your polishes and achieve smoother, bubble-free applications every time. Remember that temperature fluctuations are your polish's worst enemy, so consistency in storage temperature will help maintain that perfect, professional finish you're looking for.
Keep Bottles Upright Always
Proper bottle orientation goes hand in hand with storage temperature. When you store nail polish bottles upright, you're taking an essential step in preventing those pesky bubbles in your nail polish applications. The upright position guarantees the formula settles correctly, giving you that perfect, smooth finish you're looking for.
You'll want to make storing your nail polish collection vertically a daily habit, as this simple practice prevents air from getting trapped in the formula. When bottles are kept horizontal or at an angle, polish can seep into the cap and create a mess that introduces unwanted air and debris. By maintaining an upright position, you're also protecting the brush, keeping it bubble-free and ready for your next manicure session.
Remember to regularly inspect your polish collection, checking for any formulas that have become too thick or old. Replacing these problematic bottles will complement your proper storage routine. The combination of upright storage and regular maintenance means you'll enjoy smooth, bubble-free applications every time you treat yourself to a fresh coat of polish.
Avoid Heat and Sunlight
Heat and light are formidable enemies of nail polish quality. When you expose your favorite shades to direct sunlight or store them in warm places, you're setting yourself up for a bubbly, frustrating application experience. Your polishes can quickly become thick, separated, and difficult to work with, turning your perfect manicure plans into a disappointing mess.
To avoid heat and sunlight damage, you'll want to create the perfect storage environment for your polish collection. Choose a cool, dry place away from windows and heat sources, such as a drawer in your bedroom or a dedicated storage box in your closet. Don't keep your polishes in the bathroom, where temperature changes and humidity can wreak havoc on their consistency. Remember, an old nail polish is more likely to bubble, so storing them properly will help extend their lifespan.
Make it a habit to check your polish bottles regularly for signs of separation or thickening, and always keep the caps tightly sealed when you're not using them. By protecting your polishes from harmful environmental factors, you'll guarantee smooth, bubble-free applications every time.
Clean Nails Before Application
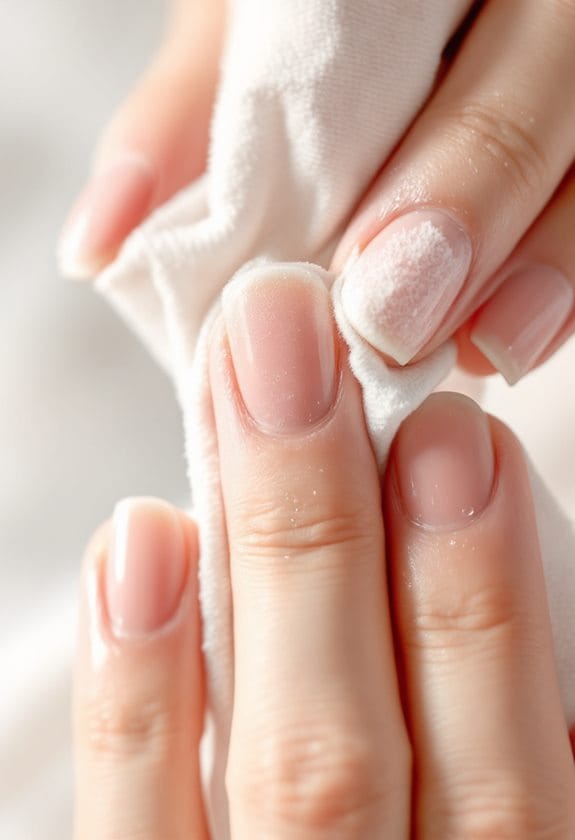
A pristine nail surface serves as your foundation for bubble-free polish application. To prevent those pesky bubbles from ruining your manicure, you'll want to start with perfectly clean nails that are free from any oils, residues, or old polish.
Begin by using an acetone-free polish remover to thoroughly cleanse your nails, making sure you're getting rid of every trace of old polish and natural oils. You'll be amazed at how much this simple step can improve your manicure's staying power and smoothness. After cleaning, don't rush to apply your polish right away – patience is key here! Let your nails dry completely, as any trapped moisture can create those unwanted bubbles you're trying to avoid.
If you've just washed your hands, wait a few extra minutes before starting your polish application. Your nails need to be completely dry and oil-free for the best results. This careful preparation gives you better control during application and creates the perfect canvas for your stunning polish finish. Remember, when it comes to bubble-free polish, clean nails are your secret weapon!
Allow Proper Drying Time
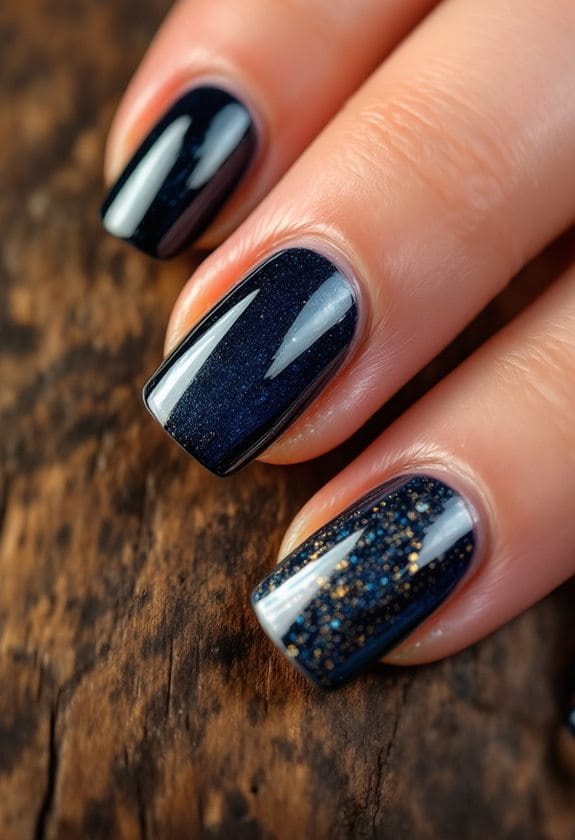
Time management plays an essential role in achieving bubble-free nail polish application. You'll need to resist the urge to rush through your manicure, as patience truly makes the difference between a flawless finish and one riddled with air pockets.
For best results, you'll want to allow each coat to dry completely for 2-4 minutes before applying the next one. This careful timing lets the polish settle properly, creating a stunning, bubble-free surface that'll make your nails look professionally done. While it might be tempting to speed up the process, remember that rushing can trap air between layers and ruin your perfect manicure.
Consider your environment when polishing your nails, as humidity and temperature can affect how quickly your polish dries. Choose a calm, cool setting for your manicure session, and you'll get much better results. If you're looking to speed things up safely, try using a quick-dry topcoat – but don't forget to let those base layers dry properly first. Your dedication to proper drying time will reward you with a gorgeous, long-lasting manicure that's completely free of those pesky bubbles.
Maintain Optimal Room Temperature
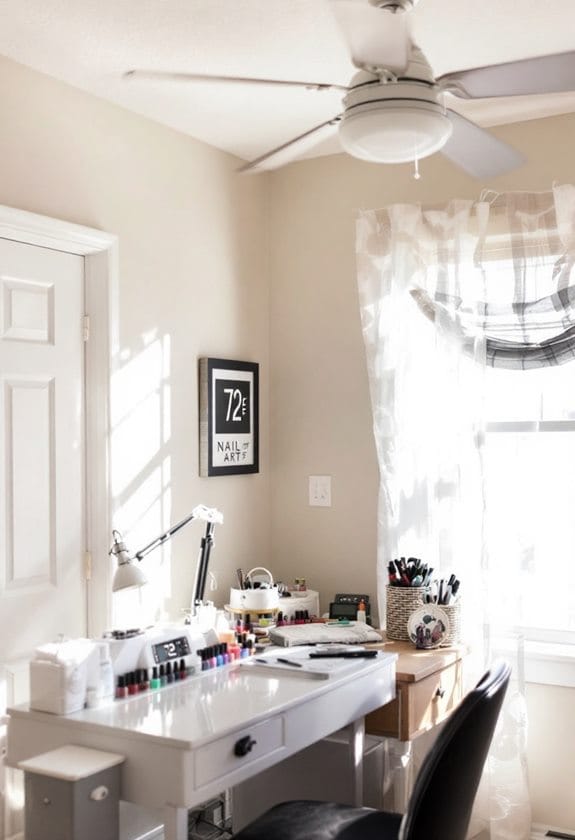
While proper drying time sets the foundation for bubble-free nails, the surrounding environment's temperature plays an equally important role in your manicure's success. Just like your favorite nail salon maintains perfect climate control, you'll want to create similar conditions at home for flawless results.
Keep your space between 70°F to 75°F (21°C to 24°C), which provides the ideal environment for polish application and drying. You'll notice that bubbles are less likely to form when you're working in this sweet spot temperature range, giving you that smooth, professional finish you're after. If your room feels too warm or chilly, take a moment to adjust your thermostat before starting your manicure.
Don't forget to manage humidity levels and guarantee proper ventilation, as these factors work together with temperature to prevent those pesky bubbles from forming. You can set up a small fan nearby or turn on your air conditioner to maintain consistent conditions throughout your polish application. Remember, extreme temperatures are your nail polish's worst enemy, so creating that perfect environment will help you achieve salon-worthy results every time.
Replace Old Polish Regularly
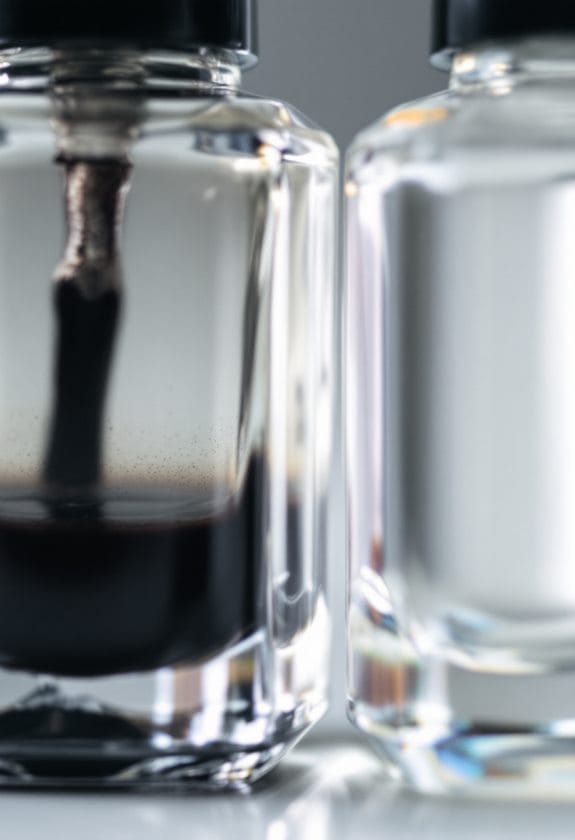
Before applying your next manicure, you'll want to check your polish's age and look for telltale signs of separation or thickening, which can lead to frustrating bubbles. You can extend your polish's life by storing bottles upright in a cool, dark place and keeping the caps tightly sealed between uses. Fresh polish flows smoothly onto your nails and creates a stunning, bubble-free finish, so replace any bottles that are more than a year old or show signs of becoming thick and gooey.
Check Polish Age First
Ever wondered why your perfectly applied nail polish suddenly develops bubbles? The answer might be hiding right in your polish's age, and checking this vital detail can save your manicure from disaster.
Your nail polish isn't meant to last forever, and using an expired formula is like inviting air bubbles to crash your perfect manicure party. When polish gets old, it becomes thicker and creates the perfect environment for those pesky bubbles to form. You'll want to check if your polish is between 2-3 years old, as this is typically when it's still in its prime performance zone.
To determine if your polish is past its prime, give the bottle a good look. If you notice any separation or unusual thickness, it's probably time to treat yourself to a fresh bottle. For best results, store your polish collection in a cool, dry place, and make it a habit to check each bottle's consistency before every use. Remember, fresh polish flows smoothly and evenly, giving you that flawless, bubble-free finish you're looking for.
Watch For Separation Signs
Separation signals in your nail polish are like warning flags for potential bubble trouble. When you notice your favorite shade starting to separate in the bottle, with a thin liquid floating on top or uneven textures throughout, it's time to take action.
You'll want to check your polishes regularly for these telling signs of aging, which often causes bubbles in nail applications. Give each bottle a thorough look before you start painting, paying attention to consistency changes or visible layers that have formed. If you spot any separation, try gently rolling the bottle between your palms to remix the formula, but be aware that this might only be a temporary fix.
To maintain bubble-free manicures, you'll need to replace your polishes every 1-2 years, even if there's still product left. Store your collection in a cool, dark place to extend its life and prevent premature separation. When shopping for new polishes, choose high-quality brands and always check expiration dates. You'll find that fresh, well-maintained polish not only applies more smoothly but also gives you that perfect, professional-looking finish you're aiming for.
Store Properly Between Uses
Proper storage of your nail polish plays an essential role in preventing those pesky bubbles from ruining your manicure.
To store properly, find a cool, dry spot away from direct sunlight where you can keep your polish collection upright and organized. You'll want to make certain each bottle stands straight, which helps the formula settle evenly and prevents those frustrating air pockets from forming. After each use, take an extra moment to wipe the bottle's neck clean and tightly seal the cap – it's worth those few seconds to protect your polish from air exposure.
Keep track of how long you've had each bottle, and don't hesitate to replace polishes that have become thick or gummy. When you notice your polish getting stringy or separating more than usual, it's time to let it go and treat yourself to a fresh bottle. Remember to let it dry completely between coats, and never store your polishes in the bathroom where heat and humidity can affect their consistency. By following these storage tips, you'll extend the life of your polishes and guarantee smooth, bubble-free applications every time.
Frequently Asked Questions
Why Do I Get Bubbles in My Nail Polish When It Dries?
Properly painting prevents problems! You're getting bubbles because you're shaking the nail polish, applying thick layers, or working in humid conditions. These factors trap air during application, creating those pesky bubbles while drying.
How to Remove Bubbles in Gel Polish?
You can remove bubbles in gel polish by using a clean-up brush with acetone, gently dabbing the affected areas. Once it's dry, apply a new top coat, and don't forget proper curing between layers.
What Causes Gel Polish to Bubble?
Just when you're applying your gel polish, improper nail polish ingredients can trap air. You'll notice bubbles form if you're using thick layers, rushing the application, or letting temperature changes affect the curing process.
How to Stop Bubbles in Nail Polish Reddit?
Roll your nail polish between hands instead of shaking, apply thin layers, and let each coat dry completely. You'll prevent bubbles during application and get smoother results with these Reddit-approved bubble prevention tips.