As an Amazon Associate, we earn from qualifying purchases. Some links on this site are affiliate links at no extra cost to you. Our recommendations are based on thorough research and editorial judgment.

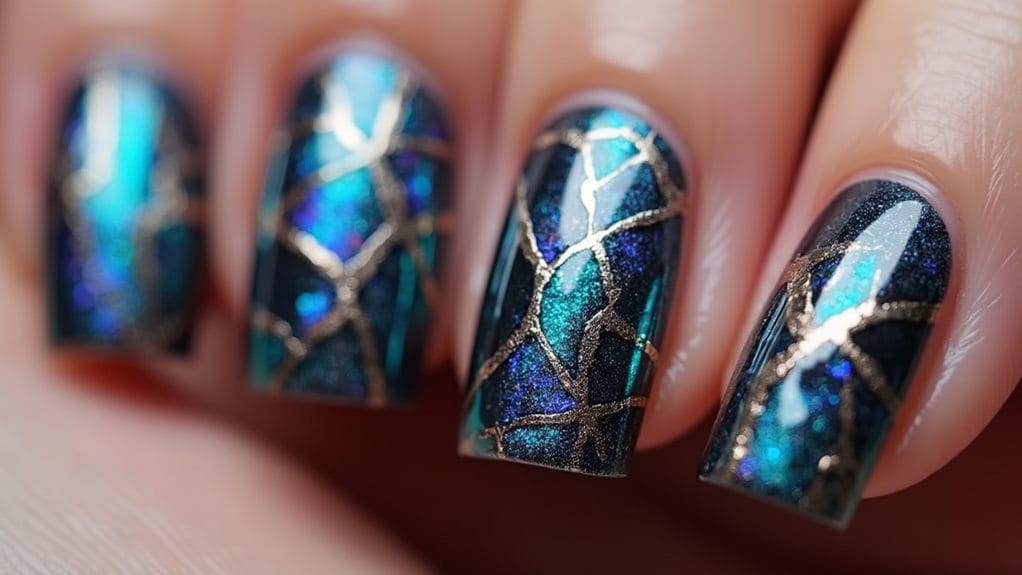
Creating Stunning Stained Glass Effect On Your Nails

Creating a stunning stained glass effect on your nails starts with proper preparation and the right tools. You'll need a clear base coat, black nail polish for lead lines, sheer polishes in various colors, and a glossy top coat. Begin by cleaning and buffing your nails, then apply your base coat. Draw your black lead lines first, allowing them to dry completely. Fill in sections with thin layers of sheer polishes, building up color gradually for that magical translucent effect. Finish with a crystal-clear top coat for glass-like shine. Master these basics, and you'll reveal endless possibilities for creating mesmerizing nail art designs.
Key Takeaways
- Apply a clear base coat and outline your design with black polish to create lead-like lines that define stained glass segments.
- Use sheer or jelly polishes in various colors between the black lines to achieve a translucent, glass-like appearance.
- Layer transparent colors gradually within each segment, allowing proper drying time between applications for depth and dimension.
- Maintain clean, precise brush strokes when filling segments and avoid heavy application to preserve the glass-like transparency.
- Seal the design with a glossy top coat to enhance shine and create an authentic stained glass finish.
Essential Tools and Materials
For creating stunning stained glass nail art, you'll need several key tools and materials to achieve professional-looking results. Start with a high-quality clear base coat, which will protect your natural nails and create the perfect foundation for your design. You'll also want to grab a glossy top coat that'll seal your artwork and give it that authentic glass-like shine.
The heart of your stained glass design relies on black nail polish or a nail art pen, which you'll use to create those distinctive lead-like lines. Make sure to select sheer or jelly polishes in your favorite colors, as these translucent formulas perfectly capture that light-filtering effect of real stained glass. Don't forget to pick up a fine detail brush for precise color application.
Before you begin your masterpiece, you'll want to shape your nails with a nail file, creating smooth, even surfaces that'll showcase your design beautifully. Having all these tools ready before you start will make the process smoother and help you achieve those eye-catching results you're looking for. Keep everything organized and within reach for the best workflow.
Recommended Products

Includes the tools, glass and instructions you need to help you create beautiful stained glass projects

Includes a 6 Pack of Waffle Grids and The Flying Beetle Glass Cutter

Versatile Mounting Solution: Ideal for mirror brackets for wall mounting. supports wood frames up to twenty inches wide. perfect for creating sleek displays with heavy duty mirror hanging kit. compatible with cabinets and whiteboards
Preparing Your Workspace
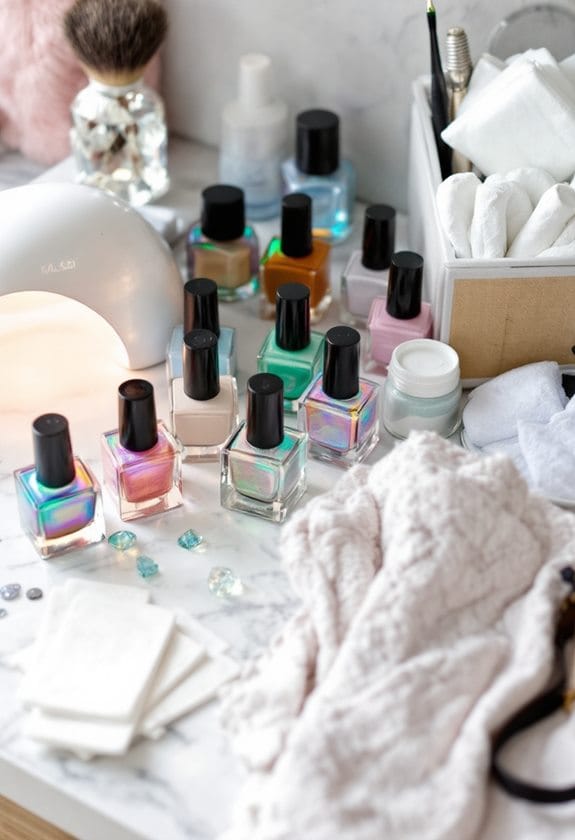
A properly prepared workspace is essential for creating flawless stained glass nail art. Before diving into this stunning technique that's taking the nail art world by storm, you'll want to set up your area for maximum efficiency and comfort.
Start by selecting a clean, flat surface with plenty of bright lighting, which will help you see all the intricate details of your design. Spread out a protective covering, like a plastic sheet or newspaper, to catch any accidental spills and keep your workspace pristine. You'll find it's much easier to focus on your artistry when you're not worried about making a mess.
Position all your tools and supplies within arm's reach, creating an organized flow that'll help you move smoothly from one step to the next. Don't forget to place a small bowl of acetone and some lint-free wipes nearby – they're absolute lifesavers for quick clean-ups and maintaining pristine brush conditions. When preparing your workspace, remember that good organization isn't just about convenience; it's the foundation for creating those perfect stained glass designs you're aiming for.
Nail Prep Steps
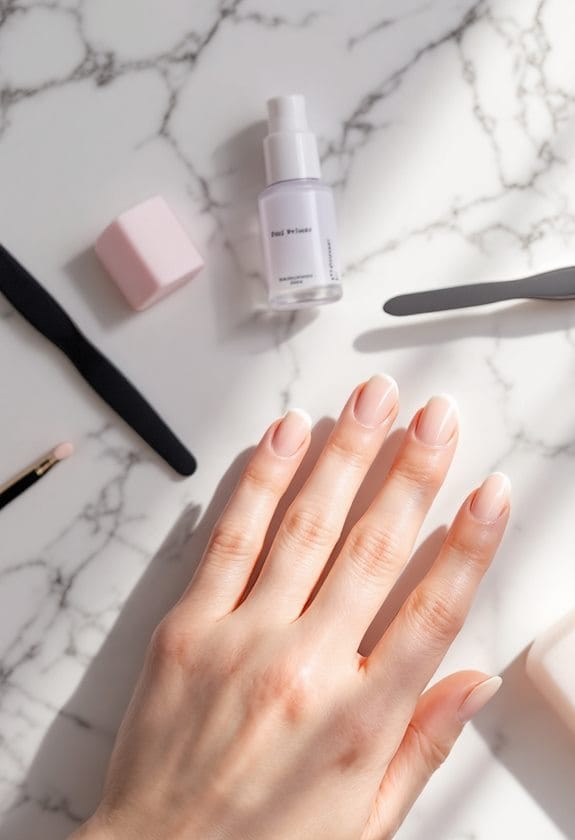
With your workspace properly organized, it's time to prepare your nails for their transformation into stunning stained glass masterpieces. Before diving into the artistic elements, let's guarantee your nails are perfectly prepped for the best possible results.
Start by shaping your nails to your desired length, using gentle strokes with your nail file to create your preferred shape. Next, thoroughly cleanse each nail with a mild cleanser to remove any oils or residue that could interfere with your nail polish application. For an extra smooth canvas, gently buff the surface of each nail, which will help your design adhere better and last longer.
The final prep step, which you won't want to skip, is applying a clear base coat to protect your natural nails. Make sure to let it dry completely before moving forward with your stained glass design. This essential layer not only shields your nails from potential staining but also creates the perfect foundation for your artistic creation, guaranteeing your finished look will be both beautiful and long-lasting.
Designing Lead Line Patterns
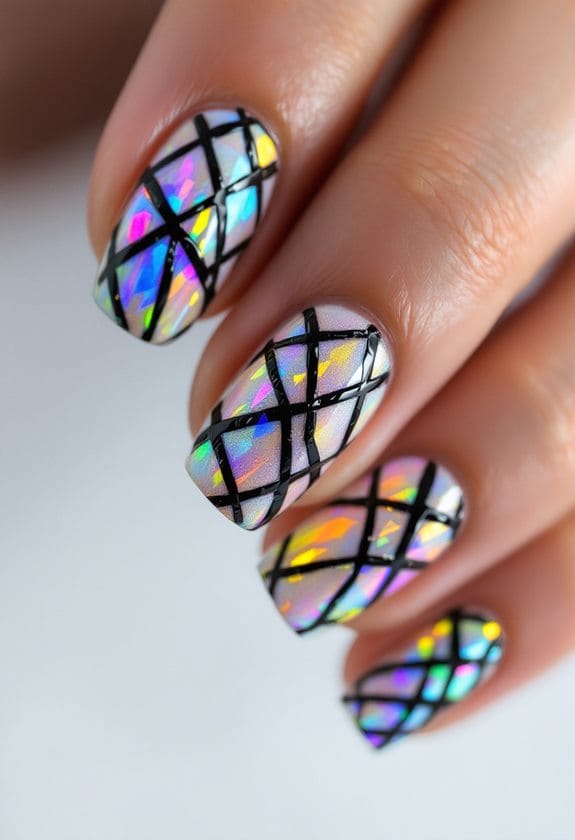
The most essential element of creating stained glass effect nails lies in mastering your lead line design. Using black nail polish or a nail art pen, you'll carefully draw these defining lines that will create stunning patterns across your nail surface. Take your time with this vital step, ensuring each line is consistently thick and precise.
If you're new to nail art, consider using a stencil to help you achieve more intricate designs. You can choose between geometric patterns, floral motifs, or abstract designs that'll transform your nails into miniature works of art. Remember to keep your hand steady and work in small sections, allowing each line to dry completely before moving on.
For the best results, map out your design before you start painting. You can either follow a specific pattern or create a random arrangement of intersecting lines, but make sure they're evenly spaced and balanced across the nail. Don't rush this process – clean, well-defined lead lines will make the difference between amateur-looking results and a professional finish that truly captures the essence of stained glass artwork.
Color Selection Strategy
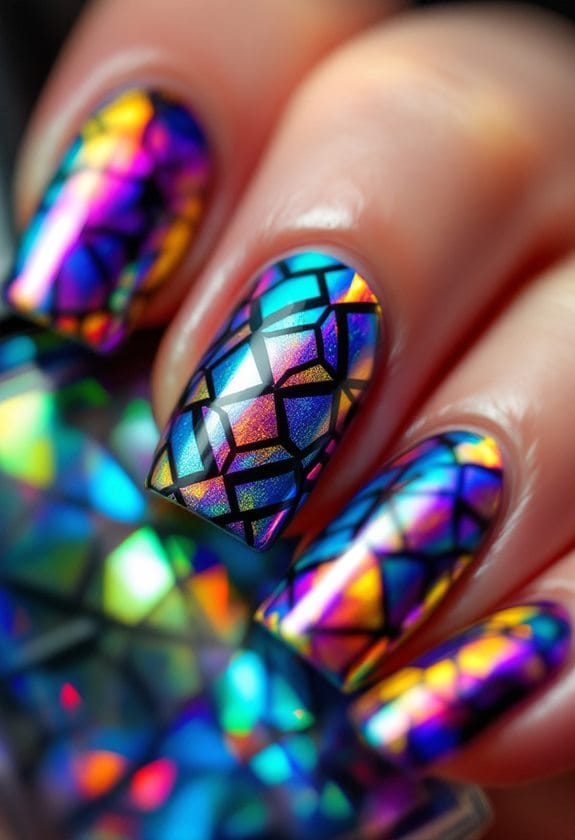
Your stunning stained glass nail design starts with selecting the perfect sheer and jelly polishes that'll let light shine through, creating that magical translucent effect you're looking for. When picking your colors, you'll want to mix complementary shades like purple and yellow or blue and orange, while including some contrasting options to make your design really pop. Remember to balance darker, more dramatic colors with lighter, softer tones to maintain that authentic stained glass window look, ensuring each section stands out beautifully against your lead lines.
Color Harmony Guidelines
Selecting colors for stained glass effect nails requires careful attention to color wheel relationships and visual balance. Your path to perfect color harmony starts with understanding how different shades work together to create a mesmerizing result.
Start by choosing colors that sit next to each other on the color wheel, like blue and green, to achieve a naturally flowing look that's easy on the eyes. You'll want to apply the 60-30-10 rule, using your main color for most of the design, your secondary shade for supporting elements, and your accent color for eye-catching details. To add drama and visual interest, don't be afraid to incorporate contrasting color pairs that'll make your design pop with energy.
For that authentic stained glass look, you'll want to work with translucent polishes that let light play through the layers, creating depth and dimension in your design. Finish your masterpiece by experimenting with different topcoats – a glossy finish will give you that traditional glass-like shine, while a matte coating can create an interesting modern twist on the classic stained glass effect.
Transparency Levels Matter
Perfect color harmony sets the foundation, but mastering transparency levels takes your stained glass nail art to new heights. The key to achieving that authentic stained glass look lies in selecting sheer and jelly polishes that let light dance through your design, creating that magical cathedral window effect.
You'll want to start by experimenting with translucent polishes, avoiding those heavy, opaque shades that can make your design look flat and heavy. Think of your nails as actual stained glass windows, where light plays a vital role in bringing the design to life. Try layering different transparent colors, building them up gradually until you achieve that perfect balance of color and light.
Before diving into your full manicure, it's smart to test your chosen colors on a practice nail or wheel. This way, you'll see exactly how your shades interact and blend together. Remember, less is often more when it comes to layers – you can always add another coat, but too many layers might cloud your design's transparency. Finish with a crystal-clear top coat to seal in your masterpiece and enhance that genuine stained glass shine.
Application Techniques
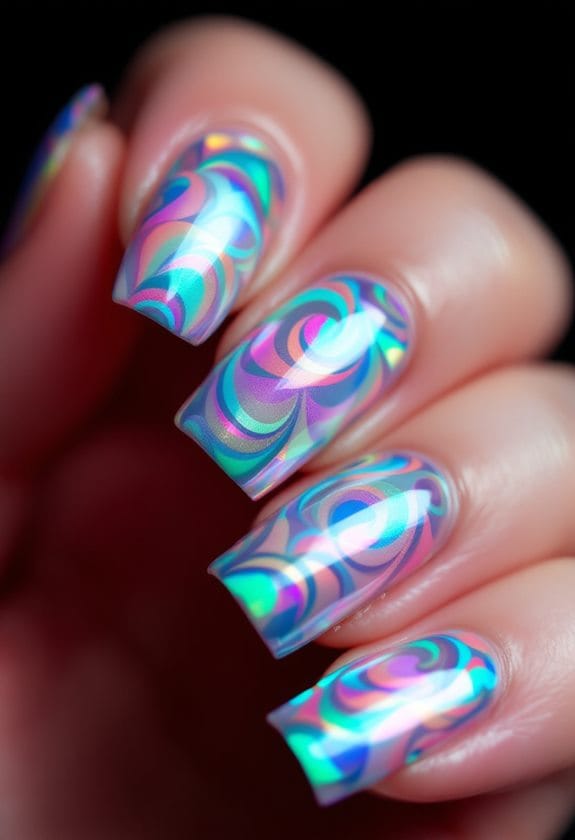
Start your brush strokes with gentle, controlled movements, keeping your hand steady as you create the distinctive black lead lines of your stained glass design. When you're layering colors between the lines, work from the center outward using light, even pressure to spread the sheer polishes smoothly and consistently. You'll get the best results by letting each color section dry completely before moving on to adjacent areas, preventing any unwanted blending or bleeding between your chosen shades.
Recommended Products

KIDS ART CENTER - Up to 2 kids can paint and draw at one time. It comes with 2 paint trays, 4 clips, and 2 paint cup holders. The trays store your paint, brushes, and other supplies. The paint cup holders have 3 sections and fit in the paint trays.

【Black Abstract Painting Art】The size is 36 x 71 Inch.The display pictures are for reference only. Please make sure you pick the right size.

MIRROR DETAILS: This mirror features premium glass for a clear, undistorted image and is finished with a beveled edge to give the glass a decorative touch. The overall size of this bathroom mirror measures 45 x 35 inches, including the frame. Its reflective area measures 40 x 30 inches.
Key Brush Strokes Guide
Mastering key brush strokes is essential for creating stunning stained glass effect nails. Your fine detail work will transform ordinary manicures into dazzling pieces of art when you've got the right techniques down.
Start by selecting a small nail art brush or fine detail brush that feels comfortable in your hand. You'll want to apply colors with smooth, controlled strokes, working from the edges toward the center of each section. When you're ready to create those beautiful gradient effects, use quick, feathering motions to blend your sheer colors together before they dry.
To add more dimension to your design, try using a gentle dabbing motion with your brush. This technique creates wonderful texture and depth that'll make your stained glass effect really pop. Remember to keep your brush clean between colors by dipping it in nail polish remover – this step is vital for maintaining those crisp, vibrant sections in your design.
For the most professional-looking results, focus on making each stroke deliberate and precise. Your patience will pay off as you build up those gorgeous glass-like segments, layer by layer.
Color Layering Methods
Building on your brush stroke skills, the art of color layering brings your stained glass nail design to life. You'll want to start with sheer polishes, applying them in thin, even layers that create stunning designs with incredible depth and dimension.
To achieve the perfect translucent effect, begin by applying lighter shades first, allowing each layer to dry completely before adding the next color. You'll find that patience is key here, as rushing between layers can lead to unwanted smudging or mixing. When you're ready to experiment, try placing two complementary colors side by side and gently blend them while they're still wet for a gorgeous gradient effect.
For the most vibrant results, work with your nail art brush to fill in designated sections between your lead lines, maintaining steady pressure throughout the application. You'll create the most striking effects by building up three to four thin layers of jelly polishes, each one adding to the luminous quality of your design. Remember to seal your work with a clear topcoat, which will enhance the glass-like appearance and protect your beautiful creation.
Troubleshooting Common Issues
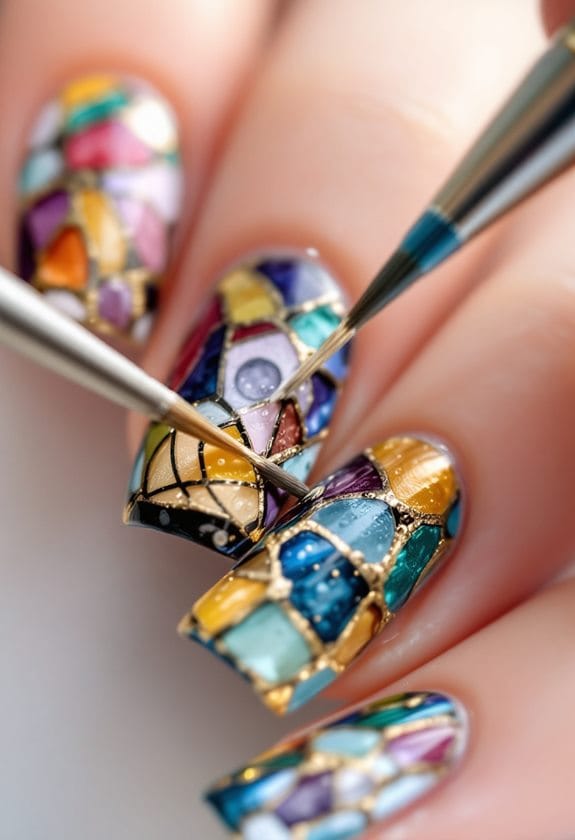
Creating stained glass effect nails occasionally comes with challenges, but most common issues have simple solutions. With the right techniques, you'll be able to achieve stunning results every time you attempt this eye-catching design.
If you notice your black outline smudging, make sure the lead lines are completely dry before moving forward with your color application. For those struggling with bubbles in the top coat, remember to apply thin, even layers and allow proper drying time between each application. When your colors aren't as vibrant as you'd like, try using sheer or jelly polishes and build them up in layers to create that beautiful stained glass glow.
Having trouble with chipping? Don't skip your base and top coats – they're essential for lasting wear. A quick-dry top coat can provide extra durability while saving you time. If you're experiencing color bleeding, slow down and give each section adequate drying time. Using a smaller brush will help you maintain precise control over your polish application, ensuring clean lines and professional-looking results.
Recommended Products

EXCEPTIONAL STURDINESS: Crafted with durable, high-quality materials, this TV stand is designed to support 55 65 75 80 inch TVs. Its robust structure ensures long-lasting stability, easily accommodating media devices, books, and decor without wobbling.

28Pcs Same Color Same Bottle Gel Polish: 24pcs 15ml gel polish for all season,2pcs clear top coat and 1 pcs base coat and 1 pcs building gel, need to be cured under UV or LED Lamp for 60-120s. Must apply with Base Gel and Top Coat. Please shake the bottle or warm it with hot water before use, to acheive a better effect.
Design: Bulk of 4 pack brown wood 20x24 picture frames with thin flat molding, display picture 16 x 20 with mat or 20 x 24 without mat, perfect for your cherished memories and favorite posters, landscape, art prints or portrait. Comes with hanging hardware and pre-attached sawtooth hangers for vertical or horizontal wall hanging more easy.
Design Variations and Inspiration
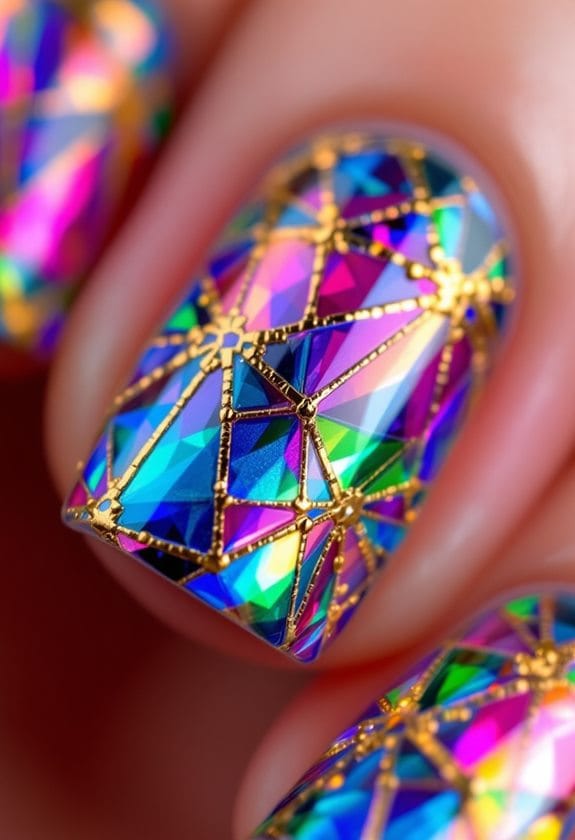
Once you've mastered the basic techniques, the possibilities for stained glass nail designs are limitless. You can draw inspiration from classic cathedral windows, incorporating their majestic geometric patterns and breathtaking color combinations into your nail art creations.
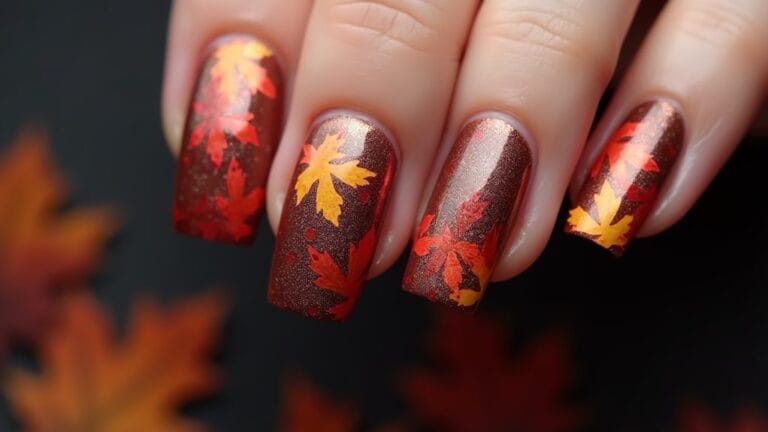
Start experimenting with different design elements that catch your eye, from delicate floral motifs to bold abstract shapes that make a striking statement. You'll find that mixing vibrant reds and blues with softer pastels creates stunning depth, while adding metallic accents gives your nails that authentic stained glass shimmer. Consider letting nature guide your creativity by designing seasonal patterns, like golden autumn leaves or crystalline winter snowflakes.
Don't be afraid to study famous stained glass artworks for ideas, as their intricate details can translate beautifully to your nail canvas. Try combining different techniques, such as using glitter polish to highlight specific sections or layering translucent colors to achieve that perfect light-catching effect. Remember, each nail can tell its own story while still maintaining a cohesive look across your entire manicure, just like panels in a stunning stained glass window.
Maintenance and Care Tips
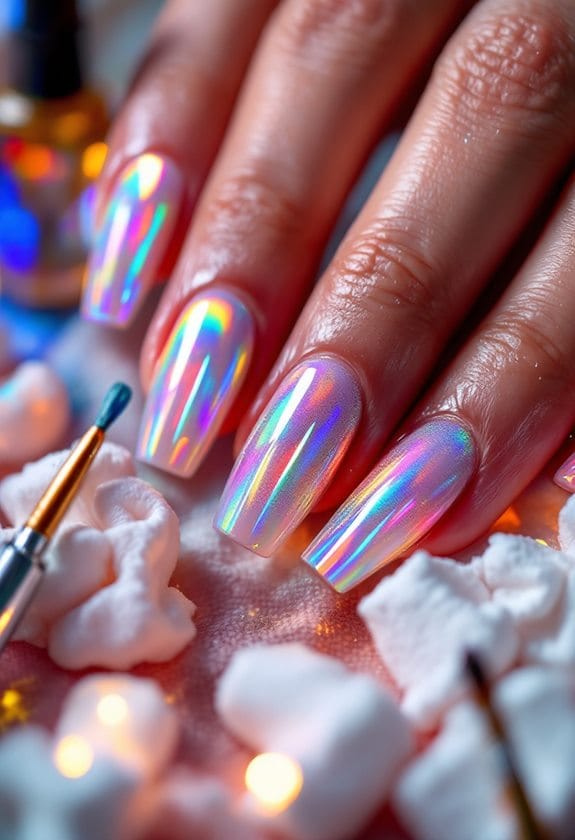
Your stained glass nail art's longevity depends on proper maintenance and protection. Since these nails are a beautiful investment in your personal style, it's crucial to protect them with regular care and attention to detail.
To keep your design looking fresh and vibrant, apply a fresh layer of clear top coat every few days, which creates a protective shield against daily wear and tear. When you're doing household chores, especially those involving water, make sure to wear protective gloves to prevent premature lifting or fading of your nail art. Keep your hands and cuticles well-moisturized to maintain the integrity of the design and prevent unwanted peeling.
If you notice any minor chips or imperfections, don't worry – simply touch up the affected areas with matching polish to maintain that perfect look. Schedule regular maintenance appointments every two weeks to guarantee your nails stay healthy and beautiful. During these sessions, focus on proper shaping and reapplication of base and top coats, which will help your stained glass design maintain its stunning appearance for weeks to come.
Recommended Products

Instantly Improves Visible Condition of Nails

28Pcs Same Color Same Bottle Gel Polish: 24pcs 15ml gel polish for all season,2 pcs clear top gel and 1 pcs gel base gel and 1 pcs building gel, need to be cured under UV or LED Lamp for 60-120s. . Please shake the bottle or warm it with hot water before use, to acheive a better effect.

Frequently Asked Questions
Recommended Products

12D Crushed Diamond Sparkle — Salon-Grade Brilliance: Powered by a nanoscale high-suspension magnetic powder formula, our premium cat eye gel nail polish delivers extreme light refraction without dulling or graying. It mimics the fine, intense shimmer of precious gems with crisp, clear-edged halos. Whether under the summer sun or party lights, your nails will radiate a flawless, high-end salon glow, making you the undisputed center of attention

The Jelly Trend Is Back: These ready-to-wear false nails feature a vibrant, translucent “jelly” high shine finish that looks smooth as glass and are durable, flexible, and easy to apply; 2 ways to wear: nail glue or mega adhesive tabs; Up to 7-day wear
How to Do Glass Effect Nails?
Start with a clear base, draw thin lines for segments, and blend sheer colors between them. You'll want to layer polishes gradually to achieve that glass-like transparency. Seal with a glossy topcoat.
Can You Make Acrylic Look Like Stained Glass?
You can transform acrylic nails into stained glass using specific techniques. Just outline your design with black polish, fill sections with sheer colors, and seal with topcoat – it's an achievable acrylic art technique.
How Does Stained Glass Make You Feel?
When you're basking in stained glass's glow, you'll feel transported to a domain of emotional resonance. It's like being wrapped in a kaleidoscope of serenity, where dancing colors soothe your soul and inspire wonder.
What Is Nail Glassing?
You'll create a stained glass look through nail artistry by applying translucent polish layers and black outlines. It's like turning your nails into tiny windows, letting light play through the colorful designs.