As an Amazon Associate, we earn from qualifying purchases. Some links on this site are affiliate links at no extra cost to you. Our recommendations are based on thorough research and editorial judgment.

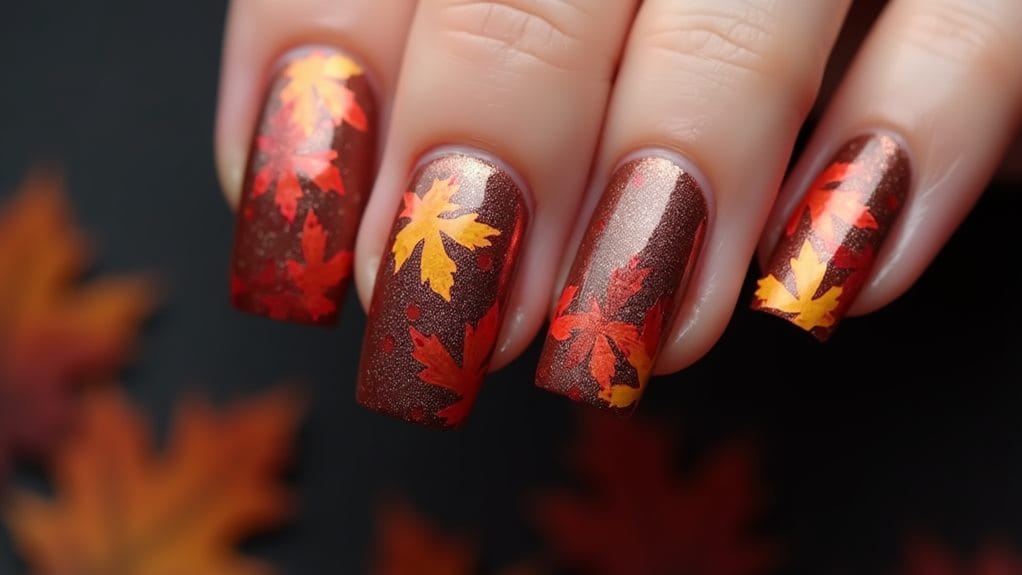
Make Stunning Fall Foliage On Your Nails

Create stunning fall foliage on your nails using rich autumn shades like burnt orange, deep red, and forest green. Start with a neutral base coat, then use detail brushes and dotting tools to paint delicate leaf shapes and veining patterns. Layer your colors from light to dark to achieve natural depth, and add realistic texture with stippling and sponging techniques. Don't forget to incorporate metallic accents in gold or copper for extra shimmer. Seal your masterpiece with a quality top coat to protect the design, and maintain it with regular touch-ups. There's so much more to explore in the world of fall nail artistry.
Key Takeaways
- Start with a neutral base coat and select rich autumn colors like burgundy, burnt orange, and forest green for realistic leaf designs.
- Use fine detail brushes and dotting tools to create delicate leaf shapes and veining patterns that mimic natural foliage.
- Layer colors from light to dark, incorporating ombre techniques to achieve depth and dimension in your leaf designs.
- Add metallic accents with gold or copper polish to enhance the autumn aesthetic and create sophisticated seasonal nail art.
- Seal your design with a quality top coat, ensuring complete coverage of edges to protect and preserve your fall foliage nail art.
Essential Tools and Materials
When creating stunning fall foliage nail art, you'll need a well-equipped toolkit to achieve professional-looking results. Quality Gel Nail Polish in rich colors like burnt orange, deep red, and forest green will serve as your perfect base for fall foliage nail designs.
Your essential tools should include a variety of Nail Brushes, each serving a specific purpose. Detail brushes help you create intricate leaf patterns, while striping brushes are perfect for fine lines and veining. You'll also want Dotting Tools in different sizes to add dimension and create realistic dewdrops on your leafy designs.
Nail Art Stencils are incredibly helpful when you're working on precise shapes, especially if you're new to creating fall-themed designs. They'll help you achieve clean, professional-looking leaf outlines every time. Don't forget your UV/LED Lamp, which is vital for curing your gel polish layers to a glossy finish that lasts.
Recommended Products

Can you get a real cat eye effect at home? Yes. Ultra-strong magnetic pull and high-density magnetic particles create a vivid 3D cat eye shine in 1 second, helping solve weak magnet results and flat-looking finishes

🍂 30 Autumn Colors Inspired by Retro Reverie - Inspired by the warmth of autumn and timeless vintage fashion, this 30-color gel nail polish collection features rich fall shades including burnt orange, maple red, mustard yellow, olive green, wine plum, mocha brown, dusty rose, and denim blue. Create endless seasonal nail looks from casual chic to elegant sophistication.

30 Earth-Tone Winter Shades – A refined collection featuring creamy nudes, rich browns, taupe, khaki, milky beige, and subtle gold shimmer. Perfect for neutral everyday styles or cozy winter looks.
Choosing Your Fall Color Palette
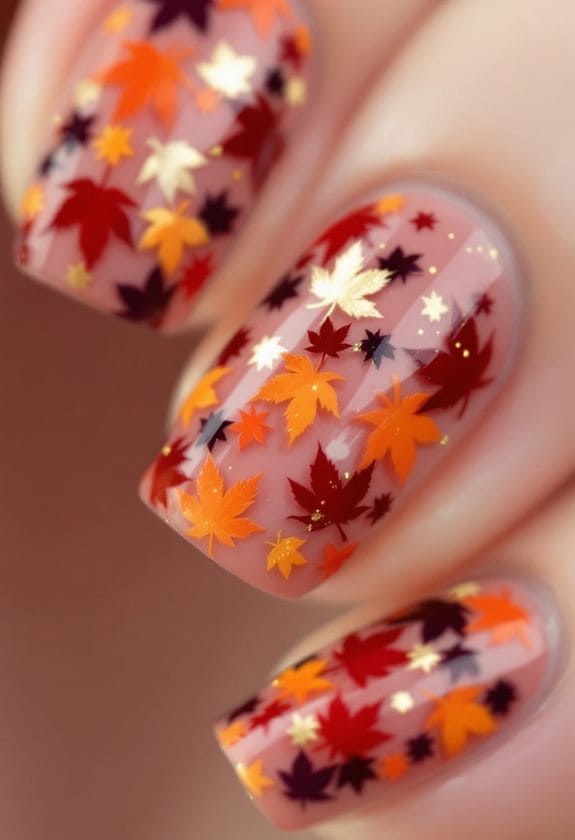
The art of selecting fall colors begins with understanding nature's autumn palette. You'll want to mirror the vibrant hues you see outside, creating a stunning array of shades that capture fall's essence perfectly on your nails.
Start with rich reds like burgundy and crimson, which offer that classic seasonal look reminiscent of autumn leaves. Complement these with deep oranges, such as pumpkin and rust, that'll bring warmth and energy to your nail design. You'll find that golden yellows, particularly mustard and amber tones, add a cheerful pop while maintaining that cozy fall feeling.
For your neutral bases, incorporate earthy browns like chocolate and taupe, which create the perfect foundation for more dramatic colors to shine. These versatile shades work beautifully as backgrounds or accent pieces in your nail art. Don't forget to include forest greens, such as olive and emerald, which provide a rejuvenating contrast to the warmer tones. They'll add depth to your design while keeping it grounded in nature's palette. Together, these colors create a harmonious blend that captures the true spirit of fall.
Recommended Products

PERFECT FOR FALL each bundle contains 6 shades curated by Hey Great Nails for this fall season

28Pcs Same Color Same Bottle Gel Polish: 24pcs 15ml gel polish for all season,2 pcs clear top gel and 1 pcs gel base gel and 1 pcs building gel, need to be cured under UV or LED Lamp for 60-120s. . Please shake the bottle or warm it with hot water before use, to acheive a better effect.

18 Essential Salon Colors gel polish kit: Beetles Pro Professional-grade gel polish shades curated for salon services. The Urban Solitude palette includes 18 high-frequency neutrals and deep tones — perfect for elegant monochrome, French, or minimalist nail designs.
Preparing Your Base Layer
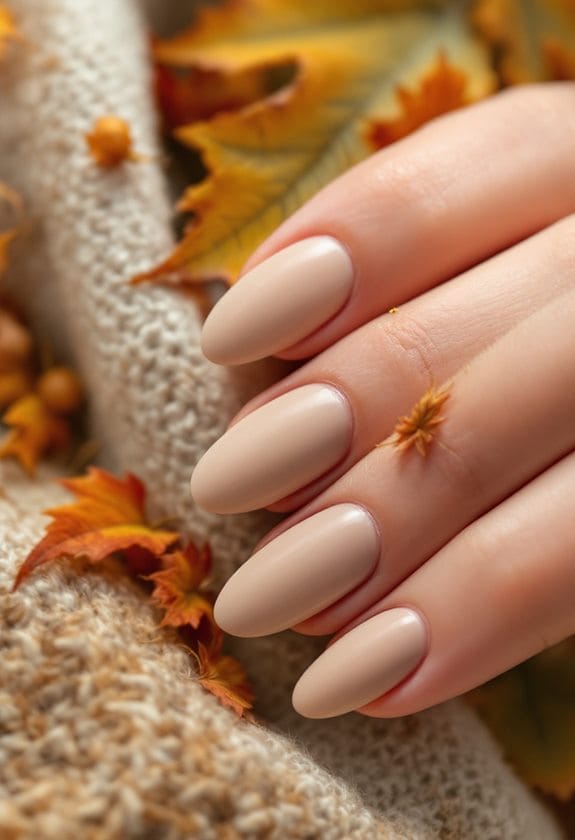
Before diving into your fall nail art masterpiece, proper nail preparation creates the foundation for long-lasting, stunning results. You'll want to start by ensuring you have clean, dry nails, so remove any old polish and wash your hands thoroughly to create the perfect canvas for your design.
Next, apply a calcium-rich base coat to strengthen your nails and protect them from staining, especially when you're planning to use darker fall shades. This essential step promotes healthy nail growth while creating a smooth surface for your artwork.
When preparing your base layer, choose a neutral or light-toned base color that'll enhance visibility of your fall designs. Soft beiges and light taupes work beautifully as a backdrop for your seasonal nail art techniques. Make sure to let this base layer dry completely to avoid any frustrating smudges or imperfections.
For a flawless finish and vibrant appearance that lasts, consider applying a top coat over your base color. This extra step provides added shine and protection, ensuring your fall foliage designs stay fresh and beautiful for as long as possible.
Recommended Products
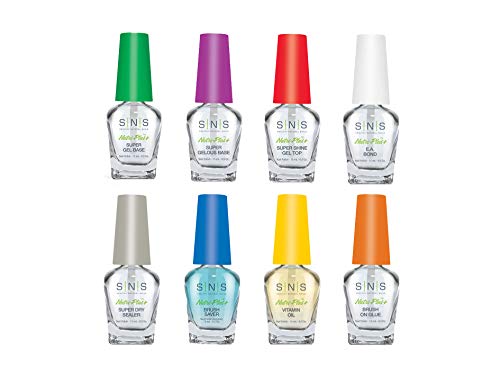
BASES AND SEALERS: SNS Nail's Bases and Sealers provides the core of a healthy dip manicure. With high quality dip top coats, dip base coat adhesives, and sealers, the health of the natural nail is protected and nurtured with each application. Includes 0.5 fl. oz. of each: Gel Base, Gelous Base, Gel Top, Vitamin Oil, Sealer Dry, Brush Saver, EA Bond, Brush-on Glue. Add these essentials to your dip powder nail kit routine.

100% Pure & Organic: Sourced from top-quality camels, organic preserve its rich nutrient profile. Ideal for those seeking a natural, healthy alternative to conventional dairy.

Plant-Based Algae Calcium – A Smarter Source for Bone Support: LILICARE Algae Calcium Gummies for women & men are made from sustainably sourced red marine algae, naturally containing 70+ trace minerals. Unlike rock-based calcium, this plant-derived source is designed for easier digestion and better utilization, making it a gentle and modern alternative for daily bone support.
Creating Realistic Leaf Shapes
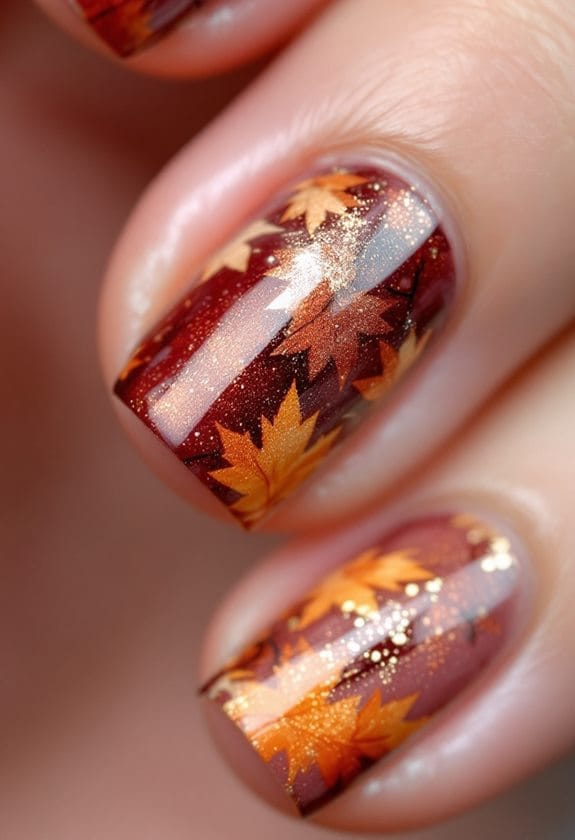
Start your leaf designs by sketching graceful outlines with your detail brush, making sure to capture the distinctive shapes of maple, oak, or other fall favorites. You'll create stunning depth by layering rich autumn shades like burgundy, golden yellow, and warm brown, working from the outside edges toward the center. Perfect your leaves by adding delicate veining with a thin brush, creating those essential natural details that make your nail art truly come alive.
Recommended Products

💗【Professional Nail Liner Brushes】: This art nail brushes comes with 5 pcs liner brushes in double-ended: 5/7/9/10/11/15/20/22/25/30mm. 4 Pcs dual-ended for 2/3/4/5 mm dotting pen with 3d, flat, round, ombre shape brush. Meets various of different nail art needs. Perfect for tiny details, delicate and exquisite patterns, fine lines of nail designs.
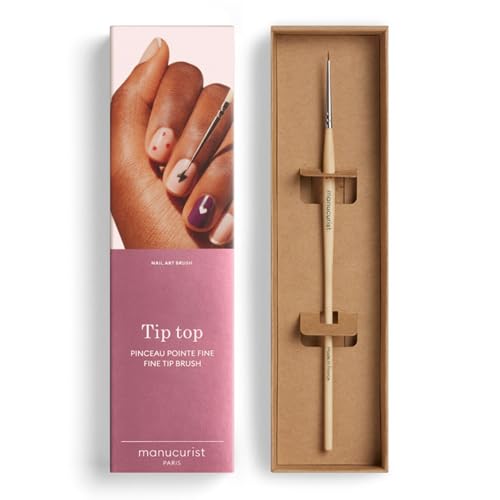
Our Nail Liner Brush is the ideal tool for creating fine or very fine nail art designs with extreme precision. For example, it's the perfect tool for a French manicure!

Daily Charme Nail Art Brush - 09 French: A slanted flat rectangle brush with a curved edge that's designed to effortlessly paint French tips.
Basic Leaf Veining Techniques
Creating realistic leaf shapes begins with mastering essential veining techniques that bring your fall nail art to life. After applying your solid color base coat, you'll want to let it dry completely before adding those stunning leaf accents that make your design pop.
Start by using your fine nail art brush to paint the central vein, which serves as the backbone of your leaf design. You'll want to choose a shade that's slightly darker than your base to create natural-looking depth. Next, draw smaller veins branching outward from the center, creating a delicate pattern that mimics real foliage.
To add dimension to your leaves, try the stippling technique with a dotting tool. This creates wonderful texture by adding tiny dots that blend from light to dark shades. Focus on placing lighter dots near the leaf tips and darker ones closer to the base, making your design look incredibly realistic.
Paint Perfect Fall Colors
Every stunning fall nail design relies on mastering the perfect blend of autumnal colors and precise leaf shapes. With a fine nail art brush, you'll create realistic leaf shapes by carefully painting the outline in rich reds, oranges, or yellows that capture nature's beauty.
To paint perfect fall colors that truly pop, start by layering shades from light to dark, building depth and dimension that makes your fall foliage come alive. You'll want to experiment with the ombre technique, blending your autumn colors seamlessly before adding detailed leaf designs on top.
Don't forget to incorporate delicate veining using a dotting tool with slightly darker shades, as these small details transform simple shapes into lifelike leaves. You can create stunning variations by mixing warm golden tones with deeper burgundies and rustic browns, making each nail uniquely beautiful.
Layering For Natural Depth
Through careful layering techniques, you'll achieve the natural depth and dimension that makes fall leaves look lifelike on your nails. Start with a light base coat, then blend colors beautifully by adding deep reds and golden yellows to create that natural gradient that's so characteristic of autumn foliage.
To enhance the depth of your detailed leaf designs, use a fine brush to paint delicate veins in dark brown or black. You'll love how these fine lines transform your work from flat to dimensional. Try sponging techniques to blend your vibrant colors smoothly, helping you replicate natural variations found in real leaves.
Don't forget to experiment with different finishes – glossy topcoats over matte bases create stunning contrast that mimics nature's own shine. For an artistic touch, incorporate the negative space technique by leaving strategic parts of your nail unpainted. This clever approach adds an unexpected element while making your designs appear more sophisticated and modern. Remember, the key to layering for natural depth lies in building up your colors gradually, allowing each layer to contribute to the overall realistic effect.
Shading and Texture Techniques
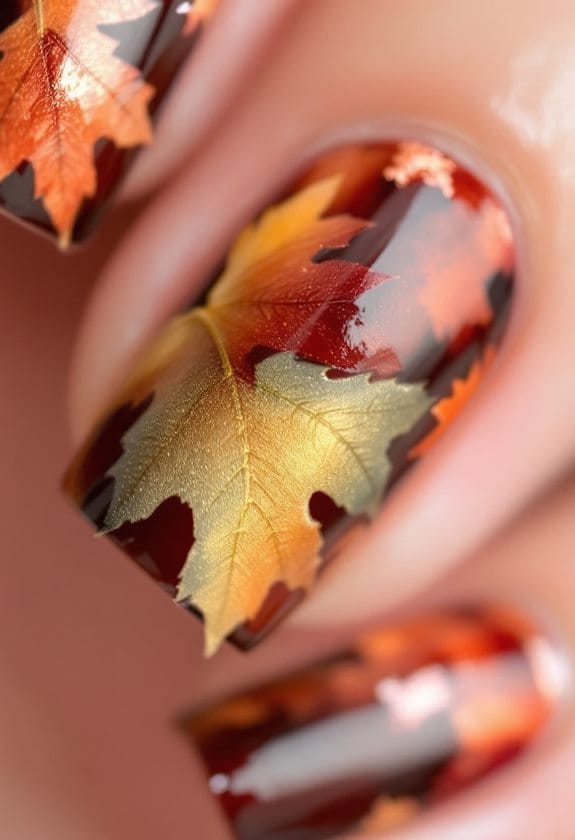
To master fall-inspired nail art, mastering various shading and texture techniques brings your autumn designs to life. You'll discover how ombre techniques create stunning gradient effects that perfectly mimic the natural shifts found in fall foliage, blending from deep reds to vibrant golds.
Start with the sponging technique, which lets you build layers of warm hues using a cosmetic sponge for that perfect autumn texture. The stippling method takes your design even further, as you'll dab on multiple shades to create intricate patterns that capture the essence of scattered leaves. For a softer approach, try the watercolor effect by slightly diluting your polish to achieve those dreamy, blended transitions that nature displays.
Want to add something truly unique? Experiment with flocking powder over your base colors to create dimensional texture that feels like real leaves. You can combine these techniques, starting with an ombre base and adding stippled details, or layer watercolor effects with subtle sponging for depth. Each method builds upon the last, helping you create nail art that's as rich and varied as autumn itself.
Adding Metallic Leaf Details
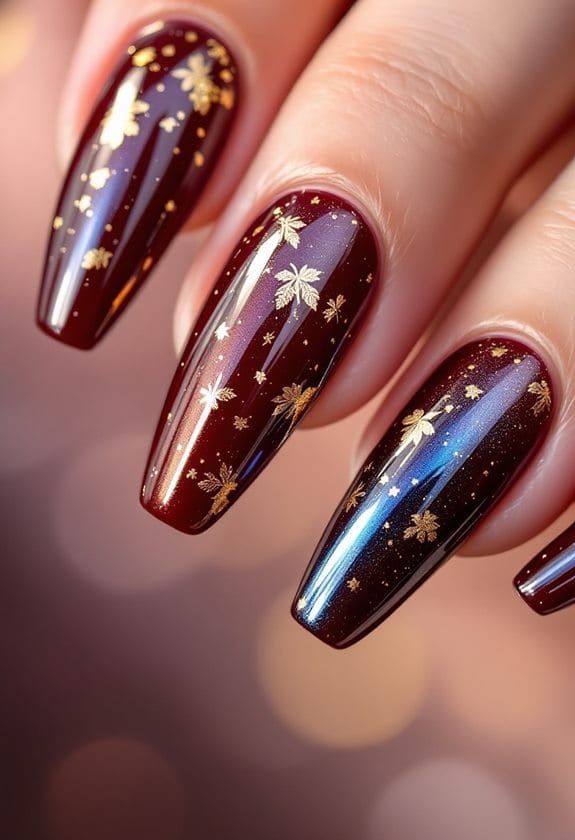
Metallic leaf details transform ordinary fall nail designs into stunning works of art that shimmer with every movement. You'll love how gold and copper foil accents catch the light, creating a luxurious dimension against deep reds and burnt orange bases. Whether you choose glossy bases or matte finishes, these metallic elements add an undeniable touch of sophistication to your autumn-inspired manicure.
You've got multiple ways to incorporate these eye-catching details into your nail art. Try stamping techniques for precise patterns, or express your creativity through freehand painting if you're feeling artistic. For beginners, decals offer an easy alternative that still delivers professional-looking results. Creative layering is key to achieving depth, so don't hesitate to experiment with different combinations of autumn colors and metallic elements.
To create a balanced look, pair your metallic leaf details with earthy tones like forest green or rich taupe. The natural shimmer and shine of metallic accents work perfectly against these deeper background colors, creating a harmonious blend that captures fall's essence. Remember to seal your design with a top coat to protect those gorgeous foil accents and maintain their brilliant finish.
Recommended Products
![Barnabas Blattgold Gold Leaf [1000 Sheets, 6.3 Inch] - Imitation Loose Gold Foil Sheets for Painting, Arts and Crafts](https://m.media-amazon.com/images/I/51VyXMh0A6L._SL500_.jpg)
Easy to Use: Our gold foil sheets are simple to cut, apply, and transfer—just like any quality gold leaf kit. Each 16 cm x 16 cm sheet is made from premium German-sourced materials for reliable, mess-free crafting.
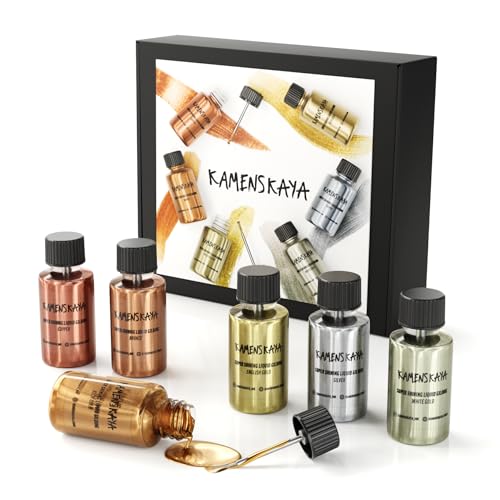
Made By Artist - KAMENSKAYA is a brand created by artist for artists. All compositions of paints are developed by the author of the brand Polina Kamenskaya, and the range is determined by the popular techniques and the artist's needs
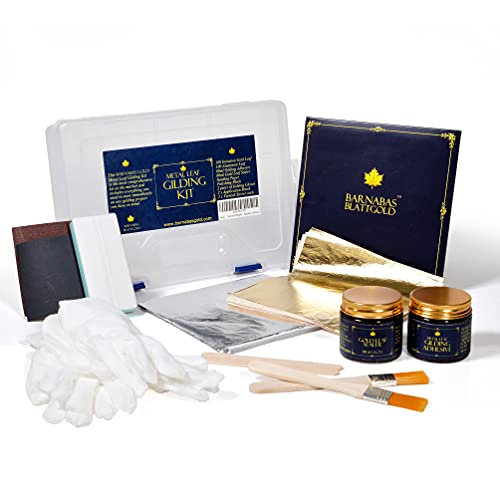
Complete Gold Leaf Kit: This gold leaf kit includes 100 imitation gold leaf sheets for art, 100 imitation silver leaf sheets, gold leaf adhesive and sealer (60ml each), brushes, gloves—everything you need to start gold leafing right.
Protecting Your Leaf Design
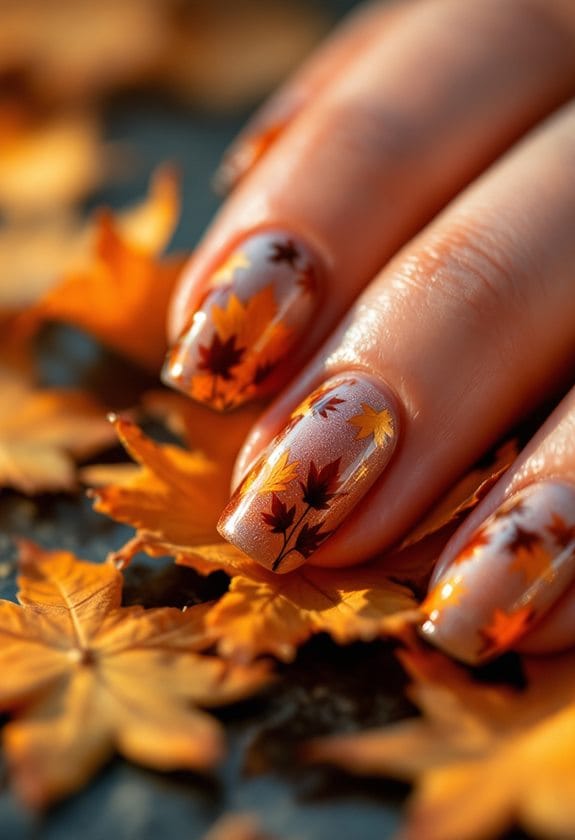
Your stunning fall leaf design needs proper protection to stay fresh and vibrant through the season. Start by sealing your artwork with a high-quality top coat that locks in every delicate detail, creating a perfect shine while preventing chips and smudges. Remember to guard the edges of your nails during daily activities, and you'll keep those beautiful autumn leaves looking crisp and colorful for weeks to come.
Seal Your Design Properly
After spending time creating your perfect fall leaf design, protecting it properly becomes essential for long-lasting wear. You'll want to start by applying a high-quality top coat that creates a powerful seal over your nail art, instantly enhancing both durability and shine.
For the best protection, consider using a gel top coat that cures under a UV/LED lamp. This option provides excellent durability and keeps your design looking vibrant for weeks. Before applying any top coat, make certain your nail art is completely dry to prevent smudging and preserve the intricate details of your leaves.
Don't forget to seal the edges of your nails thoroughly, as this creates a protective barrier against water and everyday wear. You'll notice your design stays fresh and chip-free when you take this extra step. For ongoing protection, it's smart to refresh your top coat every few days, especially if you're hard on your hands.
Remember to apply the top coat in thin, even strokes, making sure to cap the free edge of each nail. This technique guarantees your fall foliage design stays beautiful and protected through all your autumn activities.
Keep Edges Protected Daily
While a quality top coat provides initial protection, maintaining your fall leaf design requires consistent daily care to keep the edges intact. To protect your leaf design and keep those vibrant colors looking fresh, you'll need to apply a high-quality top coat every few days, creating a strong barrier against daily wear.
Don't forget to pamper your nails with cuticle oil, which plays an essential role in preventing those beautiful intricate leaf patterns from lifting at the edges. When you're tackling household chores, always slip on protective gloves to shield your nail design ideas from harsh chemicals and water exposure that could compromise your artwork.
Regular nail maintenance is your best friend when it comes to preserving your seasonal masterpiece. Schedule time each week to gently file and buff the edges, preventing any snags that could lead to premature chipping. By keeping edges protected through these simple daily habits, you'll extend the life of your design considerably. Remember, prevention is easier than fixing damaged nail art, so make these protective measures part of your daily routine to maintain those stunning fall-inspired designs.
Common Mistakes to Avoid
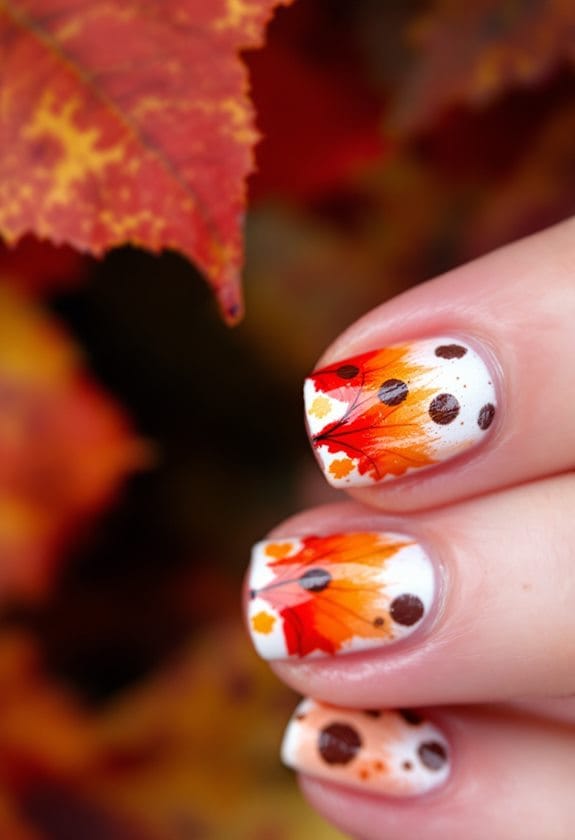
Creating stunning fall foliage nail art requires attention to detail and proper technique to avoid common pitfalls that can ruin your design. You'll want to start with proper nail preparation, including thorough cleaning and applying a base coat for better adhesion of your autumn-inspired artwork.
Don't skip your cuticle care routine, as healthy, well-maintained cuticles create the perfect clean nail bed for your seasonal designs. When you're working on your fall leaves and patterns, resist the urge to pile on thick layers of polish, as this can lead to frustrating chipping and peeling later on. Instead, opt for thin, even coats.
Your detailed designs will only be as good as the tools you're using, so invest in quality nail art tools that'll help you achieve those precise leaf shapes and delicate branch patterns. Remember to respect drying times between layers – rushing through the process will only lead to smudged leaves and messy results. While it's exciting to see your fall foliage come to life, patience during each step will guarantee your nail art stays beautiful throughout the autumn season.
Frequently Asked Questions
How to Make Fall Leaves on Nails?
Paint a base coat, then use nail brushes to create fall leaf designs with autumn colors. You'll want to blend oranges and reds, add details with stamping tools, and seal with topcoat for lasting results.
What Is the Nail Color Trend in Autumn 2026?
You'll see rich burgundies and warm hues dominating the autumn color palette, with metallic accents adding glamour. Cozy neutrals, glossy finishes, and gradient techniques complete 2026's seasonal nail art trends for fall.
How Do You Paint Little Flowers on Your Nails?
You'll need a thin nail art brush or dotting tool to create flower petals. Start with dots for centers, then pull outward strokes for petals. Layer colors and add details for dimension.
What Are the Best Nails for Fall 2026?
Like autumn's finest symphony, you'll rock 2026's trends with rich jewel tones, earthy warm colors, and seasonal nail art. Try matte finishes with metallic accents or intricate leaf patterns for stunning fall manicures.