As an Amazon Associate, we earn from qualifying purchases. Some links on this site are affiliate links at no extra cost to you. Our recommendations are based on thorough research and editorial judgment.

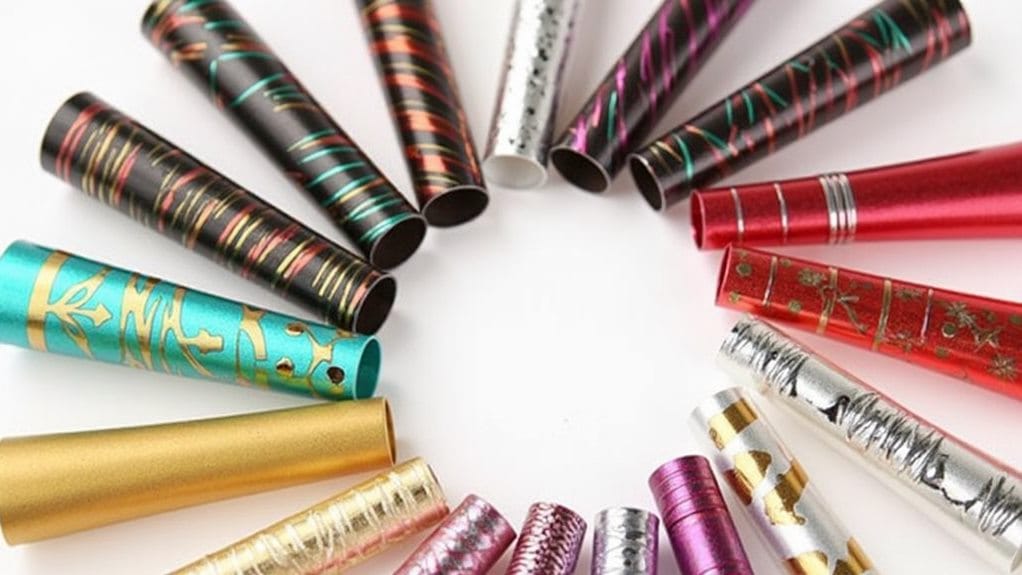
What Can You Create With Nail Striping Tape?

Nail striping tape lets you create stunning nail art designs with clean, professional-looking lines and patterns. You'll find it's perfect for making geometric shapes, classic French tips, color-blocked sections, and holiday-themed designs. Using this versatile tool, you can craft everything from minimalist stripes to complex angular patterns, incorporating negative space and metallic accents for added flair. The tape works beautifully with different polish colors and finishes, allowing you to make checkerboards, triangles, diamonds, and intricate seasonal motifs. Whether you're a beginner or experienced nail artist, there's an endless world of creative possibilities waiting to be explored.
Key Takeaways
- Create geometric patterns including stripes, triangles, diamonds, and checkerboard designs using straight and angled tape placement.
- Design French manicures with precise tip lines by using tape as a guide for clean, professional-looking results.
- Make metallic accent designs with gold or silver striping tape for sophisticated geometric shapes and edge detailing.
- Craft negative space nail art by using tape to outline shapes while letting natural nail show through.
- Form holiday-themed designs like candy cane stripes, Halloween patterns, and minimalist snowflakes using seasonal color combinations.
Getting Started With Striping Tape
Anyone can create stunning nail art with striping tape, but proper preparation is key to success. Before diving into your nail art journey, you'll need to guarantee your nails are perfectly clean and ready for your creative masterpiece.
Start by thoroughly cleaning your nails, removing any oils or residue that could interfere with the striping tape's adhesion. Apply your favorite base coat and let it dry completely, creating the perfect canvas for your design. Once you're ready to work with the striping tape, cut several pieces into your desired lengths using sharp scissors for clean, precise edges.
When you're applying the striping tape, press it firmly against your nail surface to prevent any polish from seeping underneath. You'll want to create crisp, professional-looking lines that'll make your design pop. Remember to work with one nail at a time, applying your chosen polish color over the tape while it's securely in place. The key is to remove the striping tape while your polish is still wet, revealing sharp, defined lines that'll wow everyone who sees them.
Recommended Products

COMPLETE EMERGENCY RESPONSE KIT - Prepare yourself for any unforeseen disaster with the MFASCO First Responder Kit. This meticulously stocked medic bag contains 415 pieces of essential medical supplies, providing you with the tools needed to handle emergencies efficiently. From natural disasters to first aid response, our first aid medical bags are your go-to solution! Assembled in USA.

【148 Pcs Gel Nail Kit for Beginners with Everything】 This super multi-color gel nail polish kit includes 60 bottles of all-season gel nail polish colors, 2 bottles of base coat, 4 bottles of top coat, a professional nail lamp, a nail drill with 6 bits, a box of 240 pcs almond nail tips, and a variety of other essential manicure tools and nail decorations. This nail kit has everything you need for a DIY manicure, allowing you to experience salon quality at home!

83PCs Gel Nail Polish Kit: This gel nail art kit comes with everything required for salon-quality manicures at home,which includes nail drill, U V lamp , 55 colors gel polish suit all seasons, 1PC cat eye gel nail polish,base coat, 3 types top coat(Glossy/Matte/Glitter), 6 styles of butterfly nail rhinestones, nail art stickers, practice display boards, and essential manicure tools
Essential Tools and Materials
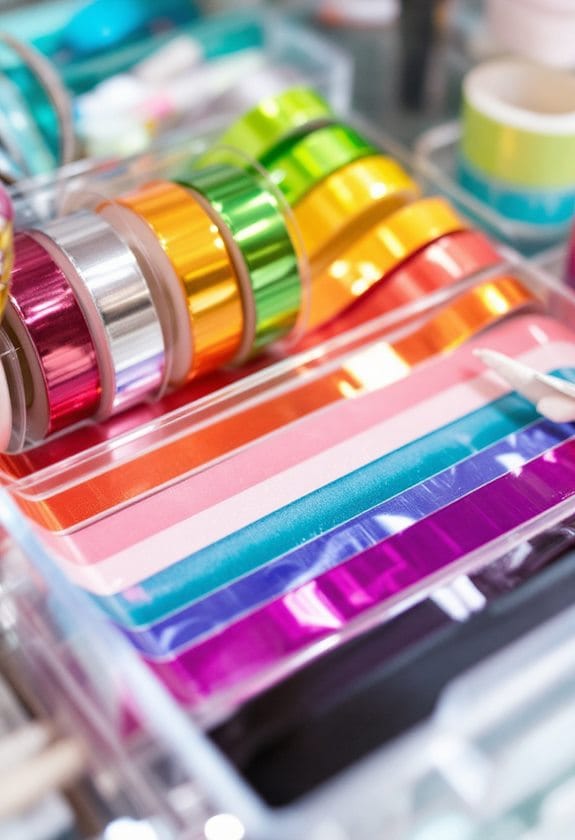
To turn your nail striping tape ideas into reality, you'll need the right tools at your fingertips. The foundation of any great nail art design starts with the essential items: striping tape, sharp scissors, and precise tweezers that'll help you handle those delicate tape pieces with confidence.
Before diving into your creative designs, you'll want to prep your nails with a quality base coat, which creates the perfect canvas for your artistic vision. Your favorite nail polish colors will bring your patterns to life, while the striping tape serves as your guide for creating crisp, clean lines and geometric shapes.
Don't forget the finishing touches that'll make your nail art truly shine! A top-quality clear coat seals your masterpiece, protecting the tape and polish while adding a gorgeous glossy finish. For even more detailed designs, you might want to include some handy extras in your toolkit, such as nail art brushes and dotting tools. These additional implements let you add stunning accents and intricate details that'll complement your tape designs perfectly, taking your nail art to the next level.
Recommended Products

Premium Poly Nail Gel Kit: Including 8 colors gel, 48w nail lamp, nail prep dehydrate, nail primer, base & top coat, slip solution, rhinestone glue, dual forms (120pcs), nail forms, rhinestones nail beads(12 sizes), sequins(butterfly, flower, Hexagonal), glitters, gold foil, nail striping tapes, nail art stickers, complete poly nail tools (nail file, nail buffer, brush and spatula, nail clips, glass cup, nail cutter, cuticle fork, nail dust brush, nail tweezer, nail art pen).

Vishine Nail Starter Kit : 45 PCS Colors Gel Polish + Base Coat No Wipe Top Coat & Matte Top Coat Set + 40W Speed Curing Nail LED Lamp + Nail Art Tools

Complete 42-Piece Set – No Additional Purchases Required:This kit includes: nail lamp (UV/LED), electric nail drill, practice hand, nail stand, acrylic powder, liquid monomer (professional formula), 3 acrylic brushes (#8/10/12), 15 paint brushes, striping tape, panda stickers, tweezers, dappen dish, wood stick, and silver storage bag. Everything you need is in one box.
Basic Geometric Patterns
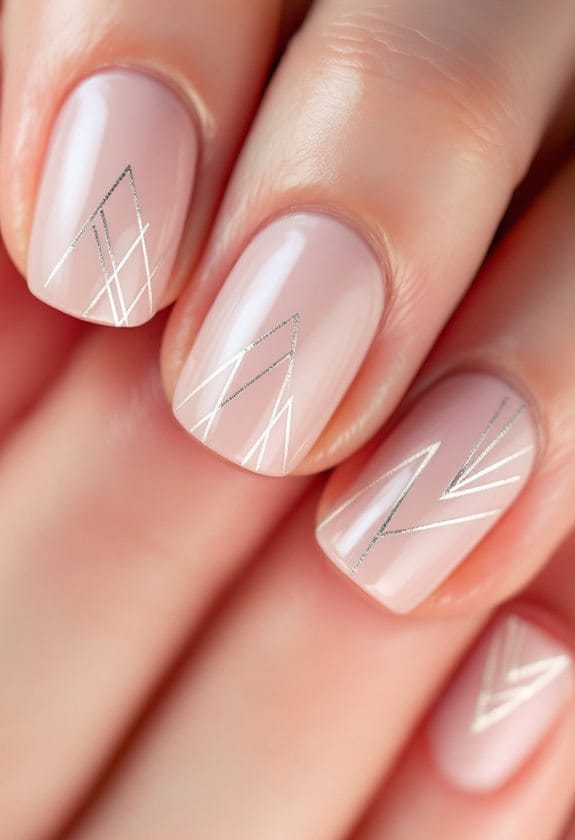
Geometric patterns pop off your nails when you master the art of striping tape placement. You'll discover that creating stunning nail designs becomes surprisingly straightforward once you understand the basic techniques, transforming your manicure from simple to spectacular.
Start with classic stripes by laying the tape in straight lines across your nails, creating clean, professional-looking patterns that never go out of style. When you're ready to add more excitement, position your tape at angles to achieve modern diagonal stripes that catch the eye and create movement across your nail bed. The checkerboard pattern offers another fantastic option, where you'll create perfect squares by crossing strips of tape in a grid formation.
Want to take your nail designs to the next level? Try overlapping your tape strips to form eye-catching triangles and diamonds that add depth to your manicure. The magic really happens when you play with different polish colors underneath your tape patterns, creating bold contrasts that make your geometric shapes stand out. Whether you're aiming for subtle elegance or bold statements, these basic geometric patterns serve as your foundation for endless creative possibilities.
French Manicure With Tape
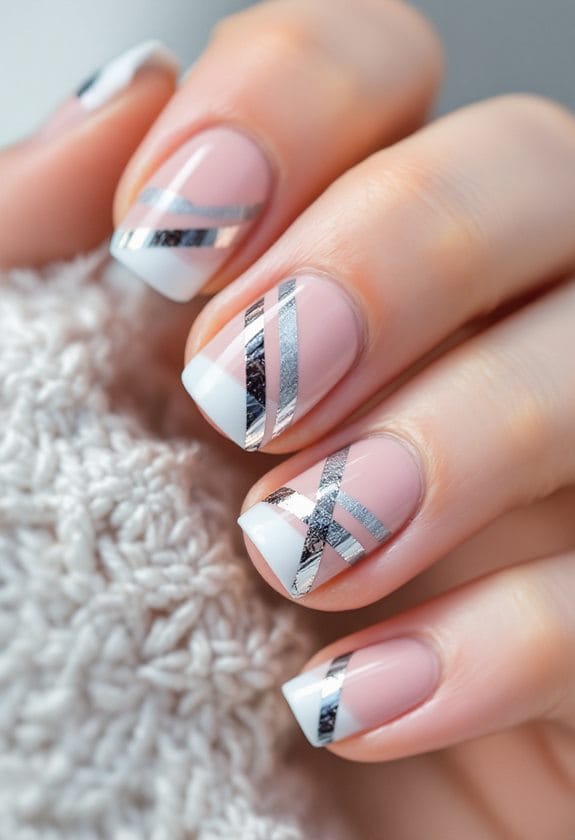
Creating a classic French manicure becomes a precision-perfect task when you utilize striping tape as your secret weapon. You'll start by applying a clear base coat, letting it dry completely before moving on to your chosen nude or soft pink nail polish for the base color.
Once your base shade is perfectly dry, you're ready for the exciting part that makes this technique so unique. Cut small pieces of striping tape and position them horizontally across each nail, creating your desired tip line with stunning accuracy. The tape acts as your foolproof guide for the next step, where you'll apply white nail polish to create those signature French tips.
Here's where timing is essential: while the white polish is still wet, carefully peel away the striping tape to reveal a flawlessly straight line between colors. You'll be amazed at how professional your results look, especially after you seal your masterpiece with a glossy top coat. This method transforms what can be a challenging nail art technique into an achievable, salon-worthy look that you can create right at home.
Recommended Products

COMPLETE KIT: Professional nail art set includes UV/LED lamp, electric nail drill, 18 gel polish colors, manicure tools, and decorative rhinestones for a full salon experience

53 Pcs Gel Nail Polish Set: This complete gel nail kit includes 32 multi-color of 5ml gel nail polish, one 7.5ml base coat, one 7.5ml glossy top coat, one 7.5ml matte top coat, one 7.5ml glitter top coat, a professional nail lamp, and 16pcs nail tools, giving you everything needed for a full salon-quality manicure at home. Whether you're matching seasonal trends, experimenting with new designs, or preparing for daily wear or special occasions, you can effortlessly achieve beautiful nails.

❤Gel Nail Polish Kit with U V Light and Drill: The gel nail polish kit starter kit includes 35 colors gel nail polish, Upgraded u v/led light, Nail Drill, 5pcs Top and Base Coat, Nail Art tools. A complete gel nail polish kit comes with everything you need, suitable for nail salon, beginners, DIY at home.
Color Blocking Techniques
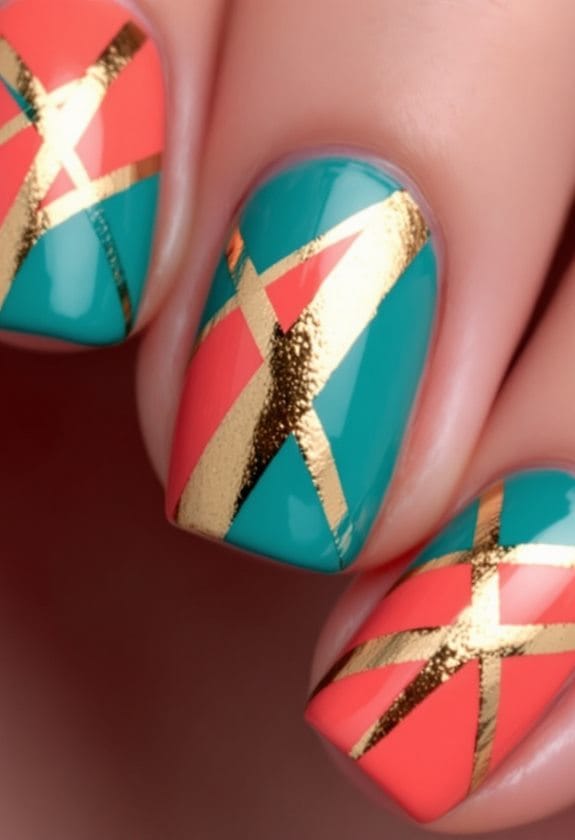
With the help of striping tape, color blocking transforms your nails into eye-catching works of art. This versatile technique lets you create stunning geometric patterns that'll make your manicure stand out from the crowd, combining bold colors with precise, clean lines.
To master color blocking with nail striping tape, you'll want to start by firmly pressing the tape onto your clean, base-coated nails. Create exciting patterns by placing strips at different angles, ensuring each piece is completely flat to prevent polish from seeping underneath. You can experiment with various designs, from simple stripes to complex triangles and diamonds.
When selecting your colors, don't be afraid to mix things up! Try pairing neon yellow with deep navy, or soft pink with bold purple for a striking contrast that'll turn heads. Apply your chosen polishes carefully, and remember to peel the tape off while your polish is still wet for the crispest lines possible. Once you've achieved your desired pattern, seal your masterpiece with a glossy top coat to protect your design and add that professional finishing touch.
Metallic Accent Designs
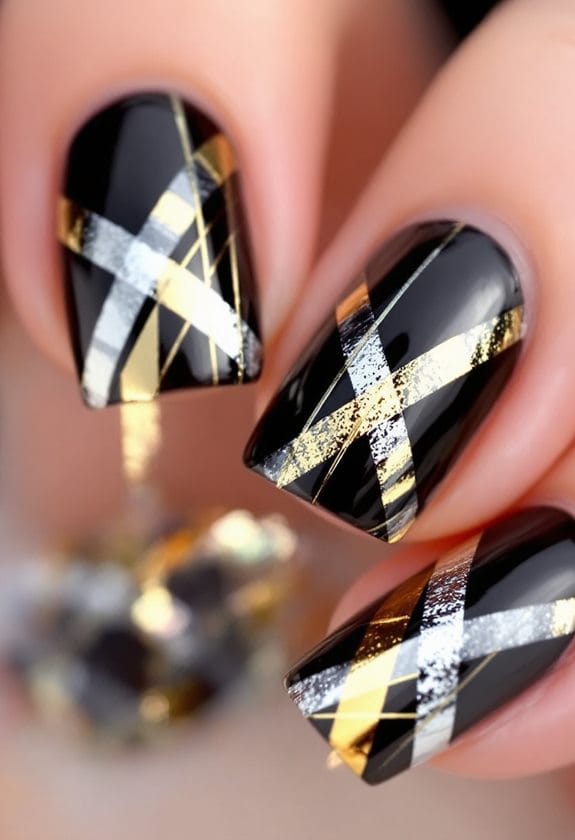
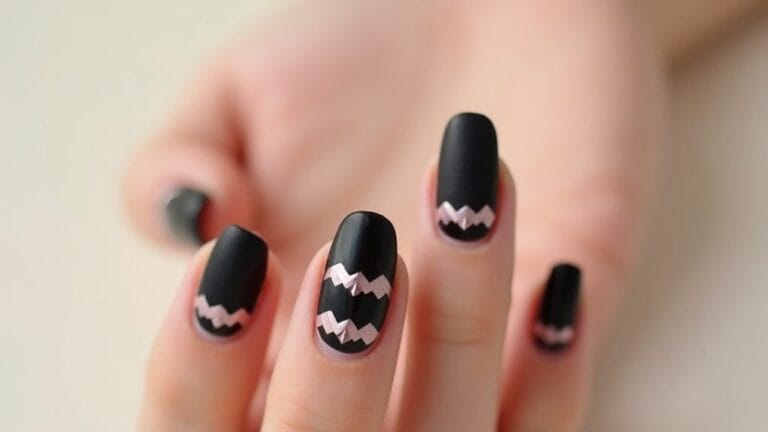
Transform your nail art with stunning geometric patterns using gold striping tape, creating precise lines and angles that catch the light beautifully. You'll love how silver edge detailing frames your nails with a modern, sophisticated touch while adding dimension to your manicure. These metallic accents work perfectly against matte polish backgrounds, giving you a professional-looking design that's both eye-catching and refined.
Geometric Gold Line Art
Elegant geometric gold line art elevates any manicure from simple to sophisticated through precise metallic accents. You'll love how the shimmering gold striping tape creates stunning shapes against your favorite base colors, making your nails a true work of art.
Creating these eye-catching designs isn't as complicated as you might think. Start by applying your base color and letting it dry completely. Then, position your gold striping tape to form perfect triangles, squares, or hexagons on your nails. You can experiment with different patterns by laying multiple strips at various angles for a modern, architectural look.
For a bold statement, try filling in different sections with complementary polish colors before carefully removing the tape. Remember to press the tape firmly onto your nails to prevent any polish from seeping underneath, ensuring those crisp, clean lines you're after. Once you've achieved your desired pattern, seal your geometric gold line art with a clear top coat.
The result? A professional-looking manicure that combines precision with glamour, perfect for special occasions or whenever you want your nails to make a sophisticated statement.
Silver Edge Detailing
Metallic silver striping tape opens up endless possibilities for adding sophisticated edge detailing to your nail designs. You'll love how this versatile accent creates stunning contrast against any base color, instantly transforming simple manicures into eye-catching works of art.
When you're ready to elevate your nail game, try applying silver edge detailing along the tips of a classic French manicure or outlining geometric shapes. The tape's reflective surface catches the light beautifully, making your intricate patterns stand out with a professional-looking finish. You'll find that silver striping tape works especially well when creating clean, precise lines that frame your nail art perfectly.
To get the best results, make certain your base polish is completely dry before placing the silver tape. This simple step prevents smudging and guarantees your lines stay crisp and clean. Don't forget to seal your stunning creation with a clear top coat, which will protect your silver edge detailing and keep it looking fresh for longer. With these metallic accents, you're adding that perfect touch of sophistication that'll make your nail art truly unforgettable.
Negative Space Art
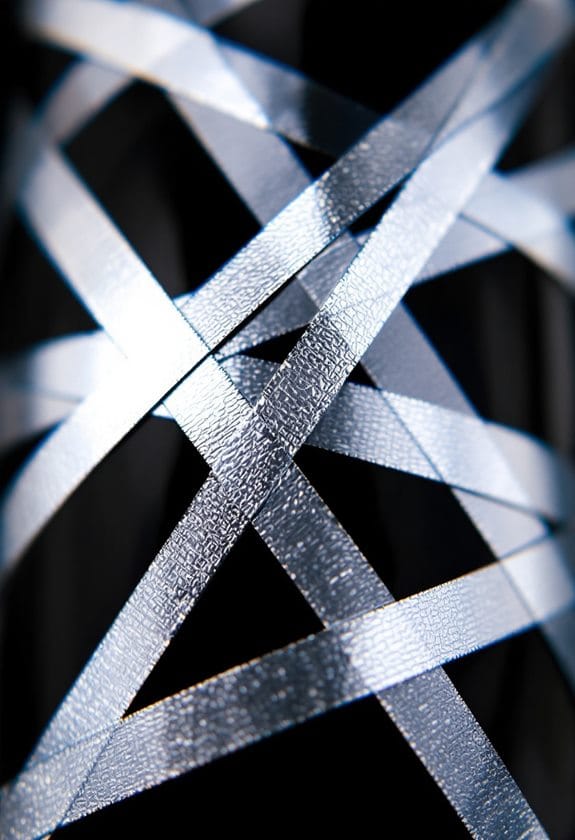
You'll love how negative space nail art creates stunning modern patterns by letting your natural nail shine through as part of the design. Using striping tape as your guide, you can craft precise geometric shapes that blend seamlessly with your polish colors, making bold statements with clean lines and open spaces. Whether you're going for minimalist stripes or complex angular patterns, the combination of exposed nail and polished sections creates eye-catching designs that'll make your manicure stand out.
Modern Minimalist Patterns
Three key elements define modern minimalist nail art: negative space, clean lines, and geometric precision. By incorporating striping tape into your designs, you'll create stunning patterns that embrace simplicity while making a bold statement.
When working with striping tape, you can outline perfect geometric shapes that let your natural nail color shine through, creating a sophisticated negative space effect. You'll find that placing the tape strategically helps you achieve clean, crisp lines that define your minimalist design with professional precision.
To add visual interest without overwhelming your look, try combining different widths of striping tape. You can create stunning asymmetrical patterns that draw the eye while maintaining that coveted minimalist aesthetic. The contrast between thin and thick lines adds depth to your design without compromising its clean appearance.
Don't forget to seal your masterpiece with a clear top coat, which not only protects your precise tape work but also gives your minimalist design a polished, studio-quality finish. You'll love how the glossy finish enhances the contrast between your negative space and geometric patterns, creating a truly modern look.
Geometric Open Designs
Building on minimalist principles, geometric open designs take negative space artistry to new heights. You'll love how these striking patterns use your natural nail as a canvas, creating bold contrasts between painted and unpainted areas. With striping tape as your guide, you can craft clean lines and precise shapes that transform your nails into modern works of art.
The magic happens when you strategically place striping tape across your nails to map out your design. You can create stunning triangles, eye-catching chevrons, and perfect diamonds by positioning the tape exactly where you want your negative space to appear. Try mixing different tape widths to add depth and dimension to your geometric patterns, making each nail unique and visually interesting.
To make your designs pop, pair your negative space sections with vibrant polish colors or metallic finishes. You'll achieve professional-looking results by carefully painting within the taped sections, then peeling away the striping tape to reveal crisp, clean edges. This technique's versatility lets you experiment with countless pattern combinations, from simple angular shapes to complex intersecting designs that'll have everyone asking about your nail art secrets.
Holiday-Inspired Nail Looks
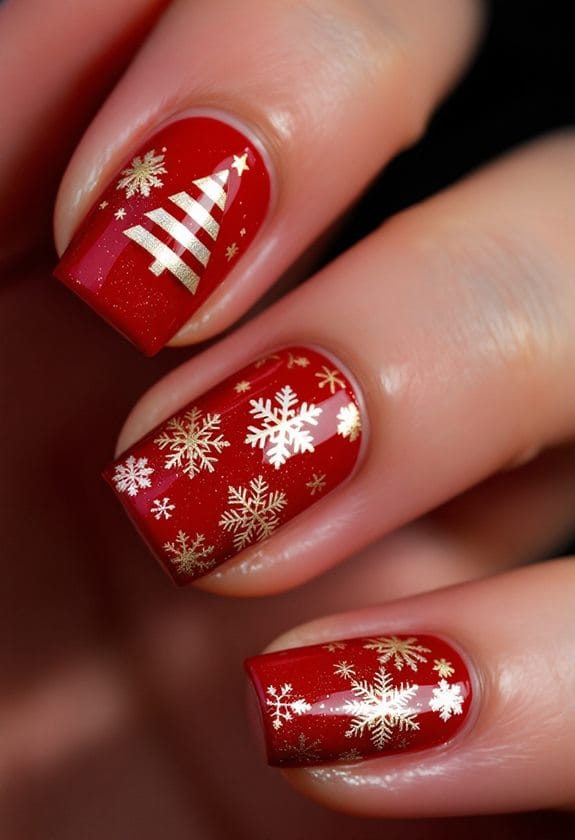
Getting creative with nail striping tape opens up endless possibilities for stunning holiday-inspired manicures. From Thanksgiving's warm autumn tones to winter's festive sparkle, you'll find countless ways to celebrate the seasons through nail art.
You can easily create candy cane stripes by alternating red and white striping tape for a classic Christmas look that's both cheerful and sophisticated. For Halloween enthusiasts, black and orange tape combinations make perfect spiderwebs and checkered patterns that'll match your spooky costume perfectly.
If you're looking for something more subtle, try using single strips of tape to create minimalist snowflakes or simple Christmas tree outlines that'll bring holiday cheer without being overwhelming. You'll love how metallic striping tape adds instant glamour to any design, catching the light as you move your hands.
When New Year's Eve approaches, you can combine multiple colors of striping tape to form geometric patterns that capture the celebration's excitement. Whether you're creating diagonal stripes, intersecting lines, or abstract shapes, the reflective qualities of the tape will guarantee your nails sparkle under those party lights.
Recommended Products

✅ Complete 71-Piece Professional Gel Nail Kit - Everything you need for salon-quality manicures at home! Includes 54W UV/LED lamp, 32 vibrant gel colors, base coat, glossy/matte/glitter/cat-eye top coats, cuticle tools, nail files, remover pads, and more. Perfect for beginners and nail art experts - save time and money while achieving professional results.

All-in-One 71pcs Gel Nail Kit - This complete Gellen set includes everything for a full at-home manicure: 32 gel colors covering all seasons, 5 functional coats (base, glossy, matte, glitter, and Glitter & Cat-Eye top coat), 54W UV/LED lamp, cuticle tools, remover pads, nail files, and more. Perfect for beginners and professionals alike, it provides a convenient, fully equipped salon experience at home.
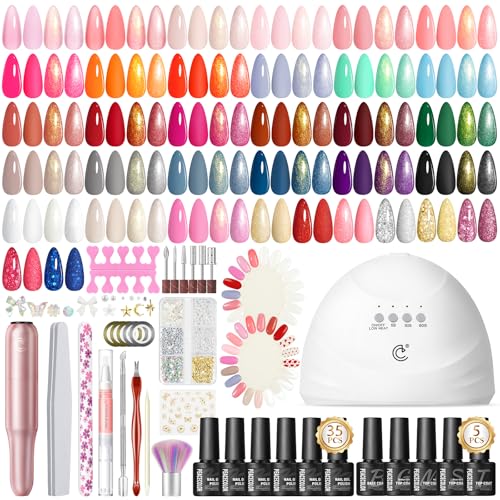
65PCs Complete Gel Nail Polish Kit: Our gel nail polish kit with u v light and drill comes with nail drill ,nail lamp, 35 Colors nail gel polish(7ml/bottle), 4Pcs top coat, base coat, 6 Type nail art rhinestone,nail art stickers ,nail practice palette, and basic manicure tools for nail design.Suitable for professional nail salon, and DIY at home.
Troubleshooting Common Tape Issues

While holiday nail designs can be stunning, even experienced nail artists face common challenges with striping tape. Creating perfect lines and patterns at home doesn't have to be frustrating when you know how to tackle these common issues head-on.
First, make sure your base coat is completely dry before applying the tape to prevent any unwanted lifting or smudging of your beautiful design. When you're positioning the tape, press down firmly along all the edges to create a tight seal that'll stop any polish from sneaking underneath. If you notice the tape tearing during application, don't try to make it work – simply cut a fresh piece for crisp, clean lines.
For the best results when removing tape from your nails at home, peel it back while your polish is still slightly wet to achieve those sharp, professional-looking edges. If you find any stubborn residue left behind, don't worry! Just grab a non-acetone remover and gently clean the area with a cotton pad, keeping your surrounding design perfectly intact. These simple solutions will help you create flawless striped designs every time.
Recommended Products

❤ Swipe and Go – Karma Naturals Nail Polish Remover Wipes removes any nail polish quickly and effectively. Great for travel or on the go!

End the profit-killing bottleneck of endless soaking and frustrating manual scraping required by weaker, consumer-grade removers. Our formula, with its powerful 30-70% Methyl Ethyl Ketone Concentration, chemically dissolves the toughest cross-linked polymers in seconds. This delivers effortless, rapid removal that eliminates service bottlenecks, maximizes client throughput, and reclaims your time for profitable, creative artistry.

Stop the frustration of low-purity alcohol (70-91%) that leaves a film of water and additives, causing premature lifting and ruining hours of work. Our formula's absolute 99% Purity means it evaporates in a flash, leaving nothing behind to interfere with adhesion. The result is a perfectly dehydrated, zero-residue nail plate that guarantees a flawless, lift-free manicure for weeks, making your artistry last.
Frequently Asked Questions
How to Do Nail Art With Striping Tape?
Apply base coat, position striping tape in your desired design, paint over exposed areas, remove tape while polish is wet, and seal with top coat. You'll master these design techniques for stunning nail art.
What Is a Benefit of Using Striping Tape When Creating Nail Art?
You'll achieve superior design precision when using striping tape, making it easier to create clean, sharp lines in your nail art. It's like having a steady hand guiding you through intricate patterns.
What Is Nail Tape For?
You'll use nail tape to achieve precise design techniques on your nails. It acts as a protective barrier, helps create clean lines, and lets you make intricate patterns while keeping polish off your skin.
Can You Make Fake Nails Out of Tape?
Dreaming of DIY nails? You can't make fake nails from tape alone, but you'll find nail tape techniques useful for temporarily securing pre-made artificial nails to your natural ones without harsh adhesives.