As an Amazon Associate, we earn from qualifying purchases. Some links on this site are affiliate links at no extra cost to you. Our recommendations are based on thorough research and editorial judgment.

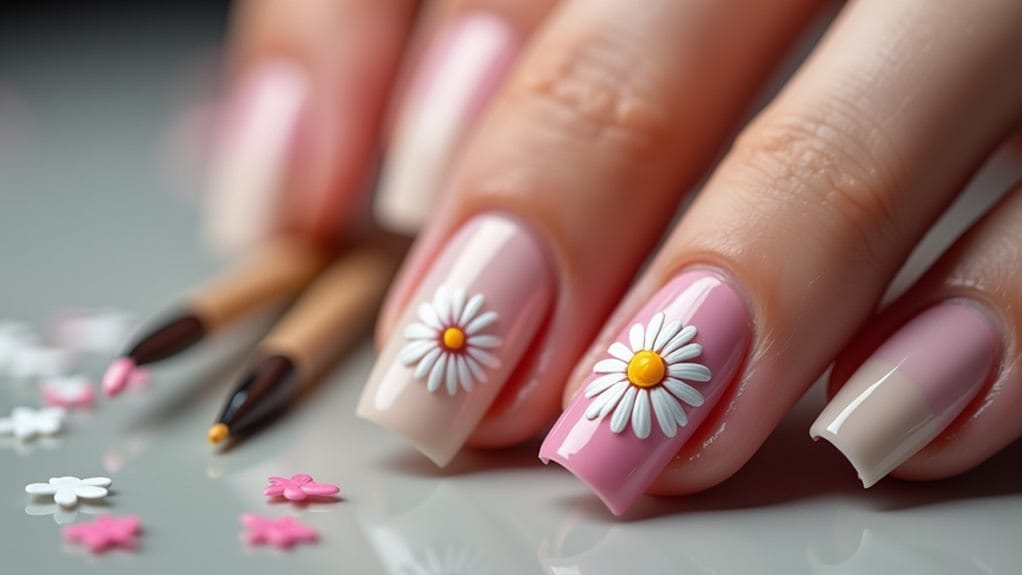
Simple Floral Nail Art Tutorial: Step-by-Step Guide

Creating stunning floral nail art is easier than you think with the right supplies and techniques. You'll need basic colors (white, yellow, orange, and clear top coat), a dotting tool, and a clean workspace to begin. Start by preparing your nails with a base coat, then apply two layers of your chosen background color. Create flower petals using white dots in a circular pattern, add vibrant centers, and finish with delicate green leaves for detail. Seal your design with a clear top coat for lasting shine and protection. Following these essential steps will help you master beautiful floral designs, and there's so much more to explore with this versatile nail art technique.
Key Takeaways
- Prepare nails by removing old polish, buffing the surface, and applying a strengthening base coat for optimal polish adhesion.
- Apply two coats of pastel mint polish as your base color, allowing each layer to dry completely.
- Create flowers by dotting coral polish for petals, then add white centers using a dotting tool or toothpick.
- Paint small green triangle leaves around the flowers using a thin brush for natural, balanced decoration.
- Seal your design with a clear top coat, applying in smooth strokes from base to tip for lasting shine.
Essential Supplies and Tools
Want to create stunning floral nail art at home? You'll need just a few essential supplies to get started on your beautiful manicure masterpiece.
Let's begin with your nail colors, which form the foundation of your floral design. You'll need four key polishes: a crisp white for delicate petals, sunny yellow and vibrant orange for creating eye-catching blooms, and a clear top coat to seal your artwork perfectly. OPI offers excellent options, with their classic Nail Lacquer at $10.50 or their long-lasting Infinite Shine formula at $13.00.
Your toolkit should include some simple but effective implements for creating precise designs. Grab a basic toothpick for detailed work, a rounded metal dotter for perfect circles, and a small piece of aluminum foil that'll serve as your polish-mixing palette. For professional-looking results, consider investing in VAGA Mandala Dotting Tools, available at just $6.49, which will help you create consistently beautiful patterns.
Before diving in, set up a clean, well-organized workspace with all your supplies within reach. This preparation guarantees you'll have everything you need for a smooth, enjoyable nail art session.
Preparing Your Nails
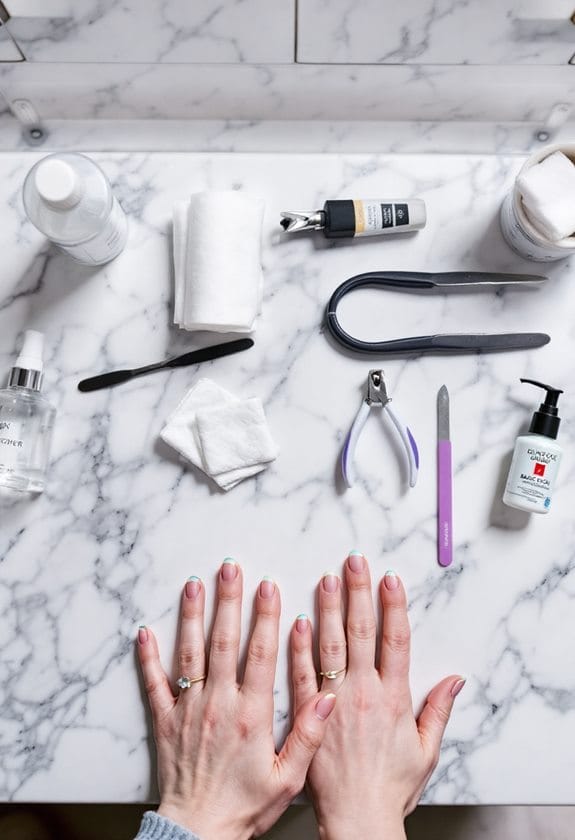
Start with spotlessly clean nails by removing any traces of old polish, and gently buff the surface to create your perfect canvas for stunning floral art. Your base coat will stick better and last longer when you've properly shaped your nails and carefully pushed back those cuticles for a neat, professional look. Apply your base coat in thin, even strokes from base to tip, making sure you seal the free edge of your nails to prevent chipping and create the ideal foundation for your artistic design.
Base Coat Application Tips
Proper nail preparation is vital for creating long-lasting floral nail art. Before diving into your stunning floral designs, you'll need to master these essential base coat application tips to create the perfect foundation for your artwork.
Start with thoroughly clean, dry nails to guarantee your base coat adheres properly. You'll want to apply a clear base coat using smooth, even strokes from the base of your nail to the tip. Using a thin brush, carefully work around your cuticles to create crisp, professional-looking edges that'll make your final design pop.
Don't rush this important step – give your base coat enough time to dry completely before moving forward with your floral designs. If you're working with weaker nails, opt for a strengthening base coat that'll provide extra protection and prevent frustrating chips or breaks. Think of your base coat as the canvas for your floral masterpiece; the smoother and more even it is, the more beautiful your final design will be. A quality clear base coat won't just protect your natural nails from staining; it'll also create the smooth surface you need for those perfect petals and leaves.
Clean Nail Surface Prep
Before creating your floral masterpiece, achieving an immaculate nail surface is essential for professional-looking results. Start by selecting a gentle nail polish remover that'll thoroughly clean your nails, ensuring there's no trace of old polish that could interfere with your new nail designs.
Next, grab your nail file and shape each nail to your desired style, whether you're going for a classic square look or a sophisticated oval finish. You'll want to maintain consistency across all nails for that perfect, salon-worthy appearance. After shaping, it's time to address your cuticles, which play an important role in creating a clean canvas for your artwork.
Using a cuticle pusher or orangewood stick, carefully push back your cuticles to create defined nail borders that'll make your floral designs pop. Once you've completed this step, wash your hands thoroughly with soap and water, making sure to dry them completely. Clean nails are happy nails, and they'll provide the perfect foundation for your base coat, which will protect your natural nails while ensuring your beautiful flower designs last longer.
Creating The Base Design
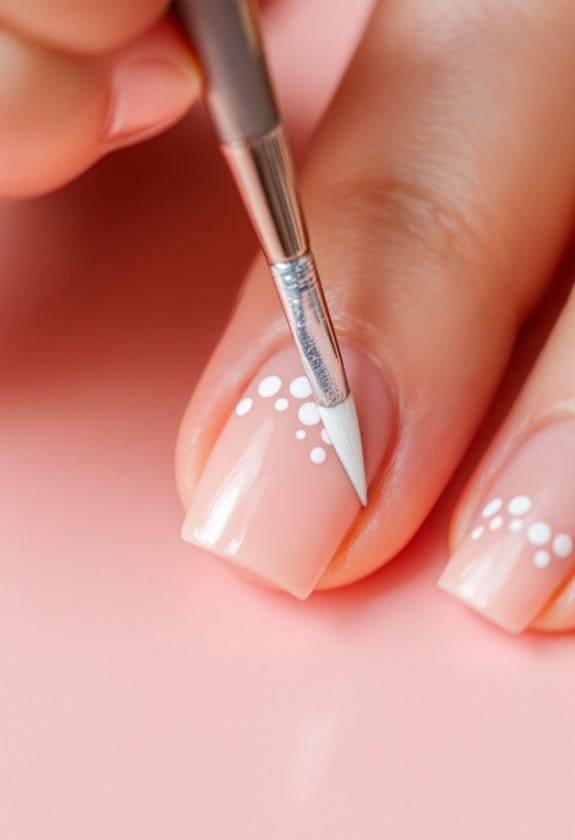
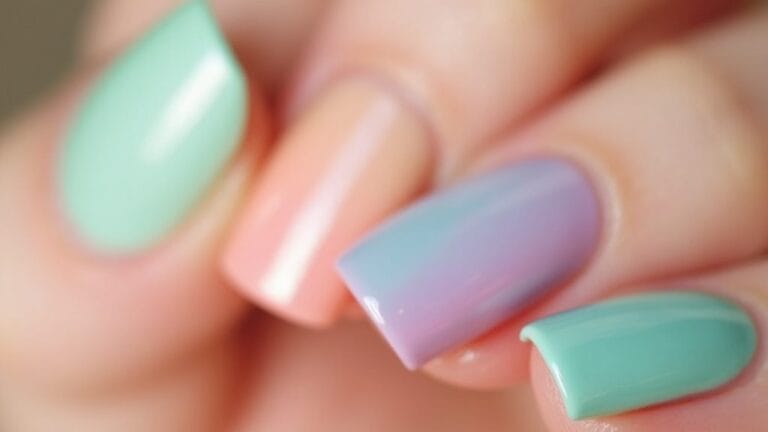
The foundation of this stunning floral nail art begins with two essential layers of pastel mint polish. You'll want to apply Keep Calm Paint On carefully, allowing each coat to dry completely for the perfect base to your creative nail ideas.
Once your mint base is set, it's time to bring your floral design to life with beautiful coral accents. Using Mimosas Before Manis and a precise nail art brush, create three to four evenly-spaced spots on each nail, positioning them thoughtfully for a balanced look. Next, add charming white centers to each coral spot using Dandy Lyin Around, transforming simple dots into delicate flower petals.
To complete your garden-inspired masterpiece, paint small green triangle leaves around your flowers using Running in Circles. These leaves will frame your blossoms perfectly, creating a naturalistic and cohesive design. For lasting wear and professional-looking results, seal your artwork with a clear top coat, which will protect your design while adding an enviable shine. This versatile floral pattern works beautifully for any season, making it one of the most adaptable nail ideas you can master.
Recommended Products

18 Essential Salon Colors gel polish kit: Beetles Pro Professional-grade gel polish shades curated for salon services. The Poetry of Garden palette includes 18 high-frequency neutrals and deep tones for elegant monochrome, French Nails, or minimalist Pastel nail designs
Painting Perfect Flower Petals
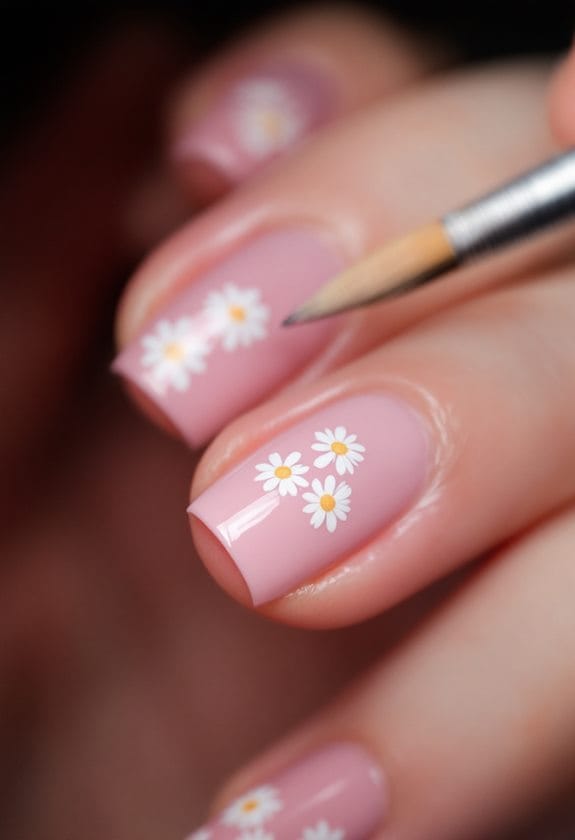
Now that your base design is ready, mastering the art of flower petals will take your nail design to the next level. Creating perfectly spaced petals is the key to achieving a cute nail design that looks professionally done and beautifully balanced.
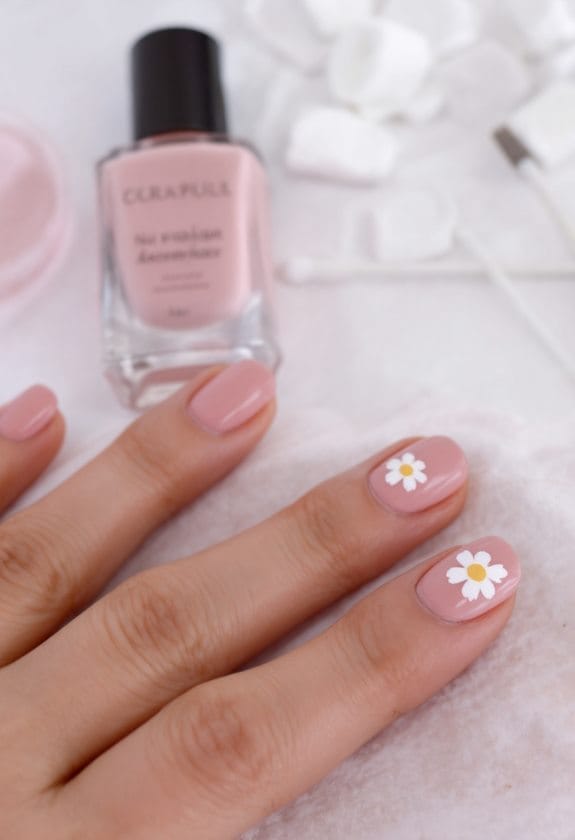
Start by using your dotting tool to place six white dots in a circular pattern, ensuring they're evenly spaced around where you want your flower to be. Each petal should be the same size and shape, which you'll achieve by applying consistent pressure with your dotting tool. You'll want to work methodically, creating one flower at a time to maintain control over your design.
Once your white petals have dried completely, it's time to add the eye-catching centers. Select a vibrant yellow polish and carefully place a smaller dot in the middle of each flower arrangement. Don't be afraid to experiment with different color combinations – try pastels for a soft, romantic look or bold hues for a more dramatic effect. Remember to let each layer dry thoroughly before moving on to prevent smudging and maintain those crisp, clean lines in your design.
Recommended Products

Fine Craftsmanship, Flawless Nail Art - Joya Mia’s professional Kolinsky acrylic nail brush is meticulously crafted from 100% pure Kolinsky hair. This nail brush for acrylic nails ensures precision and accuracy in every stroke, allowing you to create intricate and flawless designs effortlessly.
Adding Floral Centers
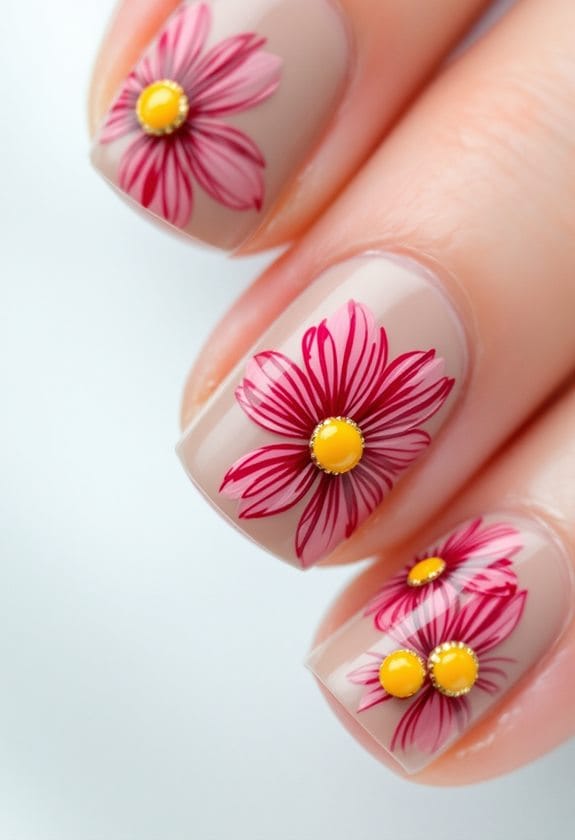
Creating eye-catching flower centers transforms your petal design into a lifelike floral masterpiece. The key to achieving stunning centers lies in your choice of tools and careful application timing, making your nail art pop with professional-looking details.
Start by letting your flower petals dry completely to prevent any unwanted smudging or mixing of colors. Once they're ready, grab your dotting tool or a clean toothpick to create perfectly sized center dots. You'll love how a contrasting yellow polish brings instant life to your flowers, making them look fresh and dimensional.
For a more sophisticated look, try layering your center dots with different colors. Start with a white base dot, then add a smaller yellow dot on top for a stunning two-tone effect. Don't be afraid to experiment with varying dot sizes across your flowers, as this creates natural-looking variety in your design.
Want to take your floral centers to the next level? Add tiny accent dots around the main center using a thin brush, creating beautiful pollen-like details that'll make your nail art look incredibly realistic and professionally done.
Recommended Products

【12 Vibrant Highly Pigmented Colors】This nail art pens set features 12 rich, eye-catching shades—from bold reds, purples, and metallics to soft pastels—covering all style needs. The highly pigmented formula ensures vivid, long-lasting color that resists chipping, water, and heat, making your nail designs stand out for daily wear or special occasions.
Decorative Leaf Details
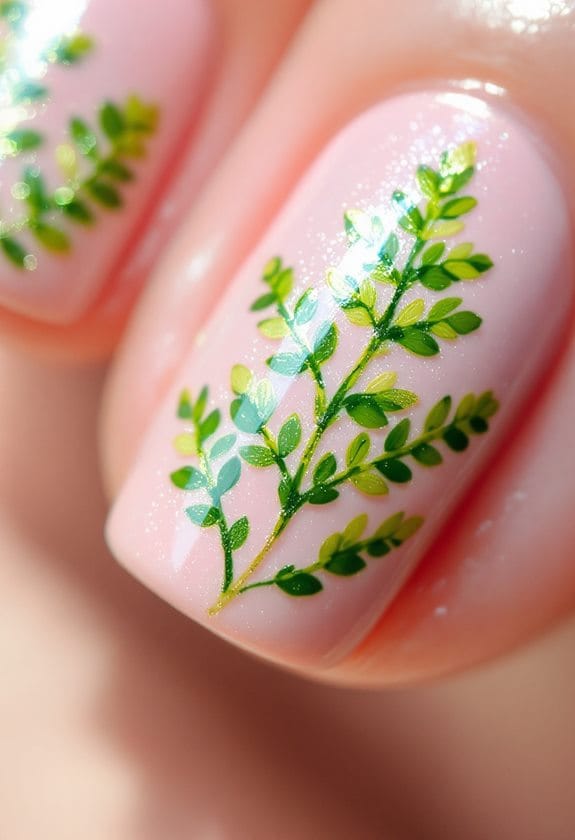
Your floral nail art will come alive when you add stunning green leaves around your blooms, creating a perfect natural balance across each nail. Using a thin nail art brush dipped in vibrant green polish, you'll want to paint small triangular leaves at varying angles to frame your flowers beautifully. Position these quick green accents strategically between and around your floral designs, making sure they're evenly distributed to create a professionally finished look.
Leaf Placement Techniques
The artful placement of leaves brings life and dimension to your floral nail designs. When mastering leaf placement techniques, you'll want to strategically position your green accents to create a balanced, natural-looking arrangement that complements your flowers perfectly.
Start by practicing your leaf shapes on paper, using a thin brush to create small triangular forms that'll serve as your signature leaves. Once you're confident, begin applying Running in Circles green polish to your nails, varying the size and direction of each leaf. You'll find that placing larger leaves near the base of flowers and smaller ones along the stems creates a stunning sense of depth.
For the most natural look, don't align your leaves in perfect rows. Instead, scatter them organically around your nail art, ensuring they frame your floral elements without overwhelming them. Add tiny accent dots using a toothpick between some leaves to create interesting negative space and texture. Remember to maintain balance by distributing leaves evenly across your design, paying special attention to areas that might look sparse or heavy-handed.
Quick Green Accents
Skilled nail artists know that quick green accents can transform a basic floral design into a garden-worthy masterpiece. With a thin paintbrush and vibrant nail lacquer like Running in Circles, you'll create delicate triangle leaves that bring your floral artwork to life.
Once your flower designs have completely dried, you're ready to add those perfect green details. Hold your thin brush at different angles to paint small, varied leaves around each flower, creating natural-looking foliage that adds depth to your design. You'll want to experiment with leaf sizes, making some tiny and others slightly larger for a more authentic garden appearance.
The key to stunning green accents lies in your placement strategy. Position your leaves strategically around the blooms, ensuring they complement rather than overwhelm your floral patterns. Don't forget to let each green accent dry completely before applying a clear top coat, which will seal your artwork and give it that professional salon shine. With these simple techniques, you'll create gorgeous botanical nail art that looks like it's straight from a professional's portfolio.
Color Combinations That Work
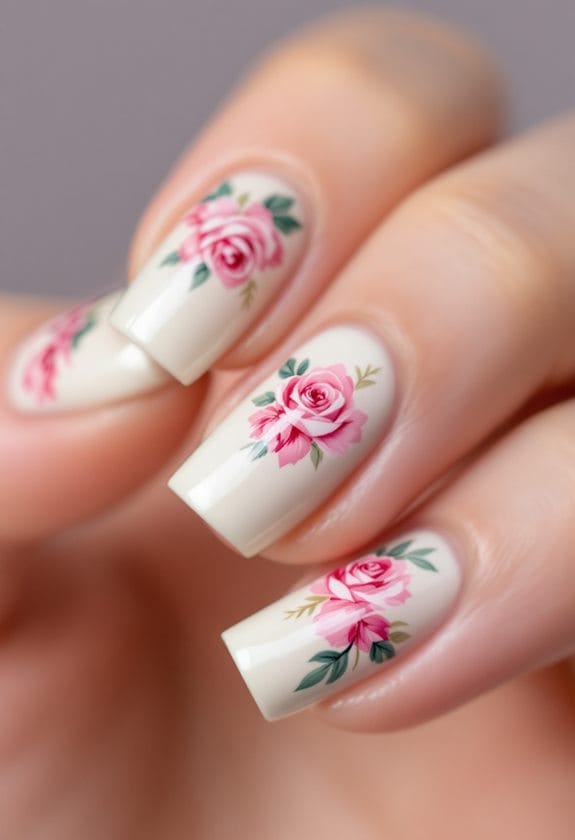
Creating stunning floral nail art starts with selecting harmonious color combinations that bring your designs to life. You'll find that pairing mint-based polishes like 'Keep Calm Paint On' with peach nail polish tones creates an instantly rejuvenating and modern look that's perfect for spring and summer.
For a soft, romantic approach, try combining 'Dandy Lyin Around' as your base with gentle pastels. You'll love how this vanilla white shade makes your floral details pop while maintaining an elegant, sophisticated appearance. When you're adding natural elements, 'Running in Circles' green offers the perfect complement for leafy accents that frame your flowers beautifully.
Don't be afraid to experiment with unexpected pairings that'll make your nail art stand out. Try mixing teal with peach tones for a contemporary twist, or combine lavender with sunny yellow for a fresh take on traditional florals. For a cheerful daisy design that's sure to turn heads, layer different shades of pink, yellow, and orange, finishing each flower with crisp white centers that really make the design shine.
Professional Finishing Techniques
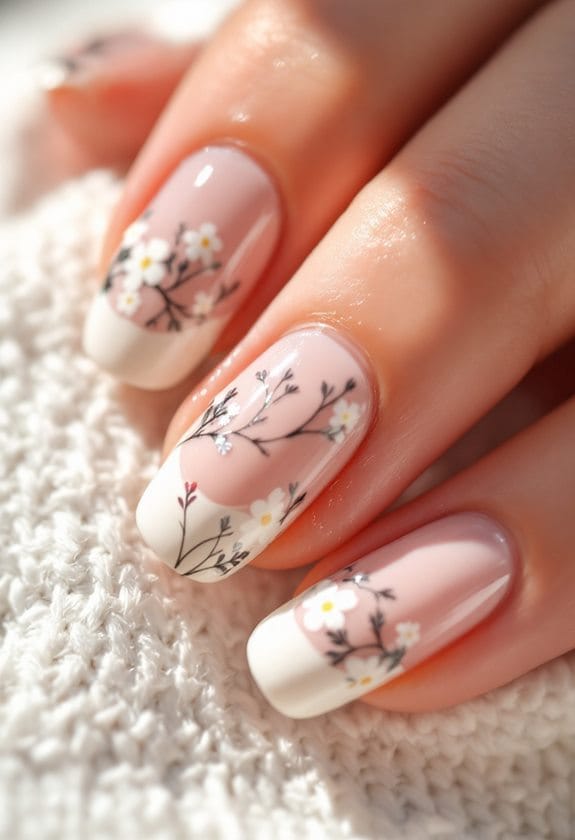
Mastering professional finishing techniques will elevate your floral nail art from amateur to salon-worthy status. Like any professional nail tech, you'll want to guarantee your artistic creation stays perfect and pristine with the right finishing touches.
Start by letting your floral design dry completely, which is absolutely essential for maintaining those stunning details you've worked so hard to create. Once you're confident the design is dry, reach for a high-quality clear top coat that'll give your flowers that gorgeous, glossy shine while protecting every delicate petal and leaf.
When you're ready to apply the top coat, use smooth, confident strokes from the base to the tip, just as they do in professional salons. You'll want to be extra gentle to avoid disturbing your beautiful artwork underneath. For best results, opt for a quick-dry top coat that'll set your design faster and prevent any accidental smudges or dents.
Don't forget to clean your brushes thoroughly after each use with acetone or nail polish remover. This simple maintenance step guarantees your tools stay in perfect condition for creating more stunning floral masterpieces in the future.
Troubleshooting Common Mistakes
Even with perfect finishing techniques, floral nail art can present some common challenges that may test your patience. The key is staying calm and knowing how to fix these issues quickly, especially when working with tricky white polish that can streak or become patchy.
If you notice your polish layers lifting or smudging, you're probably rushing between coats, so make sure each layer is completely dry before moving forward. When your lines appear shaky or uneven, try practicing the design on paper first, and remember to maintain light, steady pressure with your nail art brush. For polish that's become too thick and goopy, don't toss it out – simply add a few drops of nail polish thinner to restore its smooth consistency.
Keep a clean-up brush handy for those inevitable slip-ups, and don't hesitate to use it with nail polish remover to perfect your edges. If you're struggling with precise petals or leaves, slow down and break the design into smaller, more manageable strokes. Remember, even professional nail artists make mistakes – it's how you fix them that matters!
Frequently Asked Questions
How to Do Easy Nail Designs for Beginners?
Start with a solid base coat, then try beginner techniques like polka dots using a toothpick, simple stripes with tape, or basic color blocking. Don't forget to seal your design with top coat.
How Do You Apply Nail Art Step by Step?
Think you're ready for nail art mastery? Start with base color, let it dry (seriously, don't rush), create your design with brushes or tools, add details patiently, and seal with topcoat. It's that deceptively simple!
Which Nail Art Technique Is One of the Easiest Techniques?
The dotting technique is one of the easiest nail art methods you'll master. You can create simple shapes and patterns by using a dotting tool or toothpick to make dots, flowers, and other basic designs.
How Do You Make Sunflower Nail Art?
You'll start with a yellow base coat, add a brown center dot, create petals around it with darker sunflower colors, outline them for detail, and finish with a clear top coat for shine.