As an Amazon Associate, we earn from qualifying purchases. Some links on this site are affiliate links at no extra cost to you. Our recommendations are based on thorough research and editorial judgment.

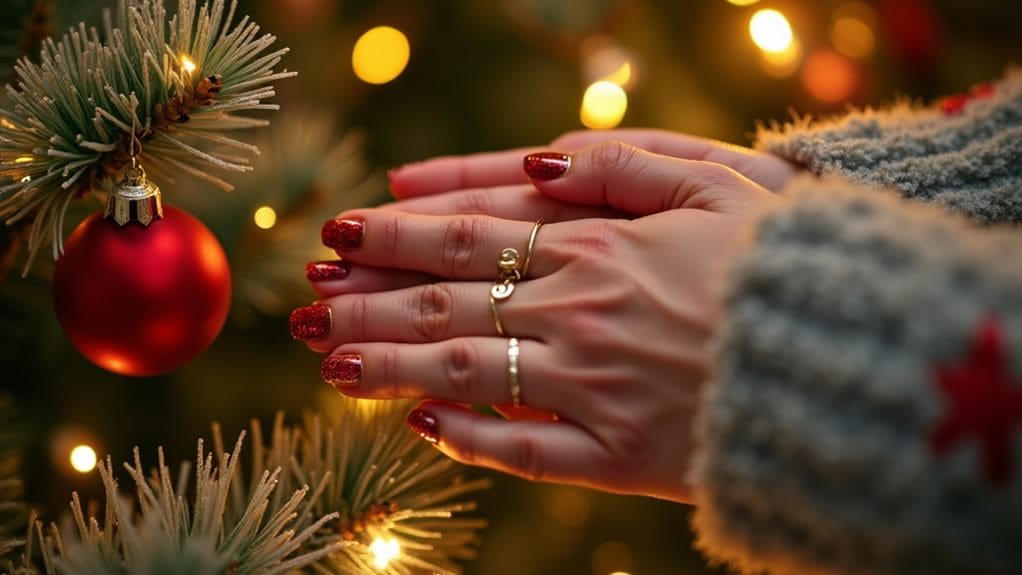
What Holiday Nail Art Will Charm Your Tree?

Transform your holiday manicure into a festive masterpiece with twinkling tree charm designs that'll make your nails sparkle. You'll love working with 7x11mm crystal rhinestone studs, available in sets of two, paired with classic red and green or elegant burgundy and gold combinations. Start with thorough nail prep, apply your chosen base color, and use tweezers for precise charm placement. Create depth by alternating rhinestone sizes, and seal your design with a protective top coat for lasting shine. Whether you prefer sophisticated styles or playful patterns, there's a magical holiday nail look waiting to inspire your seasonal spirit.
Key Takeaways
- Crystal Christmas tree charms measuring 7x11mm create elegant nail designs when applied with nail glue and come in sets of two.
- Combine traditional red and green polish with metallic accents for a classic tree-inspired manicure that sparkles.
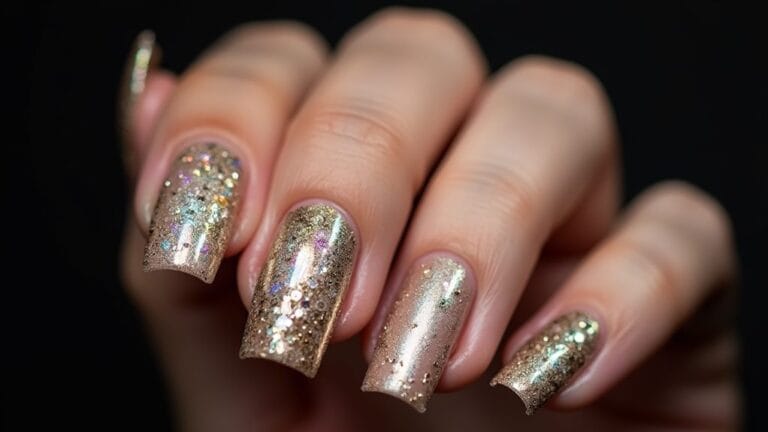
- Layer fine and chunky glitter over clear polish to create dimension resembling twinkling lights on a Christmas tree.
- Apply rhinestones in triangle formations to create miniature abstract Christmas trees on accent nails.
- Use emerald green polish with gold glitter accents to capture the essence of a decorated Christmas tree.
Twinkling Tree Charm Designs
During the holiday season, Twinkling Tree Charm Designs offer a dazzling way to showcase your festive spirit through nail art. You'll love how these stunning Christmas Tree rhinestone crystal studs, measuring 7 mm x 11 mm, instantly elevate your festive manicure with their sparkly appearance.
Creating your holiday nail art masterpiece is wonderfully simple with these reusable charms. You'll find that applying them requires just a few drops of nail glue on your finished manicure, allowing for perfect customization of your seasonal look. The twinkling tree charms come in convenient sets of two, giving you multiple options for your nail art designs.
What makes these charms particularly special is their durable construction from quality rhinestone and crystal components. You'll be able to use them repeatedly throughout the holiday season, making them a smart investment for your nail art collection. The versatile holiday aesthetic they create works beautifully for everything from casual gatherings to formal celebrations, ensuring your nails always capture the magic of the season with their enchanting sparkle and professional finish.
Festive Color Combinations To Try
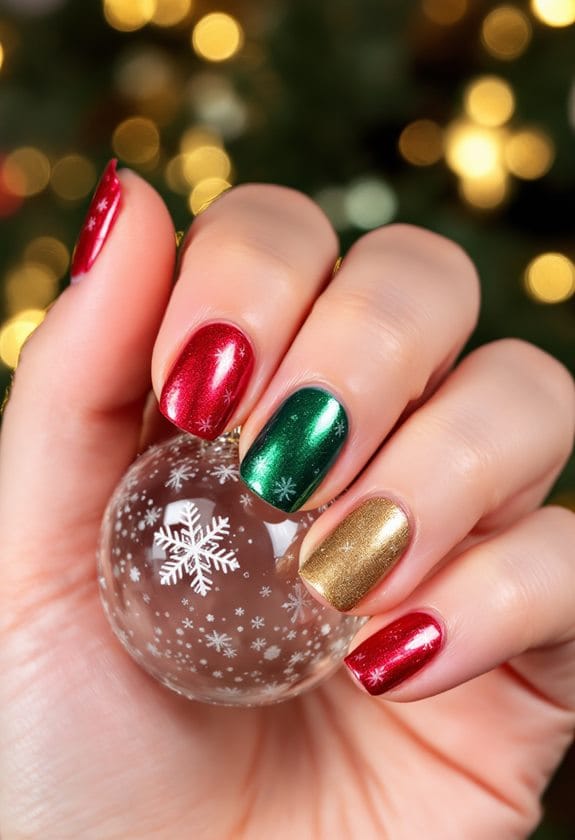
With your twinkling tree charms in place, selecting the perfect color palette will complete your holiday nail design. The classic Christmas combination of red and green never fails to capture the festive spirit, creating a timeless look that's both cheerful and traditional.
You'll find that deep burgundy paired with gold accents offers a sophisticated twist on traditional nail art, perfect for those elegant holiday gatherings. For a winter wonderland effect, try incorporating icy blues with silver details, creating a stunning frost-inspired design that'll sparkle throughout the season.
If you're looking to make a bold statement, emerald green nail art with metallic touches delivers the perfect amount of drama and sophistication. The rich, jewel-toned shade creates an eye-catching effect that's sure to draw compliments at any festive celebration.
Don't forget about the magic of glittery reds paired with crisp white designs – it's a festive color combination that captures the enchanting essence of the season. This sparkling duo works beautifully for both simple patterns and intricate holiday-themed designs, ensuring your nails become a standout accessory at any celebration.
Rhinestone Placement Tips
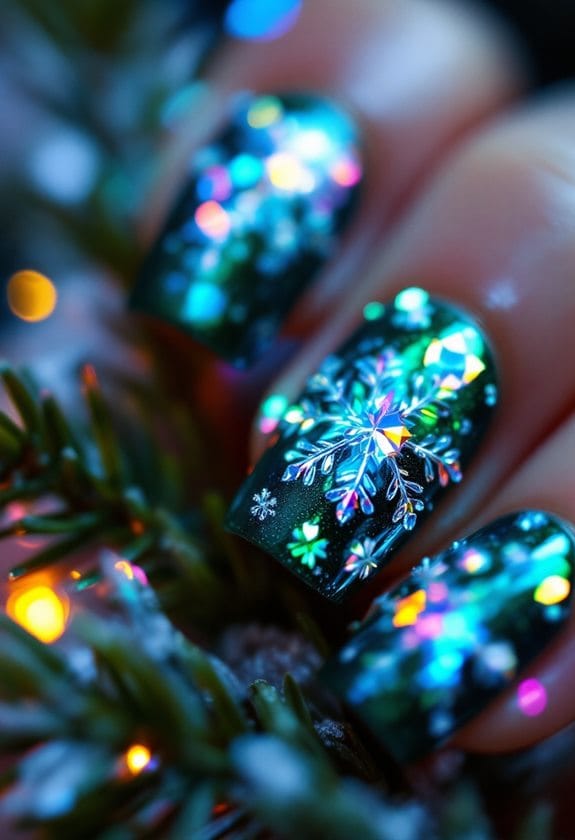
Mastering rhinestone placement transforms your holiday nail art from simple to spectacular. When you're ready to add some sparkle to your finished manicure, start by applying a few drops of nail glue strategically on your nails, ensuring you've planned out your design in advance.
You'll find that using tweezers gives you perfect control over each rhinestone's placement, allowing you to create stunning patterns that complement your holiday aesthetic. Try alternating between different sizes of stones to add depth and visual interest to your design, or create an eye-catching cluster near your cuticle for a unique charm.
For the most professional-looking results, you'll want to seal your masterpiece with a protective top coat. This extra step adds incredible durability to your nail art, keeping those sparkly stones firmly in place throughout all your holiday celebrations. Whether you're planning a simple accent nail or a full set of dazzling designs, these placement tips will help you achieve salon-worthy results. Remember to experiment with different arrangements until you find the perfect balance between festive and sophisticated, creating a look that's uniquely yours.
Recommended Products

Secure gems and rhinestones with Gem-Tac, a premium quality adhesive that won't warp or alter their appearance.

Beetles Scorpio-Inspired Midnight Vampire Theme: Inspired by Scorpio’s mysterious and powerful energy, this Midnight Vampire gel nail kit blends gothic elegance with dark romance. Black, purple, burgundy, and deep red shades create a bold, seductive manicure that feels confident, magnetic, and unforgettable.

【Dual Light Source & Fast Curing Nail】Lavinda gel UV led lamp comes with 36pcs dual light source lamp beads, the light shines from all directions and dries nail polish quickly. And the light is soft (365+405nm) and not glaring which won't hurt your eyes and without tanning your hands. This flash cure lamp can fast dry all types of manicures and nail art.
Holiday Glitter Application Techniques
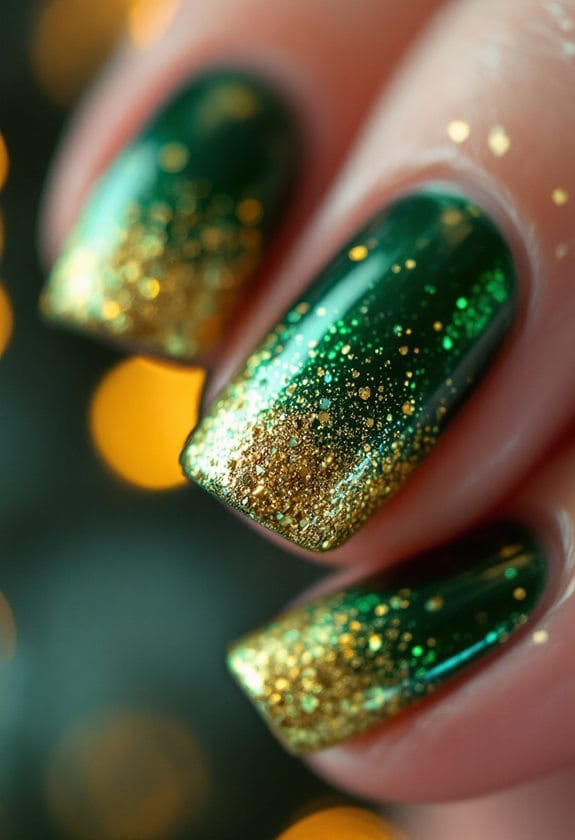
Creating stunning holiday glitter nails starts with laying down a smooth base coat of regular polish. This essential first step guarantees your holiday glitter application will have the perfect surface to stick to, leading to even coverage that'll make your festive designs pop.
You'll discover amazing options for applying your glitter nail art. For maximum sparkle, try applying a clear top coat and sprinkling loose glitter directly onto your wet nails, sealing it with another protective layer. If you're aiming for an ombre look, grab a makeup sponge and gently dab your glitter polish from the tip downward, creating a gorgeous gradient effect that's perfect for holiday parties.
You can customize your sparkle intensity based on your style preferences. Choose fine glitter for a subtle shimmer that's office-appropriate, or go bold with chunky glitter that'll catch everyone's eye. No matter which option you select, always finish with a high-quality top coat to seal your masterpiece. This final step not only adds incredible shine but also guarantees your glittery creation stays flawless throughout all your holiday celebrations.
Recommended Products

18 Essential Salon Colors gel polish kit: Beetles Pro Professional-grade gel polish shades curated for salon services. The Poetry of Garden palette includes 18 high-frequency neutrals and deep tones for elegant monochrome, French Nails, or minimalist Pastel nail designs

28Pcs Same Color Same Bottle Gel Polish: 24pcs 15ml gel polish for all season,2 pcs clear top gel and 1 pcs gel base gel and 1 pcs building gel, need to be cured under UV or LED Lamp for 60-120s. . Please shake the bottle or warm it with hot water before use, to acheive a better effect.

❤ Sparkly Cat Eye & Glitter Toppers: These toppers are great for layering and can add an extra sparkle to any base color or help you create a one-of-a-kind jelly sandwich effect when paired with translucent color gels.
Nail Prep For Crystal Charms
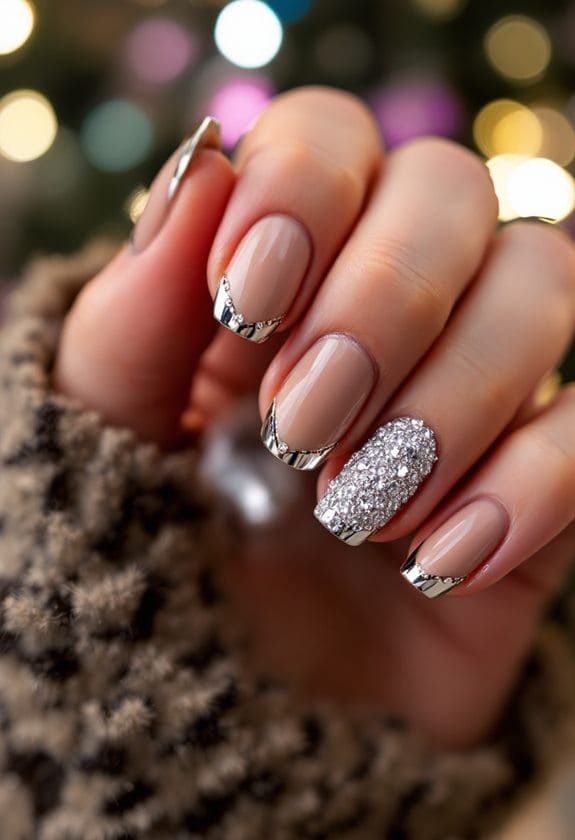
Proper nail preparation sets the stage for dazzling crystal charm designs that'll turn heads this holiday season. Your nail prep journey begins with thoroughly cleaning your nails, removing any traces of old polish or debris that could interfere with your festive look.
Start by applying a quality base coat, which creates the perfect foundation for your crystal charms while protecting your natural nails from staining. Once it's completely dry, select a vibrant nail polish that'll make your crystals pop, choosing colors that capture the magic of holiday nail art.
After your color layer sets, you'll need to strategically apply nail glue for your crystal charms, ensuring each placement is precise and intentional. Position your charms carefully, pressing them gently into place to create stunning dimensional designs that sparkle with every movement.
For a durable manicure that lasts throughout the holiday celebrations, seal your work with a protective top coat. This final step not only secures your crystal embellishments but also adds an extra layer of shine that'll keep your nail art looking fresh and festive all season long.
Recommended Products

Triple reinforced ROUNDED bullnose front with non skid fiber pad backing.

Bonds to: Brick, concrete, stone, glass, metal, plastic, tile, wood and more!

ROOF SEALANT – Stop your roof leak with a roof repair sealant that adheres to almost anything and keeps water out
Seasonal Inspiration For Manicures
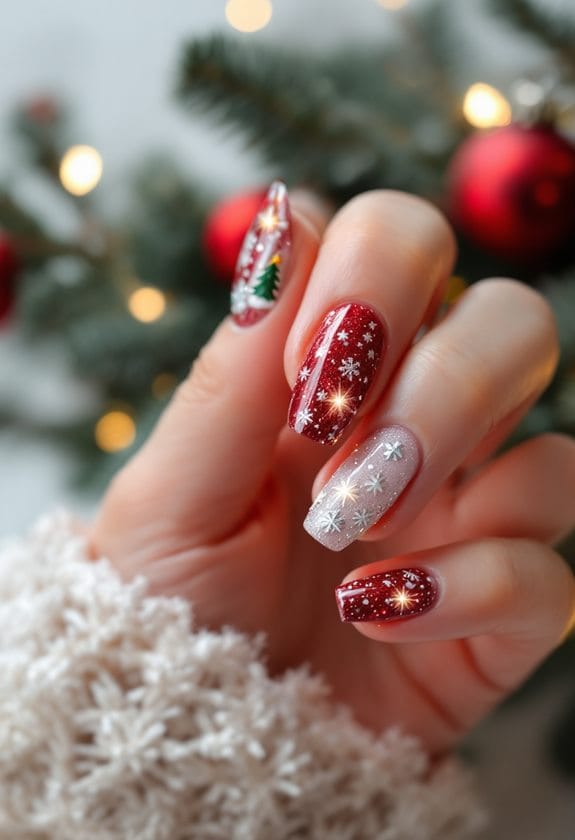
The magic of holiday nail art draws inspiration from cherished seasonal traditions and festive motifs. When you're planning your Christmas nail art ideas, you'll find endless possibilities that capture the spirit of the season through color and design.
Start with classic holiday colors by combining red polish and green polish in playful patterns, creating a timeless look that's perfect for any festive outfits. You can elevate your manicure with seasonal patterns like plaid or incorporate delicate snowflakes that sparkle with metallic finishes in gold and silver. These stunning combinations will make your nails truly stand out at holiday gatherings.
For those who love whimsical themes, try adding cheerful designs featuring Santa, reindeer, or holly leaves. You can enhance these looks with nail charms, especially crystal embellishments that catch the light beautifully. Don't hesitate to mix and match different holiday elements – perhaps a candy cane pattern on one nail and a glittering snowflake on another. The key is to select designs that reflect your personality while embracing traditional holiday elements, creating a manicure that's both festive and uniquely yours.
Creating Your Signature Holiday Look
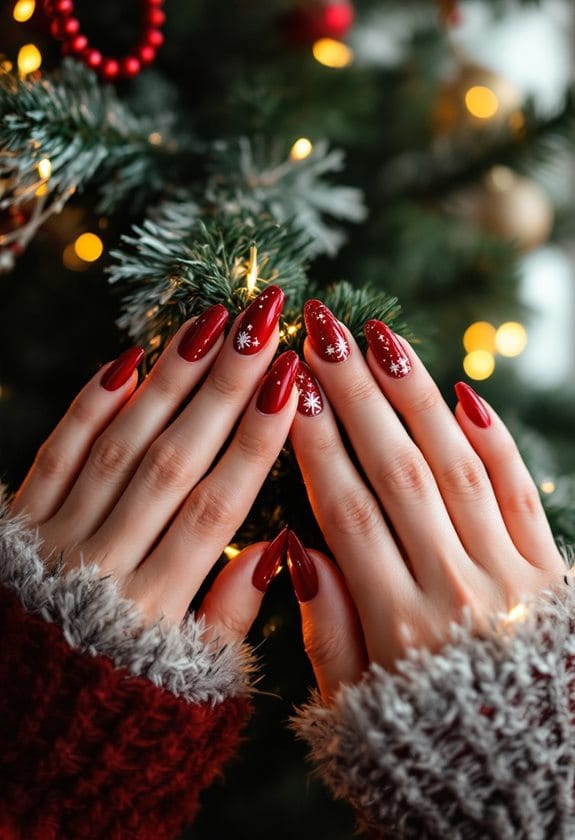
With endless possibilities at your fingertips, developing your signature holiday nail look lets you stand out during the festive season. You'll discover that combining vibrant colors like classic reds and icy blues creates a stunning base for your unique nail art expression.
Add a magical touch to your manicure by incorporating holiday nail charms, such as delicate Christmas tree rhinestones that bring dimension and sparkle to your design. These reusable decorations provide a festive touch while allowing you to switch up your style throughout the season.
Create depth in your signature style by experimenting with playful patterns, from twinkling Christmas lights to charming gift-wrapped designs. For a sophisticated approach, try updating a traditional French manicure with bold red tips or adding glitter accents along the edges.
Your holiday look isn't complete without a dash of shimmer, so don't hesitate to incorporate gold dust or sparkling silver elements into your design. Whether you prefer elegant classics or bold statements, your nail art can perfectly reflect both your personality and the joyful spirit of the season.
Frequently Asked Questions
How to Do Christmas Tree Nail Art?
Begin with a festive base coat, paint a triangular Christmas tree shape, add glitter tips for ornaments, dot on colorful decorations, and finish with a star. Don't forget a clear topcoat for lasting holiday charm.
What Holiday Nails Match Everything?
You'll find soft neutrals with subtle sparkle accents match everything during the holidays. Try beige or taupe bases with minimal festive designs, or add tiny gold accents for versatile, sophisticated seasonal manicure trends.
What Is the Best Color for Christmas Nails?
Picture a winter wonderland on your fingertips! You can't go wrong with festive red or glittery green for classic charm, while metallic gold and shimmery silver add glamorous sparkle that'll dazzle at any holiday celebration.
What Is the Meaning of Christmas Nails?
You'll express holiday spirit through festive nail trends and Christmas nail designs. Your holiday manicure inspiration combines winter nail colors, glitter polish, and themed stickers to create meaningful DIY art celebrating the season's joy.