As an Amazon Associate, we earn from qualifying purchases. Some links on this site are affiliate links at no extra cost to you. Our recommendations are based on thorough research and editorial judgment.

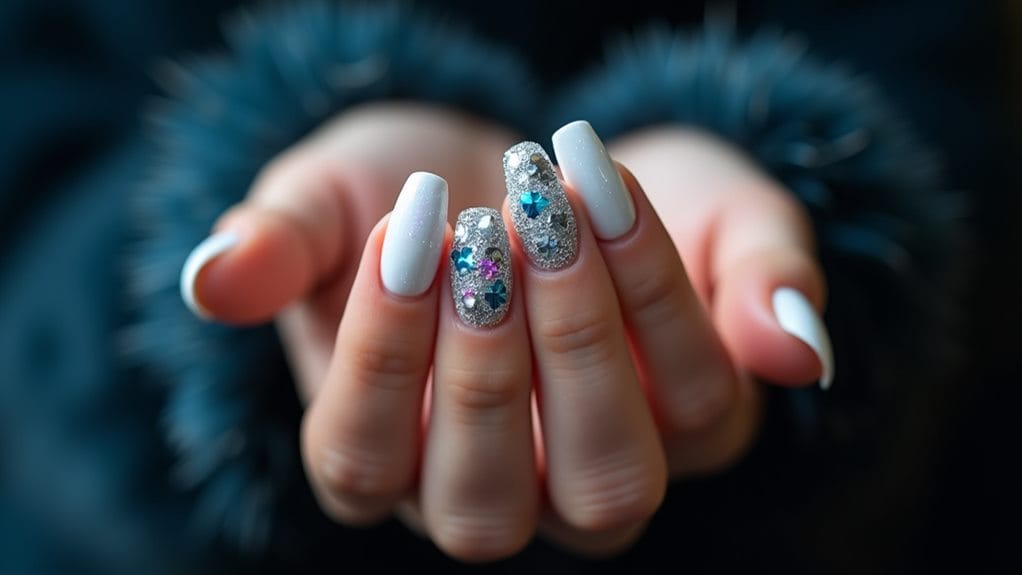
Magical Winter Nail Art With Delicate Snowflakes

Transform your winter manicures into enchanting works of art with delicate snowflake designs that capture the season's magic. You'll create stunning looks using classic white and silver patterns on solid-colored bases, or add sparkle with holographic glitters and shimmering top coats. Try French tips adorned with frosty details, or embrace minimalist patterns using negative space techniques. You can experiment with textured effects using velvet powders and chunky glitters, while sophisticated color combinations like midnight blue and icy white make your snowflakes pop. These versatile winter designs offer endless possibilities to express your seasonal style.
Key Takeaways
- Create delicate snowflakes using a fine-tip brush or toothpick on solid-colored base polish for maximum visibility and elegance.
- Layer shimmer polishes with holographic elements to achieve a magical, multidimensional winter frost effect on nails.
- Combine white or silver snowflakes with glitter accents on alternating nails for a sophisticated yet festive winter design.
- Use contrasting colors like midnight blue or burgundy with white snowflakes to make designs pop and enhance visual appeal.
- Apply a mix of matte and glossy top coats over snowflake designs to create depth and protect intricate details.
Classic Standalone Snowflake Designs
During the winter season, classic standalone snowflake designs offer a timeless and sophisticated approach to nail art. You'll find these delicate snowflakes are surprisingly easy to create using a fine-tip brush or toothpick, making them perfect for both DIY enthusiasts and professional nail techs alike.
To achieve this elegant look, start with a solid-colored base that'll make your snowflakes pop. White and silver snowflakes are traditional choices that never go out of style, but don't be afraid to experiment with different colors to match your personality. The beauty of simple snowflake designs lies in their versatility, as they work beautifully for both casual outings and formal events.
When creating intricate patterns, focus on using negative space techniques to maintain a clean, sophisticated appearance. You'll want to keep your design balanced and not overcrowded, letting each snowflake shine as a statement piece. Finally, seal your masterpiece with a glossy top coat that'll protect your design and give it that professional finish. This classic approach guarantees your winter-inspired nail art stays fresh and fabulous throughout the season.
Recommended Products

Beetles Stpatrick Nail Art Gel Set: Perfect Choice Collection Gel Kit contains 5ml*50 different colors: Red, Orange, Yellow, Green, Blue, Purple, Pink, Black, White, Brown, Silver, Gold...incredible amounts of colors! Perfect for those trendy squiggly lines abstract painting that is so popular now.

ALL-IN-ONE 80 Pcs Gel Nail Polish Kit: This gel nail polish set includes 55 colors gel polish, base coat x 1, glossy top coat x 1, matte top coat x 1, glitter top coat x 1, a professional nail lamp and 20 pcs other nail tools. Great for beginners or people who do manicures at home to enjoy DIY nail art, relax at home, or as a gift for someone special. We provide you with Christmas style stickers that can be used to decorate the nail lamp or the surrounding area.

Fall Gel Nail Polish Kit: 36 colors gel nail polish colors (0.17oz/5ml each bottle) + 3 x no wipe base and glossy matte top coat (0.25oz/7.5ml each bottle). Color theme: Wild flowers in ocean breeze, golden leaves on my bare hands, and glittering snowflakes, these are all my favorite things.
Glitter and Shimmer Combinations
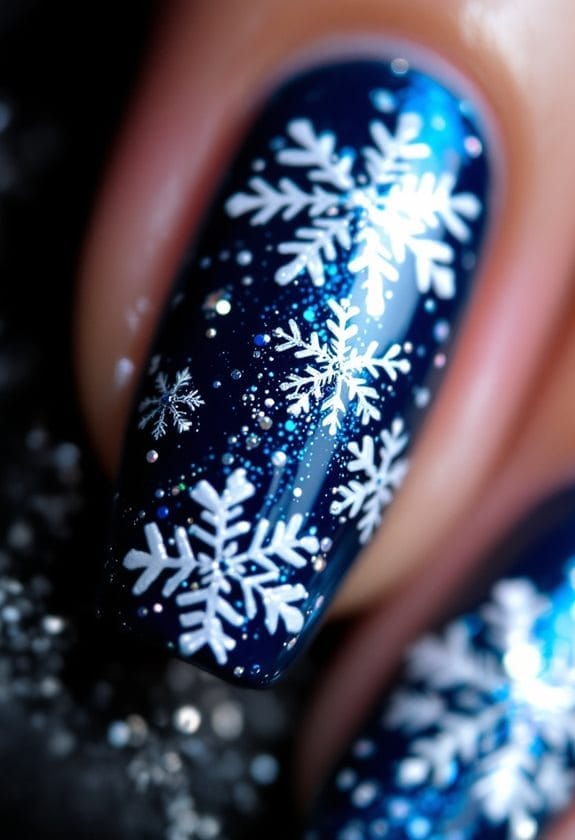
Your winter nail designs will come alive when you dust sparkling glitter over freshly painted snowflake tips, creating a magical frosted effect that catches every bit of light. You'll love how holographic elements add an extra dimension to your winter-themed manicure, transforming basic patterns into stunning, ice-crystal masterpieces. The combination of shimmer polishes with chunky glitter accents lets you create a multifaceted look that perfectly captures the enchanting essence of a snow-covered landscape.
Recommended Products
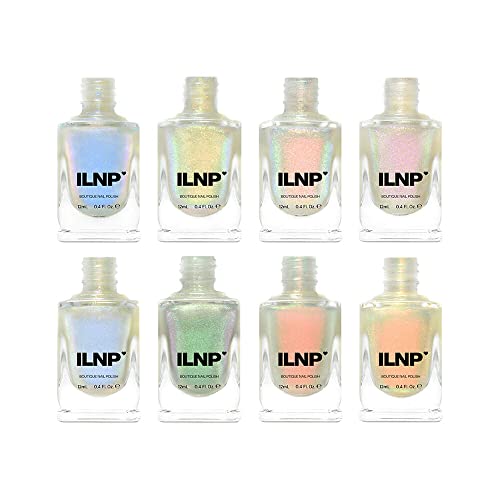
VIVIDLY VIBRANT NAIL POLISH TOPPERS - Transform any manicure into something truly magical with the Real Magic Toppers Collection!

CREAMY, BRIGHT, AND SPARKLY SPRING NAIL POLISHES - The Sugar Lush Collection is the perfect combination of sweet, sparkly, and fun!

Versatile: So versatile and usable for any situation
Sparkle-Dusted Snowflake Tips
On the quest for enchanting winter nail designs, sparkle-dusted snowflake tips offer a magical way to capture the season's frosty beauty. You'll love how delicate snowflakes come to life when you combine fine glitter with shimmering polishes, creating a dazzling effect that's perfect for the holiday season.
To achieve these glittery tips, start with a contrasting base color like deep midnight blue or pure white to make your snowflakes stand out. Using a fine-tip brush, carefully paint your snowflake design, then immediately dust ultra-fine glitter over the wet polish to guarantee it sticks perfectly. The holographic or iridescent particles will catch the light, mimicking real snow's sparkle on a sunny winter morning.
For an extra touch of glamour, layer different types of shimmer polishes over your snowflakes, building dimension and depth that'll make your nail art truly pop. Don't forget to seal your creation with a glitter-infused top coat, which will not only protect your design but also add an additional layer of sparkle that ties the whole look together beautifully.
Holographic Winter Frost Effects
Winter's most enchanting nail designs come to life through holographic frost effects that transform ordinary manicures into spectacular light shows. You'll discover how holographic nail polishes create a mesmerizing effect that perfectly captures the season's icy beauty, making every movement of your hands a dazzling display.
To achieve this magical winter atmosphere, start with a dark or vibrant base coat that'll make your holographic elements truly stand out. You can layer holographic glitter over your favorite snowflake designs, creating depth and dimension that sparkles like fresh frost on a winter morning. The combination of glossy and holographic elements delivers a stunning contrast that's sure to catch everyone's eye.
For an extra festive flair during holiday celebrations, try incorporating holographic foils or confetti into your nail art. You'll love how these special additions create unique patterns that maintain an elegant aesthetic while adding playful dimension to your winter-inspired manicure. Whether you're attending formal events or casual gatherings, these shimmering effects offer the perfect balance of sophistication and seasonal charm that'll make your nail art truly unforgettable.
French Tips With Frosty Details
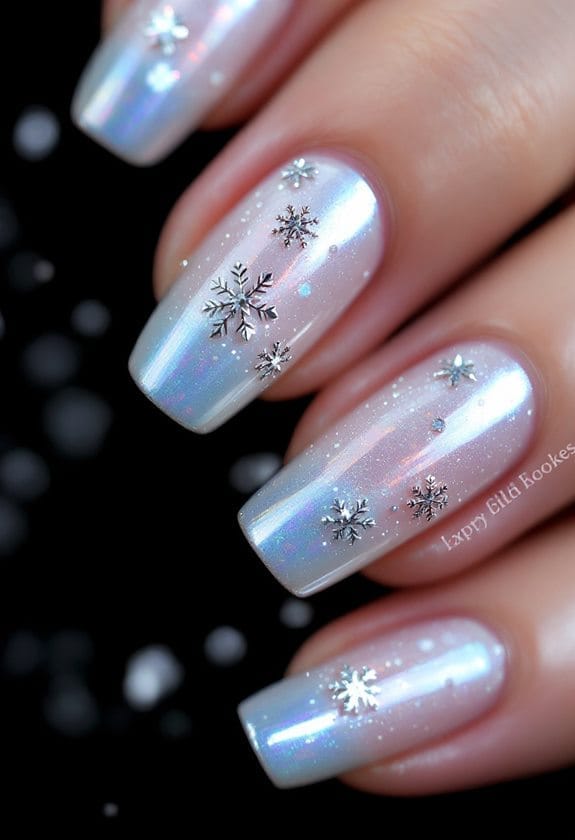
You'll love how French tips take on a magical winter mood when you add sparkling white polish and delicate snowflake designs along the tip line. Creating this look starts with choosing a soft, neutral base color that lets your frosty details shine, whether you're going for classic white or icy blue accents. Your winter-inspired French tips become even more stunning when you strategically place tiny snowflakes and add touches of shimmer powder or metallic polish to catch the light.
Recommended Products

COZY SNOW DAY-INSPIRED NAIL POLISHES - Find comfort in Snow Day, a 6-piece Studio Color collection that captures winter at its most serene. Creamy hues sweep from mauve and tawny warmth to soft ivory and frosted blues, each one as inviting as a snow-covered morning spent wrapped in blankets.

Snowflake Christmas Path Lights: 2 pack 27 feet 5 pieces snowflake lights with stakes available, with 2.6 feet stake spacing, amazing for marking up a festival and dynamic pathway to your home, garden or garage
Sparkly White Tips Technique
Transforming classic French tips into a winter wonderland starts with this enchanting sparkly white tips technique. You'll begin by applying a nude or soft pink base coat that creates the perfect canvas for your frosty masterpiece, allowing the decorative elements to truly shine against the neutral background.
Once your base is set, you'll use your fine-tip brush to create delicate snowflakes along the tips, spacing them evenly to maintain that classic French manicure feel while adding a magical winter aesthetic. The key to stunning results lies in the careful placement of each crystalline design, ensuring your snowflake patterns flow naturally across each nail.
To elevate your winter nail art even further, you'll add a touch of glitter polish along the tips, creating a mesmerizing sparkle that catches the light just like freshly fallen snow. This extra dimension transforms your manicure from beautiful to breathtaking, perfectly capturing the essence of a crisp winter morning. Finally, seal your creation with a glossy top coat that not only preserves your intricate designs but also adds that professional finishing touch you're looking for.
Snowflake Accent Placement
Building on the classic French manicure style, strategic snowflake accent placement can take your winter nail art to new heights. You'll achieve a stunning winter look by carefully positioning delicate snowflakes along your French tips, creating a sophisticated balance between classic and festive designs.
When placing your snowflake accents, you've got several perfect spots to reflect upon. Try positioning a single, detailed snowflake at the outer corner of each French tip, or create a cascading effect with multiple snowflakes descending from the tip toward the cuticle. You can enhance your design by mixing pure white with metallic colors like silver or gold, adding dimension to your frosty finish.
For a unique design that stands out, vary the sizes of your snowflakes and experiment with different orientations. Use a fine-tip brush or dotting tool to add these delicate details with precision, and don't forget to seal your masterpiece with a shimmering top coat. This extra touch of shimmer will not only protect your nail art but also create that magical, winter-wonderland effect you're looking for.
Base Color Selection
Every successful winter nail design starts with selecting the perfect base color for your French tips. You'll want to choose frosty shades that create a stunning winter wonderland effect, like soft whites and icy blues, which serve as the perfect canvas for your nail art.
When you're aiming for a visually striking look, consider working with shimmering polishes that catch the light and add dimension to your design. These lustrous base colors will make your delicate snowflakes pop, especially when you incorporate metallic accents. You can even experiment with a gorgeous gradient effect, shifting from your chosen base color to an ethereal frosty shade at the tips.
For a festive touch that maintains sophistication, try layering pearl-finish polishes with subtle shimmer. This creates an enchanting backdrop that makes your French tips look like they're dusted with winter frost. Remember that your base color choice will dramatically impact how your snowflake details appear, so opt for hues that complement rather than compete with your planned design elements.
Minimalist Winter Pattern Ideas
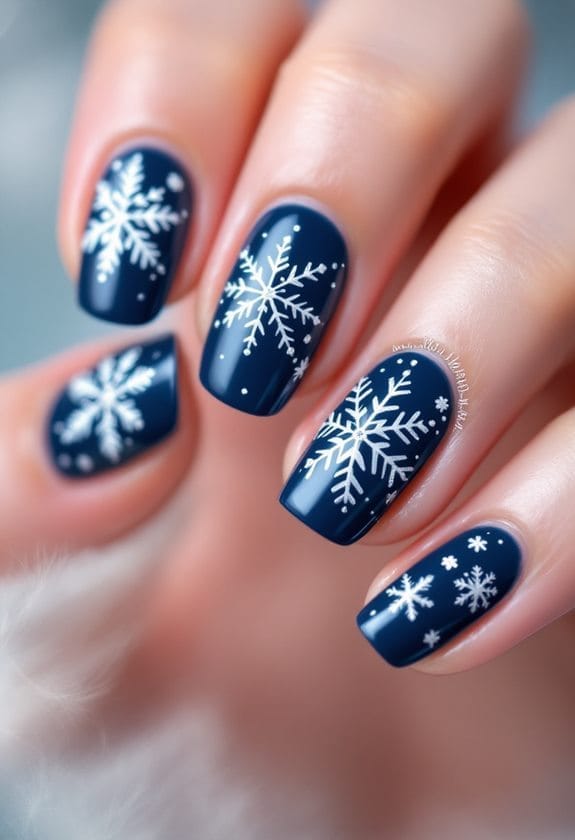
Simple winter nail art creates stunning impressions with minimal elements. You'll find that delicate snowflakes paired with negative space techniques offer a chic, understated look that's perfect for the winter season. These minimalist designs let your natural nail shine through while adding just the right touch of seasonal magic.
You can enhance your winter patterns by incorporating subtle shimmer finishes or choosing a sophisticated matte topcoat that makes your snowflake designs stand out beautifully. Try placing single snowflakes on alternating nails, or create an ombré effect that shifts from frosty white to cool blue for added dimension. The key is keeping your design elements simple yet impactful.
Want to make your minimalist winter manicure unique? Mix and match complementary winter shades on different nails, but maintain the delicate snowflake theme throughout. You'll love how a few well-placed patterns can transform your nails into an elegant winter wonderland without overwhelming the overall look. Remember, when it comes to minimalist nail art, less is definitely more, letting each carefully chosen element shine.
Recommended Products

ROMANCE-INSPIRED WINTER NAIL POLISHES - Based upon a dreamy winter landscape, the Winter Wonderland Collection is full of sparkle and magic!

LUXURY NAIL DESIGN:Combines glossy pearlescent milky white base with delicate textured leaf carving, decorated with metallic gold wire frame, tiny round pearls and mini gold star studs for elegant noble bridal versatile styling options, you can get salon-level gorgeous manicure within 5 minutes

FRAMED CANVAS WALL ART SIZE: Elevate your living room, bedroom, bathroom, or office decor with our snowflakes canvas wall art. These Xmas framed prints, available in sizes 8x8in, 12x12in, 16x16in, 20x20in, 24x24in and 28x28in, effortlessly blend elegance and style. Ideal for wall art enthusiasts, our winter snowflakes pictures are ready to hang, offering a seamless addition to your wall decor needs. Perfect for large wall art aficionados and those seeking elegant and modern "cuadros para sala"
Textured Snowflake Techniques
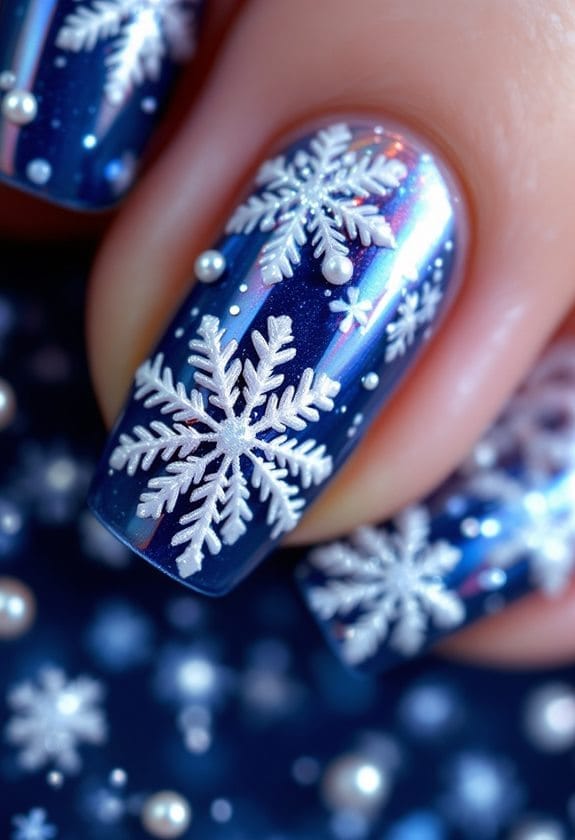
Creating dimension in snowflake nail art comes alive through innovative texturing techniques. You'll discover that adding chunky glitter dots strategically placed around your snowflake designs creates a magical, snow-falling effect that catches the light beautifully.
When you're ready to elevate your winter nails, try incorporating velvet textures into your snowflake designs for a luxurious touch that's perfect for special occasions. You can layer shimmer polishes underneath your snowflake patterns to create a subtle, ethereal glow that won't overpower your intricate designs. For added sparkle, sprinkle holographic confetti or apply foil decals over your snowflake nails, creating a stunning three-dimensional effect that transforms as you move your hands.
One of the most striking textured snowflake techniques involves combining matte and glossy finishes on the same nail. You'll love how the contrast adds depth to your nail art, making your snowflakes appear to float above the base color. This technique works especially well when you apply a matte topcoat to your base color and leave the snowflake design glossy, creating a sophisticated winter look.
Seasonal Color Schemes
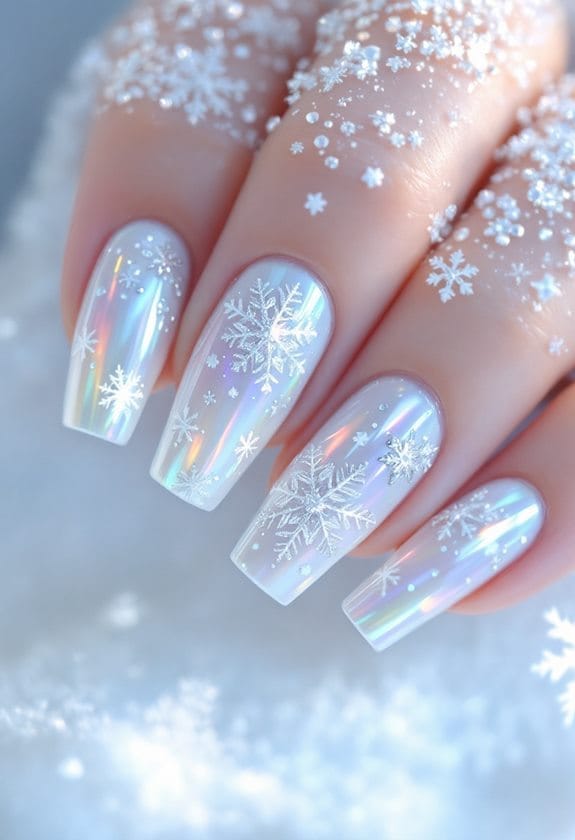
Beyond textured techniques, the right color palette brings your winter nail art to life. Seasonal color schemes centered around icy blues and crisp whites create a stunning foundation for your delicate white snowflakes, perfectly capturing winter's enchanting essence.
You'll find that combining contrasting colors adds dramatic flair to your winter chic look. Try painting a deep burgundy base topped with shimmering snowflake patterns in white, or experiment with classic black nails adorned with pristine white designs. For a softer approach, pink nails with silver accents offer a whimsical twist on traditional winter themes.
When you're feeling festive, layer complementary colors to embrace the holiday spirit. Rose gold and silver create a sophisticated shimmer, while red and gold combinations bring warmth to chilly days. These dynamic pairings work beautifully with intricate snowflake designs, giving your manicure depth and dimension.
Don't be afraid to mix traditional winter shades with unexpected colors. A pastel blue base with crystalline white patterns offers a fresh take on seasonal favorites, while maintaining that magical winter wonderland feel you're looking for.
Recommended Products

RICH AND CHARMING ULTRA HOLO WINTER NAIL POLISHES - The Fall Into Winter Collection is reminiscent of calm and intimate days inside from the cold.

WINTER WEDDING-INSPIRED POLISHES - Romantic and reflective Ultra Metallics humming with the promise of timeless devotion, where every sparkle tells a story of romance that never fades.

CREAMY HOLOGRAPHIC WINTER NAIL POLISHES - Enjoy ski season year-round with the Winter Resort Collection!
Frequently Asked Questions
How to Do Snowflakes on Nails for Beginners?
Dreaming of perfect snowflakes? Start with light winter colors, use a dotting tool to make six points, then connect them with thin lines. Add sparkles and seal your freehand design with top coat.
How to Do Crescent Moon Nail Art?
Paint your base color, then use a thin brush to create a crescent moon shape. Add starry accents and glitter gradient for celestial vibes. Finish with a matte topcoat to enhance your lunar-inspired design.
How to Do Cherry Nail Art?
Paint your nails with cherry color polish, add cherry patterns using a dotting tool, and create cherry blossoms with pink accents. Layer on cherry gradients, gems, or tips for dimension. Seal your designs with topcoat.
How to Do Sponge Nail Art?
Paint your base coat, then blend polishes on a makeup sponge. Dab the sponge gently onto nails for a gradient effect. Let dry between layers, and finish with a top coat for shine.