As an Amazon Associate, we earn from qualifying purchases. Some links on this site are affiliate links at no extra cost to you. Our recommendations are based on thorough research and editorial judgment.


7 Simple Gel Nail Art Techniques Anyone Can Master

You'll love mastering these seven beginner-friendly gel nail art techniques at home. Start with basic glitter gradients and ombré effects, using a solid base color and building sparkle from tips to cuticles. Create eye-catching geometric patterns with simple dots and lines, or try a modern twist on French tips using metallic or vibrant hues. Experiment with chrome powder applications for mirror-like shine, design minimalist line work for elegant sophistication, layer different gel colors for depth, and explore stamping techniques for intricate patterns. These professional-looking designs will transform your at-home manicures into salon-worthy masterpieces, and there's so much more to explore.
Key Takeaways
- Master glitter gradients by applying sparkle from tips to cuticles, creating an effortless ombré effect sealed with clear topcoat.
- Create simple dot patterns using a dotting tool and contrasting colors, curing each layer under LED lamp.
- Apply clean French tips using nail-friendly tape and experiment with different colors for a modern twist.
- Practice minimalist line work using striping tape or fine brushes on a light base coat for elegant designs.
- Layer different gel colors gradually to achieve depth and dimension, ensuring each layer cures completely.
Basic Glitter Gradients and Ombré
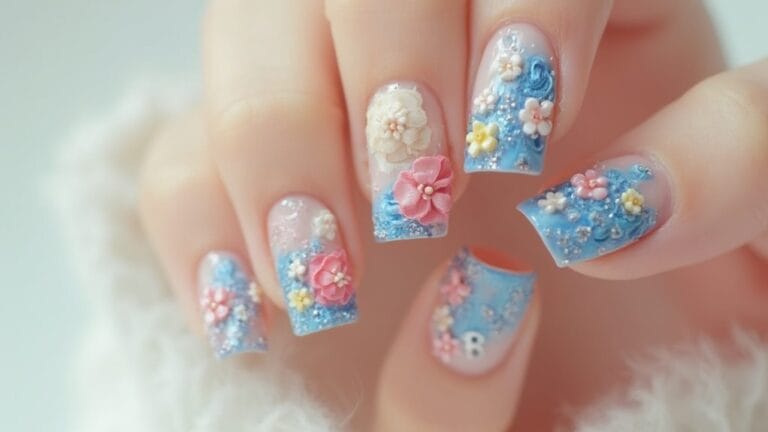
While mastering gel nail art takes practice, creating stunning glitter gradients and ombré effects doesn't have to be complicated. You can achieve beautiful results by starting with a solid base nail color and gradually building up your design with precision and patience.
To create a perfect glitter gradient, start by applying your base color and then carefully layer your glitter polish from the tips toward the cuticles. You'll want to concentrate the sparkle at the tips and let it fade naturally as you work your way down, creating that sought-after gradient effect. For ombre effects with gel polish, grab a makeup sponge and select two to five complementary colors that'll blend seamlessly together.
Don't forget to use nail vinyls or tape to create crisp, clean lines in your gradient designs. These helpful tools will guarantee your shifts look polished and professional. Finally, seal your masterpiece with a clear topcoat to enhance the sparkle and make your design last longer. You can customize these techniques for any occasion by playing with different color combinations and glitter placements.
Recommended Products

100 Colors for More Creative Nail Looks: This patting gel polish palette includes 84 rich solid colors, 4 metallic shades, 3 platinum glitter gels for ombre, blush, aura, French, gradient, and layered nail art. Mix and match shades to test new styles, build custom looks, and create more designs from one gel palette

100 High-Saturation Trendy Colors, Unlimited Possibilities: Our upgraded pat gel polish set features 100 carefully selected shades that are both everyday-wearable and personality-driven, covering styles from fresh to elegant – while also allowing you to create sand-like or 3D effects. Mix and match any of the 100 colors freely to craft your own custom shades.
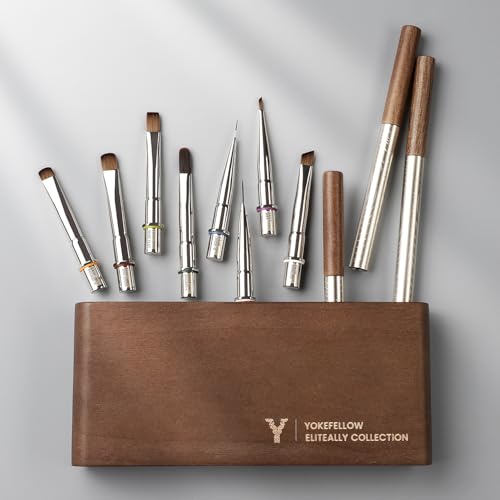
What You Get: 1 set YOKEFELLOW EliteAlly Collection With Modular 3+N Design: 3 premium handle + 8 interchangeable heads, swap in seconds, reduce clutter, replace only worn heads for cost savings & sustainability
Simple Dots and Geometric Patterns
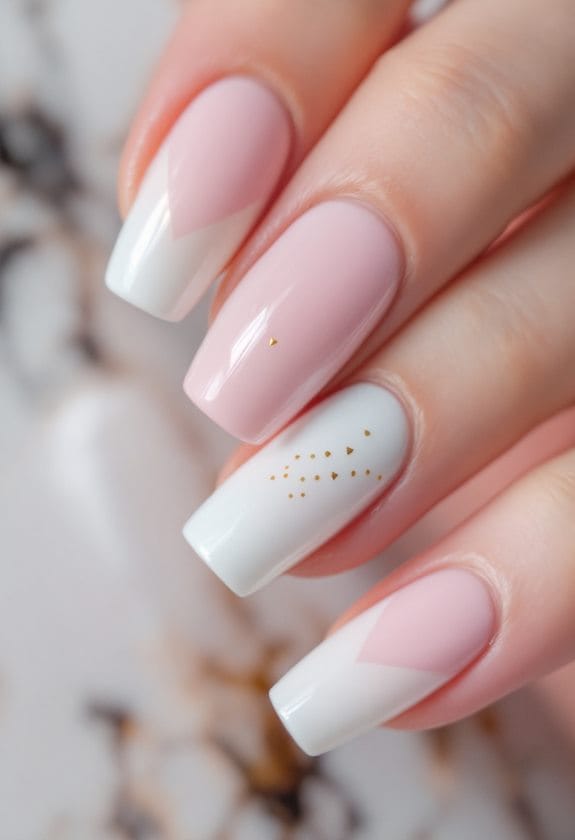
Creating stunning dot clusters is easier than you think when you're armed with the right dotting tools and a steady hand. You'll love combining clusters of different-sized dots with clean geometric lines, using contrasting colors to make your patterns really stand out. Start with simple patterns like triangles filled with dots or parallel lines decorated with evenly spaced dots, and you'll build confidence as you practice these eye-catching designs.
Creating Perfect Dot Clusters
Through the art of precise dot placement, perfect dot clusters can transform your gel nail designs from basic to extraordinary. Using your dotting tools with a steady hand, you'll create stunning patterns that catch everyone's eye and showcase your creativity.
Start by selecting contrasting gel polish colors that'll make your dots pop, like classic white on black or playful pink on nude bases. Position your dotting tool perpendicular to the nail surface, and begin creating dots with consistent pressure for uniform sizes. You'll want to experiment with different dot sizes and spacing, clustering them closely for intensity or spreading them out for a delicate look.
For the most professional results, work in sections and cure each layer under your LED or UV lamp before adding more details. If you're feeling adventurous, try combining your dot clusters with geometric patterns by using nail tape as guides. Remember to seal your nail art designs with a top coat for lasting wear and shine. With practice, you'll develop the confidence to create increasingly complex patterns, turning simple dots into eye-catching masterpieces that reflect your personal style.
Lines Meet Dots Design
Nail art's elegant fusion of lines and dots creates a timeless geometric pattern that's both sophisticated and achievable. As an aspiring nail artist, you'll love how the lines meet dots design combines simplicity with striking visual impact, making it a perfect choice for both beginners and experienced enthusiasts.
To start this easy nail art design, apply your favorite solid base color and let it dry completely. You'll want to choose a shade that contrasts beautifully with your planned accent colors, such as a neutral base with bold white lines or vibrant neon dots. Using a thin nail art brush or striping tape, create your straight lines with steady, confident strokes. Next, grab your dotting tool to add perfectly placed dots where the lines intersect or along their lengths.
If you're new to this technique, don't worry! Practice on a nail wheel first to perfect your technique and build confidence. Once you've mastered the basic pattern, experiment with different color combinations and dot placements. Remember to seal your masterpiece with a glossy top coat to protect your design and make those lines and dots really pop!
French Tips With a Twist

Modern takes on French tips break out of the traditional white-and-nude combination, offering endless possibilities for personalization. You'll find exciting ways to transform classic French nail designs into contemporary masterpieces using different colors, shapes, and creative elements.
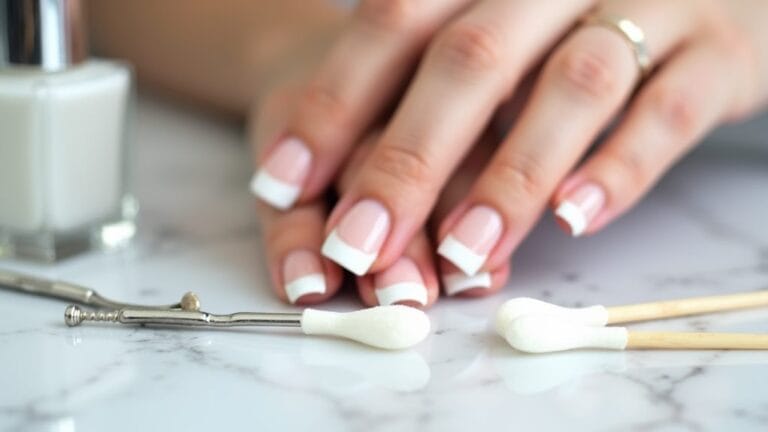
Start by choosing your preferred base color, then experiment with metallic tips, vibrant hues, or even a sophisticated ombre effect for your French manicure. You'll get the cleanest lines by applying nail-friendly tape as a guide, making simple nail art techniques accessible even if you don't have steady hands.
For a truly unique twist, try reversing the traditional French design by creating a half-moon shape at the base instead of tips. You can also incorporate geometric patterns, glitter accents, or striking color combinations that complement your style and personality.
Don't forget to play with different tip shapes – rounded, squared, or even asymmetrical edges can dramatically change your look while maintaining the elegant French aesthetic. Add some sparkle to one accent nail, or create an ombre effect across all tips for a stunning gradient that catches everyone's eye.
Recommended Products
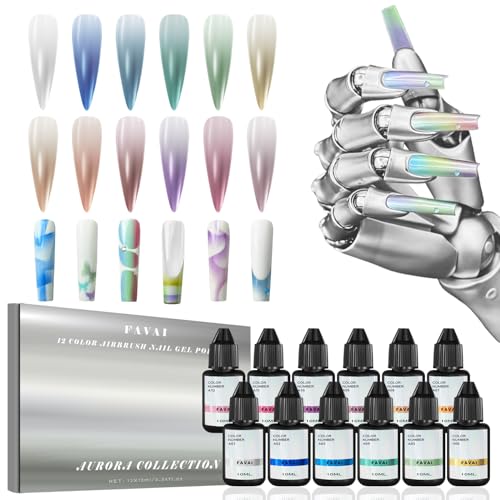
12 Iridescent Metallic Shades: This set comes with 12 trendy shimmer metallic tones with gorgeous color-shifting effect, featuring pearlescent and chameleon luster. Creates stunning gradient, halo and shiny nail looks for daily and party manicure.

Luxury Cat Eye Gel Polish Set: Beetles 36 colors cat eye gel nail polish set includes five kinds of cat eye effect gel polishes(moon cat eye,dreamy aurora cat eye,rainbow candy cat eye,velvet cat eye,chameleon cat eye) beauty gift sets, allowing you to create various styles. Unleash endless possibilities and enjoy DIY cat eye nail designs.

High-Quality Short Almond Press-On Nail Kit: Named in honor of GLAMZILLA’S best friend, this set is THE moment for a classic French, made modern with a new gold glaze finish. These nails are effortlessly chic with sleek white French tips. Salon-quality, long-lasting and durable, she’s forever THAT girl. Period.
Chrome Powder Application Techniques

You'll need essential tools like a silicone applicator, chrome powder, and quality gel products to create stunning mirror-like finishes on your nails. Start by preparing your nails with a perfectly smooth gel base coat, ensuring there's no dust or oils that could interfere with the chrome powder's application. With your tools ready and nails prepped, you're set to transform ordinary manicures into eye-catching, reflective masterpieces that'll have everyone asking about your secret technique.
Recommended Products

ANODIZED SPRAY PAINT – VHT Anodized Paint is a unique transparent coating that creates an anodized effect over properly prepared chrome, shiny bare metal, and faux chrome-like surfaces for a spectacular metallic finish.

360° Safety Standard & 26-FREE: The formula of APUREE cat eye gel nail polish has obtained the highest 5-star "Excellence" rating through clinical validation by Dermatest, Europe’s top dermatological testing authority. Certified USDA 64% bio-based, it excludes HEMA, TPO, Di-HEMA , using macro-molecular ingredients to reduce sensitization risks

Basic Kit: 2g Holo Pure Powder, UV/LED Top coat gel, applicator brush/sponge, 5 nail sticks for practice
Essential Tools and Prep
With the right tools and preparation, creating stunning chrome nail effects becomes considerably easier. You'll need several essential tools to get started, including a quality base coat, non-wipe gel top coat, and your chosen chrome powder.
Before diving into the chrome application, you'll want to guarantee your nails are perfectly prepped. Start by thoroughly cleaning your nails, removing any oils or residue that could affect your final result. Next, gently buff the nail surface to create an ideal foundation for your base coat, which will help your chrome powder adhere beautifully.
Your success with chrome powder application depends heavily on using the right tools and techniques. You'll need a reliable UV/LED lamp for curing, a soft silicone applicator or clean fingertip for powder application, and high-quality nail polish products that work well together. Don't forget to invest in a good non-wipe top coat, as it's vital for achieving that mirror-like finish.
Remember to have all your supplies ready before you begin, including lint-free wipes, nail cleanser, and your chosen chrome powder shade. This preparation guarantees a smooth, uninterrupted application process.
Applying Chrome Like Pro
Mastering chrome powder application begins with a flawless gel base coat. You'll want to guarantee your base is perfectly cured and smooth, as any tiny bumps or ridges will show through your stunning chrome finish.
Once you've got your base ready, apply a no-wipe top coat and cure it completely. Now comes the fun part: using your silicone tool or fingertip, gently buff the chrome powder onto your nails using smooth, circular motions. You'll see the magical transformation happen right before your eyes as the powder creates that perfect mirror-like shine.
For an even more dramatic effect, you can build up your chrome intensity by applying multiple layers. Just remember to buff each layer thoroughly before adding the next one. The result will be absolutely dazzling!
Minimalist Line Work Design

Modern minimalist line work designs have become one of the most sought-after trends in gel nail art, offering a perfect balance of sophistication and simplicity. You'll want to start with a clean, light-colored base coat that creates the perfect canvas for your artistic vision.
Grab your striping brush or fine nail art brush, and you're ready to create stunning designs that'll turn heads. Begin with basic shapes like straight lines or simple geometric patterns, keeping your hand steady as you work. Don't worry if your first attempts aren't perfect – practice makes perfect, and you'll improve with each design you create.
For the best results, you'll want to experiment with different patterns, from delicate zigzags to elegant curves, always maintaining that minimalist appeal. Remember to seal your masterpiece with a glossy top coat, which not only protects your design but also adds that professional shine you're looking for. As you gain confidence, you can start incorporating more complex patterns while staying true to the clean, minimalist aesthetic that makes this style so appealing.
Layering Different Gel Colors
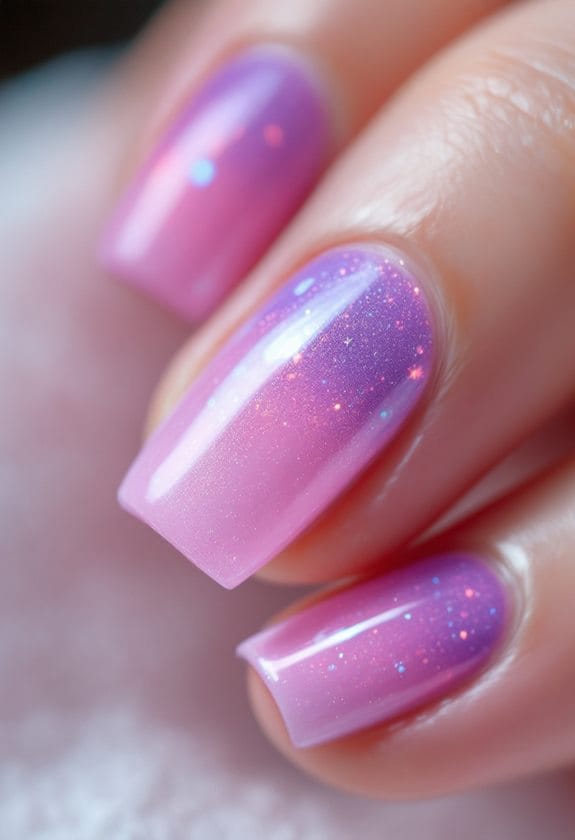
The artistry of layering gel colors transforms ordinary manicures into mesmerizing masterpieces. When you combine different shades strategically, you'll create stunning depth and dimension that catches everyone's eye. Your nail art will come alive with unique effects like ombre gradients and perfectly blended transitions.
Start by selecting a complementary base color that'll enhance your overall design, as this foundation sets the stage for your creative journey. You'll want to apply thin, even layers of gel polish, making sure to cure each one completely under your UV or LED lamp. This attention to proper curing prevents any unwanted smudging or lifting as you build your masterpiece.
For seamless color shifts, try using a small sponge or specialized brush to blend your chosen shades together. You can create gorgeous gradients by gently dabbing or stroking where the colors meet, building up the intensity gradually. Whether you're going for subtle sophistication or bold drama, layering different gel colors offers endless possibilities for customization. Remember to keep your layers thin and even, and you'll achieve professional-looking results that'll have everyone asking about your nail artist.
Recommended Products

Package included:15mI Gel Nail Polish x 120, 15ml Diamond Top Coat x 3, 15ml Rubber Top Coat x 2, 15ml Rubber Base Coat x 2, 15ml Matte Top Coat x 1, 15ml Blooming Gel x 1 15mI Base Nail Glue Gel x 1, Color Display Board x 1

【Exquisite Design】White gold bracelet, a blue opal in the shape of a water drop is wrapped by four claws, and there is a circular pendant moissanite embellishment on the chain, which is full of layers. Opals also show different colors when exposed to light or sunlight.

PREMIUM MARINE-GRADE POLYESTER GELCOAT: More durable than standard orthophthalic gelcoat, this is the smart choice for cosmetic gelcoat repair, hull coatings, boat building, layups and exterior coatings for composite parts on boats, motorcycles, RVs & more
Stamping With Gel Polish

Precision meets artistry when stamping with gel polish, offering nail enthusiasts a reliable way to create intricate designs with minimal effort. You'll need to start with specialized stamping tools designed specifically for gel polish, which guarantee your designs transfer perfectly onto your nails.
Begin by applying your gel base coat and curing it under your lamp to create the perfect foundation for your artwork. Once cured, you'll want to work with thicker gel polishes that can hold detailed patterns and transfer smoothly from the plate to your nail. After you've stamped your chosen design, don't forget to cure it immediately to lock the pattern in place.
For a truly unique look, try experimenting with different color combinations and layered designs. You can create stunning effects by overlapping patterns or mixing complementary shades. Before the final cure, use a clean-up brush to perfect the edges around your cuticles, assuring a professional finish. Complete your masterpiece with a glossy top coat, cure one last time, and you'll have salon-worthy nails that showcase your creativity and attention to detail.
Recommended Products

28Pcs Same Color Same Bottle Gel Polish: 24pcs 15ml gel polish for all season,2pcs clear top coat and 1 pcs base coat and 1 pcs building gel, need to be cured under UV or LED Lamp for 60-120s. Must apply with Base Gel and Top Coat. This collection will come with neon jelly green yellow hot pink red blue purple orange milky white black for Spring Summer .Please shake the bottle or warm it with hot water before use, to acheive a better effect.

This exclusive 57-color patting gel palette features a rich mix of nude, red, cool tone, earth and shimmer shades. You can create daily manicures, holiday styles, aura nails and gradient looks with one single set, no need to purchase multiple separate gel products for different nail designs

VERSATILE COLORS: Set includes 9 essential shades perfect for creating stunning nail art designs and 3D sculptures
Frequently Asked Questions
Which Nail Art Technique Is One of the Easiest Techniques?
Like painting stars in the night sky, "Just a Couple Dots" stands out as the simplest technique you'll master. While dot painting beats complex stamping techniques or gradient effects, you'll love its minimalist charm.
How Do You Master Gel Nails at Home?
You'll master gel nails by gathering gel nail essentials, practicing home manicure tips like proper curing, and maintaining a consistent nail care routine. Don't skip base coats and always prep your nails thoroughly.
What Can I Use to Practice Nail Art?
You'll need basic nail art supplies like practice tips, a silicone mat, and clear polish to start. Try using watercolor paper for design inspiration, and don't forget nail stickers as handy practice tools.
How to Make Easy Nail Designs for Beginners?
Start with basic nail care, then try simple dots or stripes using contrasting colors. You'll find nail design inspiration in everyday patterns. Remember, it's easier to master when you're working with complementary color combinations.